12.09.2019
[outfit_details]Thank you Scotties Facial Tissues for sponsoring this post. The holiday season is the busiest time of year. In fact, I try to finish all of my shopping, photoshoots, and gift wrapping in November. That way I have all of […]
 [outfit_details]Thank you Scotties Facial Tissues for sponsoring this post.
The holiday season is the busiest time of year. In fact, I try to finish all of my shopping, photoshoots, and gift wrapping in November. That way I have all of December to be present with family, friends, and Matt in our cozy cape.
It’s Matt and I’s first Christmas in our New England fixer-upper. With siblings coming in from out-of-state and friends visiting from afar, I’m layering on the sparkle, shine, and comfort by stocking our home with all the holiday hosting essentials. Including hot cocoa, winter-scented candles, and of course gingerbread houses to decorate.
Like many, I’m known for winter sniffles. So, with snow in the forecast, I’m also decking out each room in our home with festive boxes of Scotties Facial Tissues. I love the new snowflake pattern Scotties x Genevieve Gorder Collection created for the season! To see all of their holiday designs, head over to Scotties Facial Tissues.
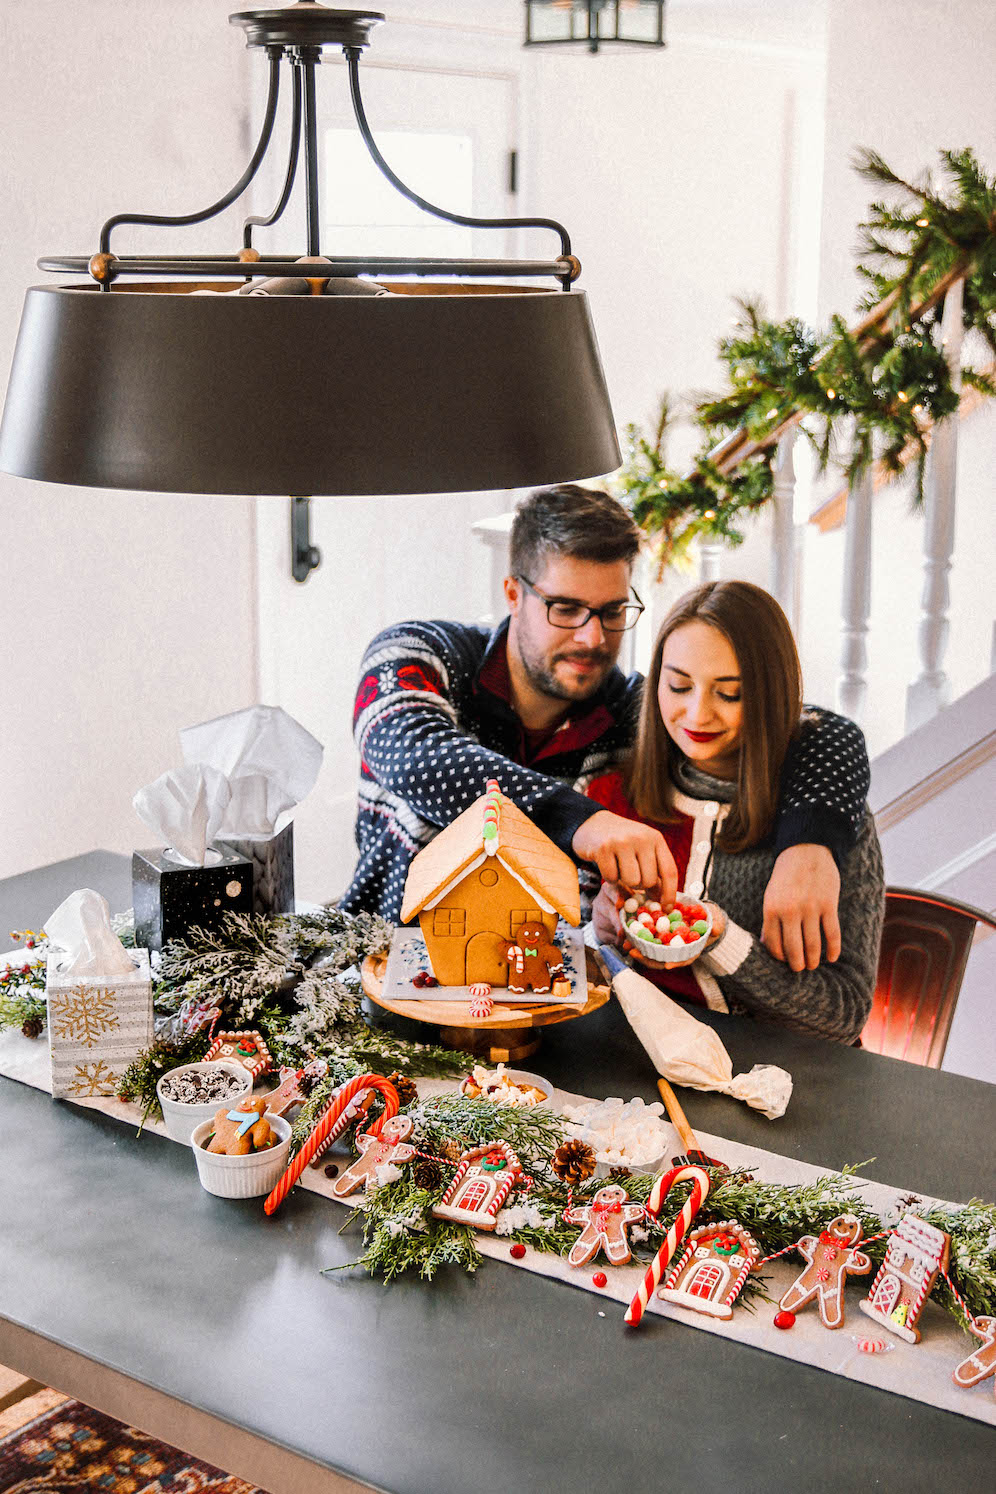
As Matt and I settle into the holidays, we’re enjoying traditions in our new home. Before guests start popping in we decided to have a date night in and test out our gingerbread house decorating skills.
To create your own gingerbread home for the holidays, here’s what you’ll need:
Build It: Gingerbread House Foundation
First, you’ll, of course, need to start building with gingerbread!
If you’re baking from scratch, try this traditional mix, this spiced mix, or this gluten-free mix. If you’re not into baking – gingerbread house kits are the way to go! The kits come in multiple options like this mini-village, this classic house, or this gingerbread train. If you don’t have time to put a kit together, Whole Foods Market sells assembled houses ready for decorating.
Ice, Ice, Baby: Frosting
For assembly, royal icing in a piping bag is key. It has the stickiest consistency and hardens once dry. You’ll want to put your house together using a cake stand, sturdy flat board, or cookie sheet as a base.
If you baked your gingerbread pieces, once cut and cooled take royal icing and strategically pipe the edges of your pieces to build the structure. Let the icing completely dry before you start decorating. If you’re working with a kit, follow along with the directions included. If you’re starting with an already assembled blank slate, simply skip this step!
Gumdrops & Candy Canes: Decorations
Now for the fun part – let your imagination run wild and decorate your gingerbread house! Utilize the rest of your royal icing to secure each decoration.
For our gingerbread house, Matt and I used all the sweets! I recommend lining gumdrops along the middle of the roof and around the bottom of your house for added stability and to hide any seams. Adding snowcaps to your roof creates a snow-covered look. String popcorn and cranberries to create a string-light effect. Try this cranberry garland how-to. Scatter marshmallows around your house to make snow. For a snowman – stack smaller marshmallows atop larger ones.
Matt and I used Rolos as shrubs for a pop of metallic. Use mini candy canes to frame your door and sprinkles to hide any icing errors. Lastly, we added pre-made mini gingerbread men to complete our house!
If you’d rather bake your own – try this giant cookie cutter, this classic cutter, or this copper set. More candy options include peppermint candies, chocolate chips, and shredded coconut. The possibilities are endless!
I hope this post inspired you to get in the spirit of the season while making memories with your loved ones! Do you have a holiday tradition? If so, please share it below!
Shop This Post:
Newsletter
Subscribe to see our favorite pieces of New England, in your inbox weekly.









Leave a Comment