[outfit_details] It’s our first holiday season living in our New England fixer-upper! This means Matt and I finally have a fully stocked kitchen for all my baking needs. Truthfully, I’m quite the messy baker. But, after binge-watching my all-time favorite baking […]
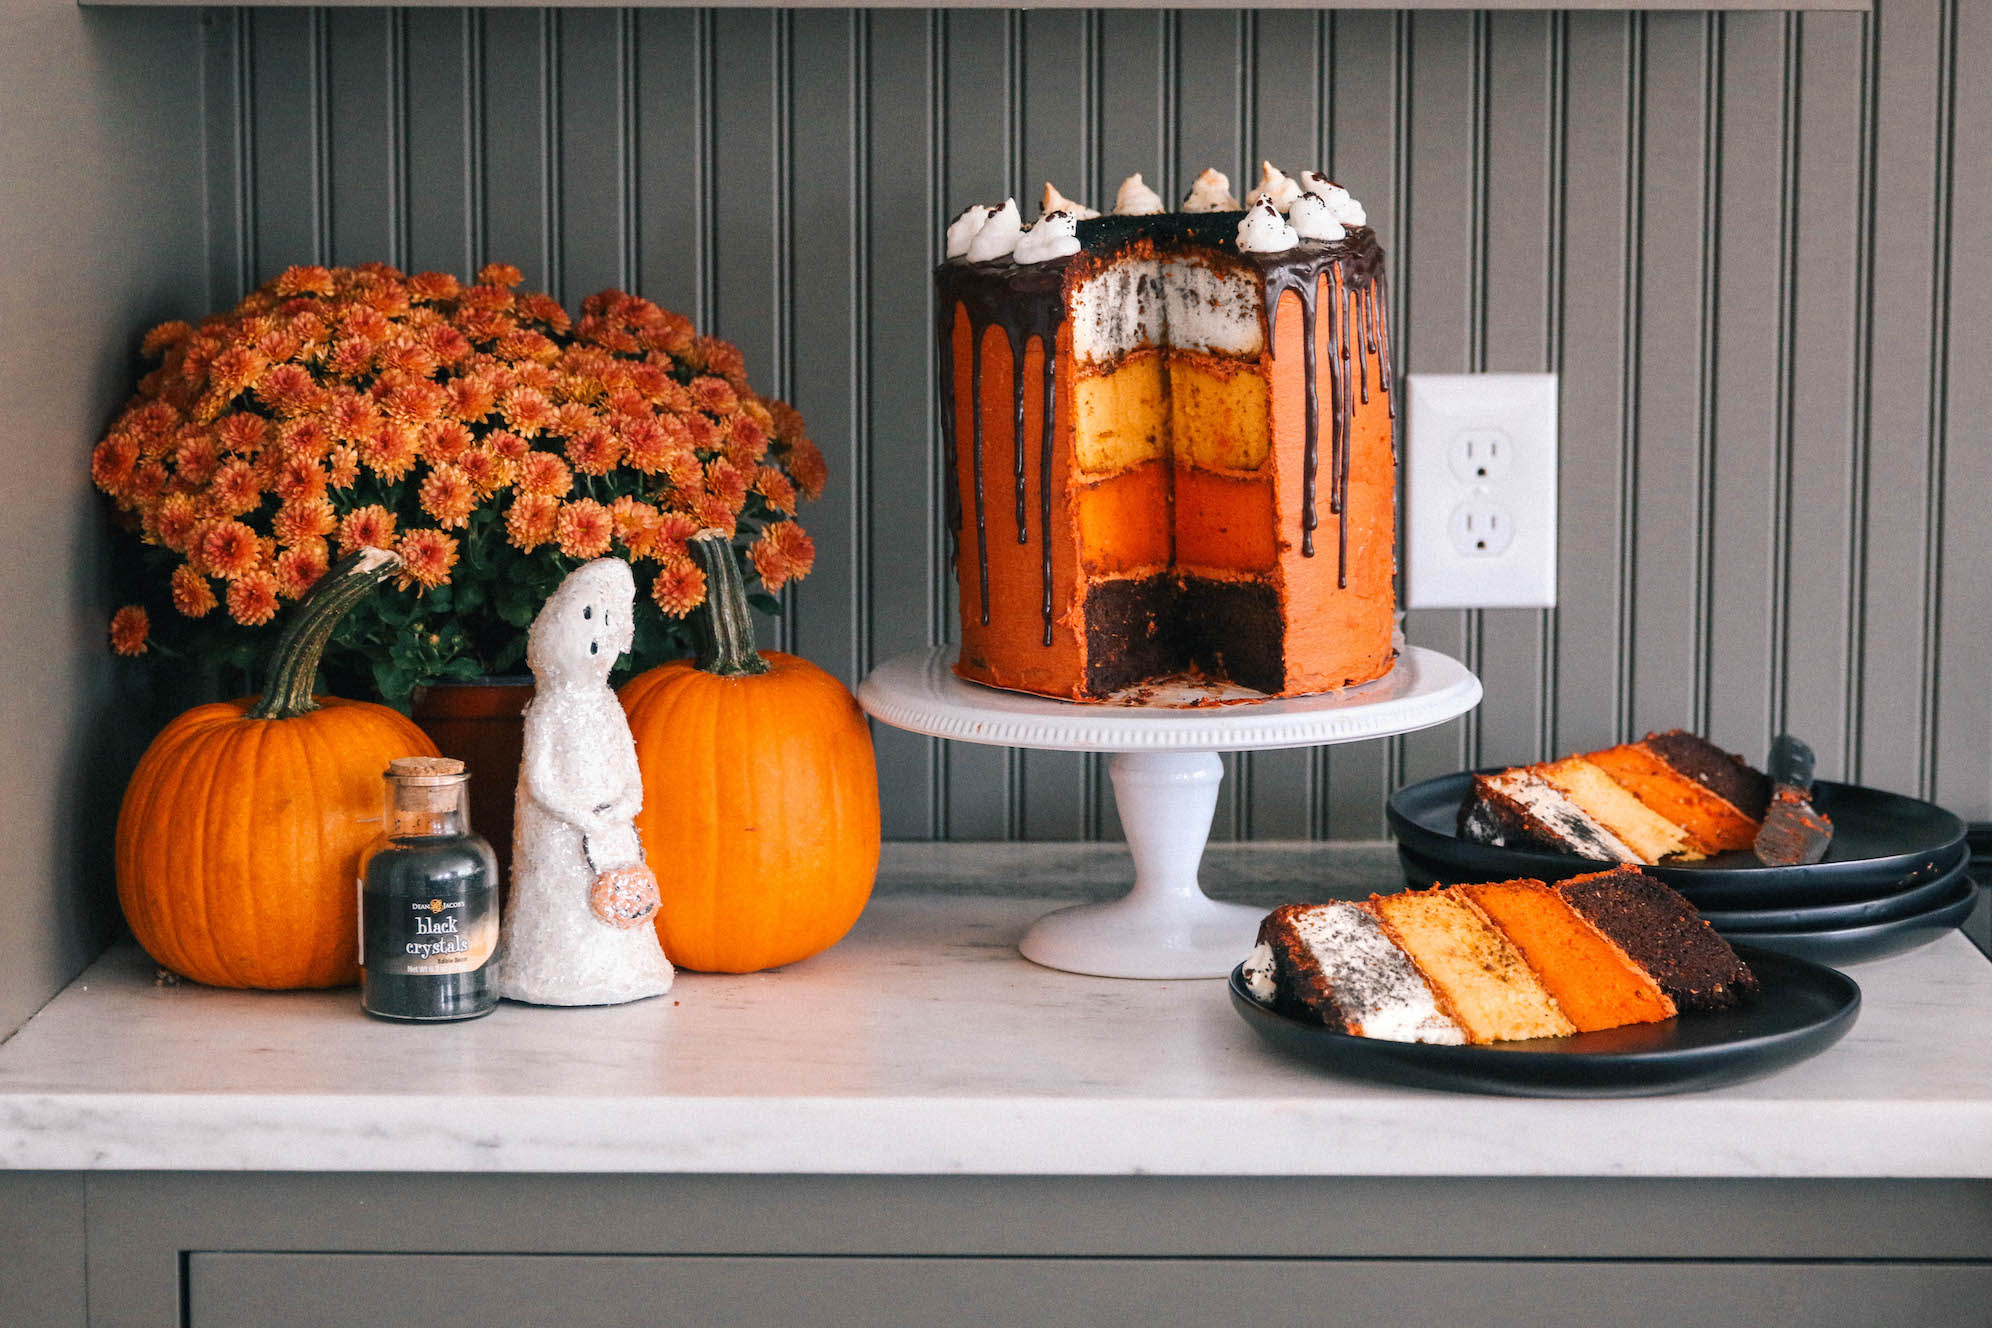
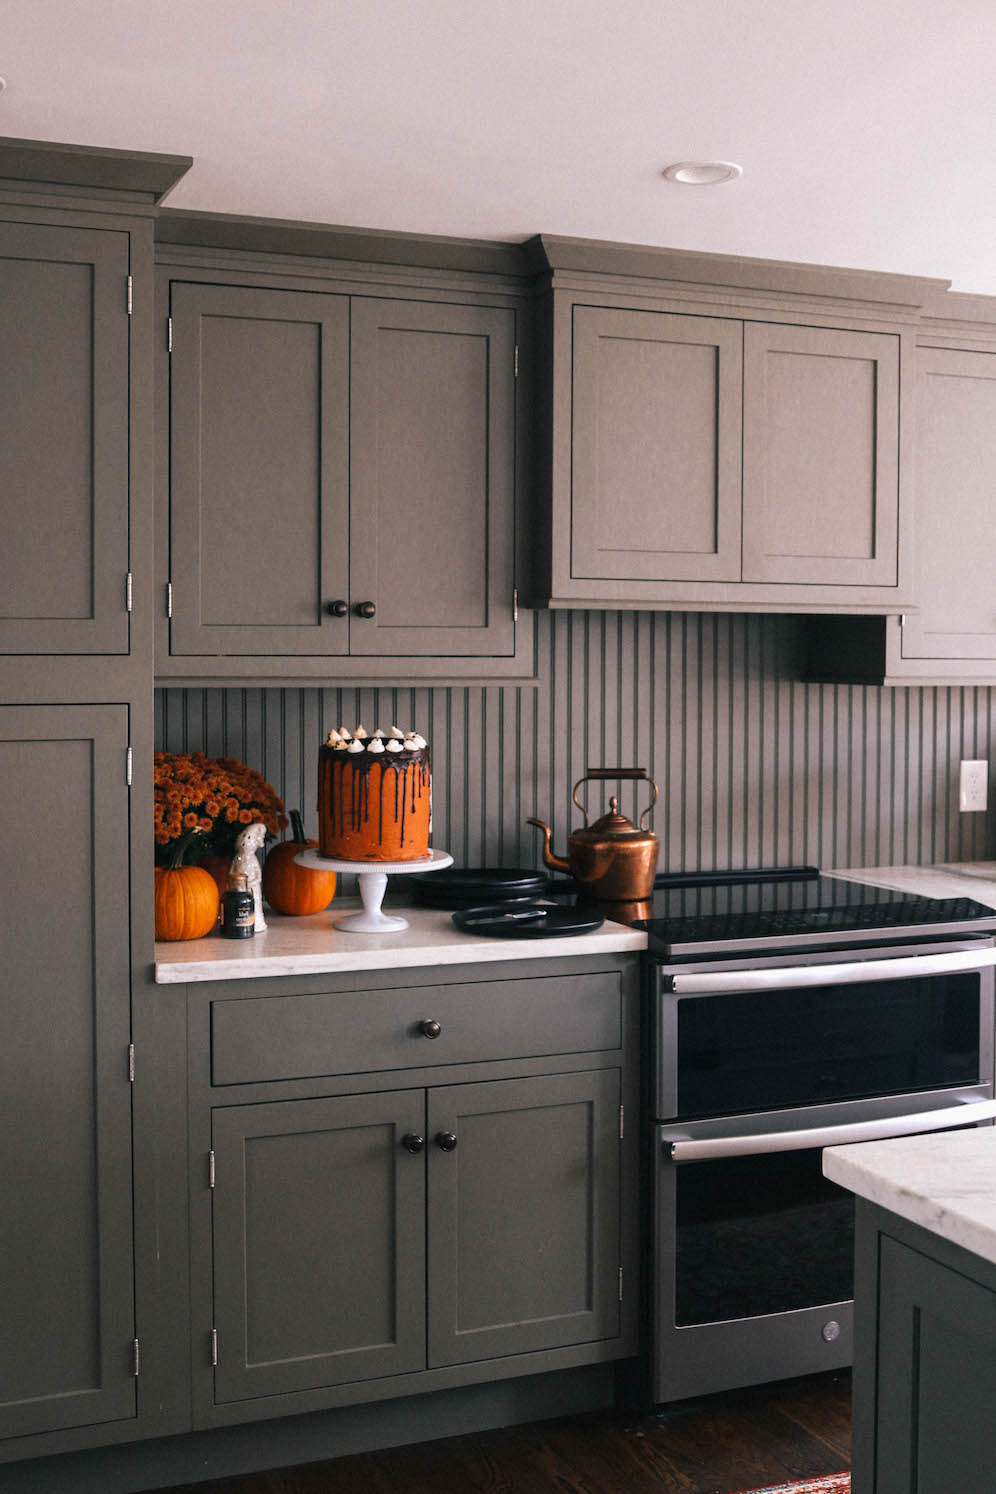
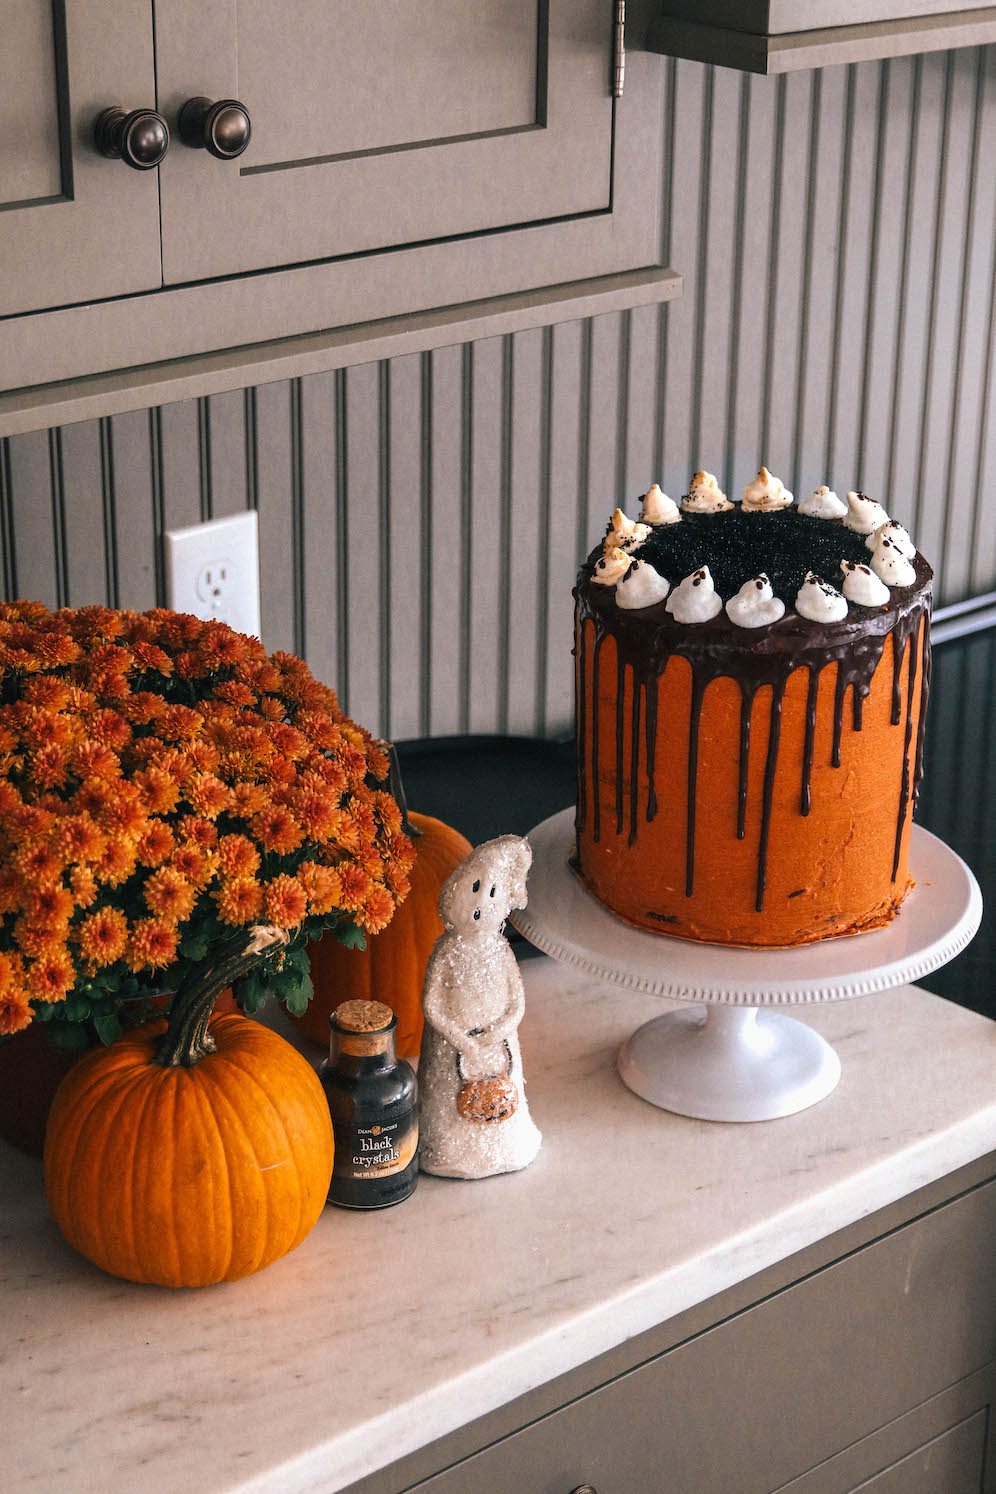
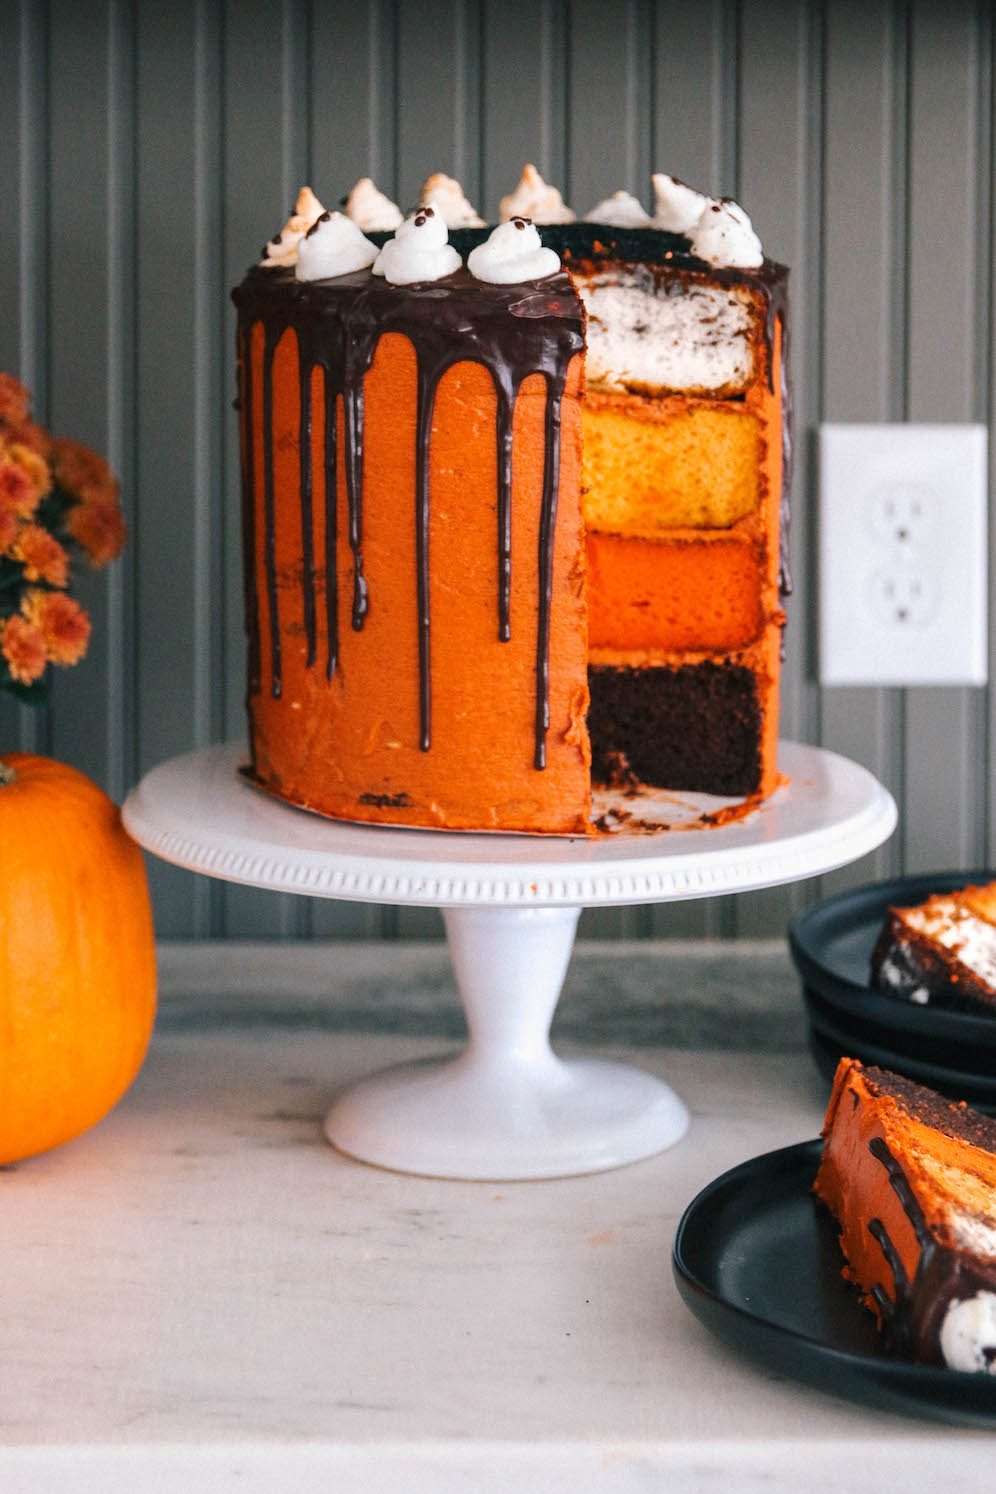
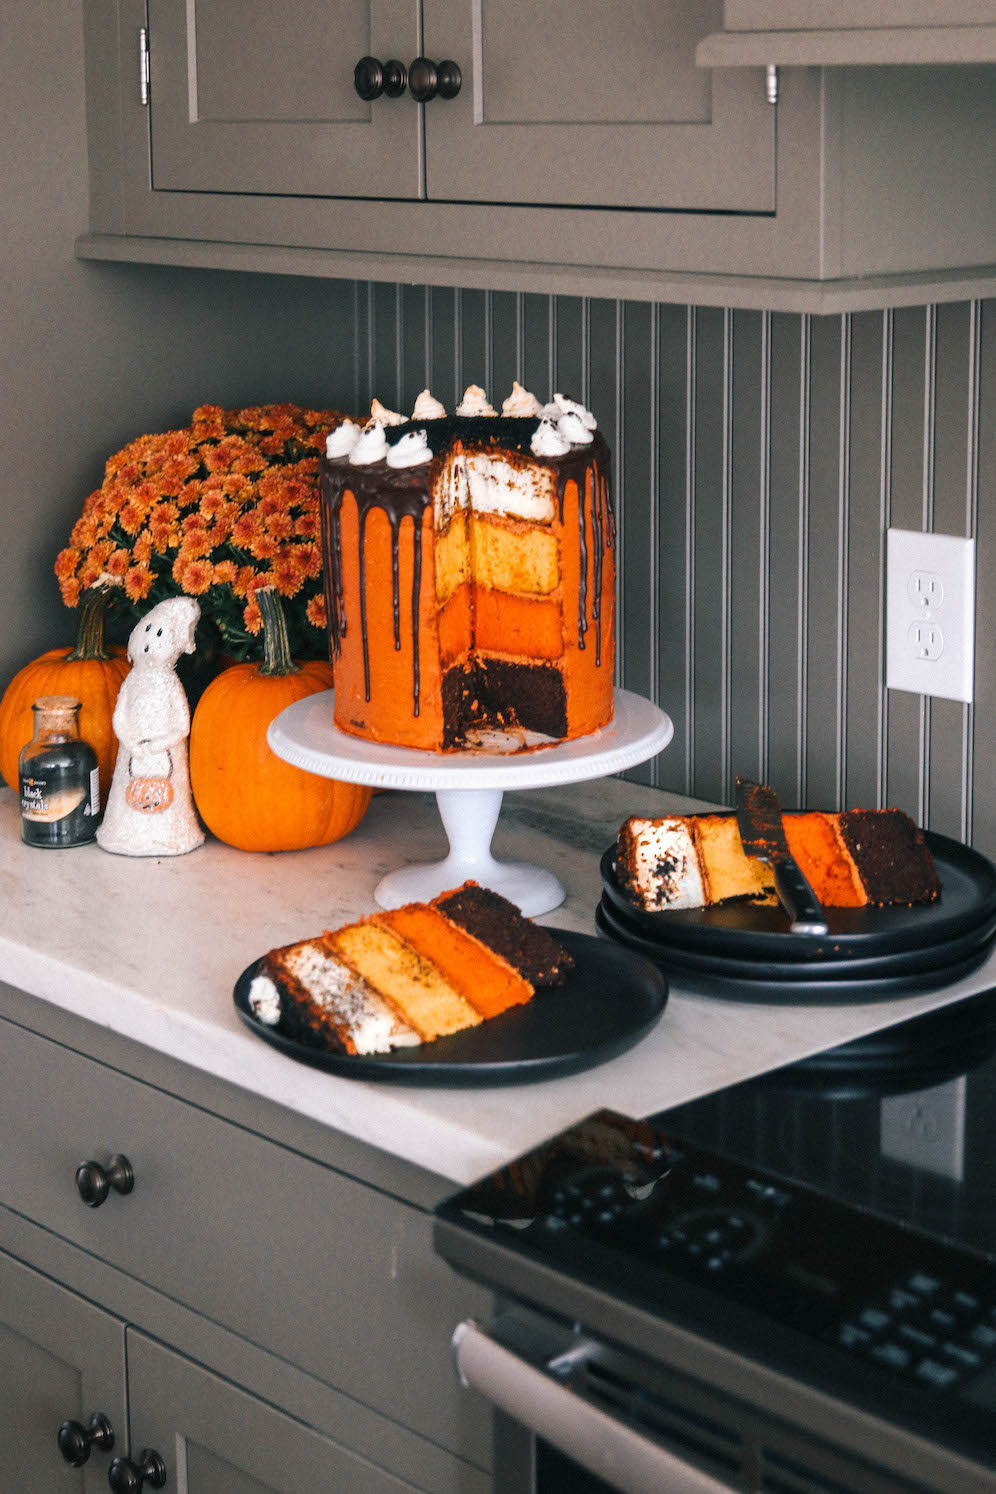
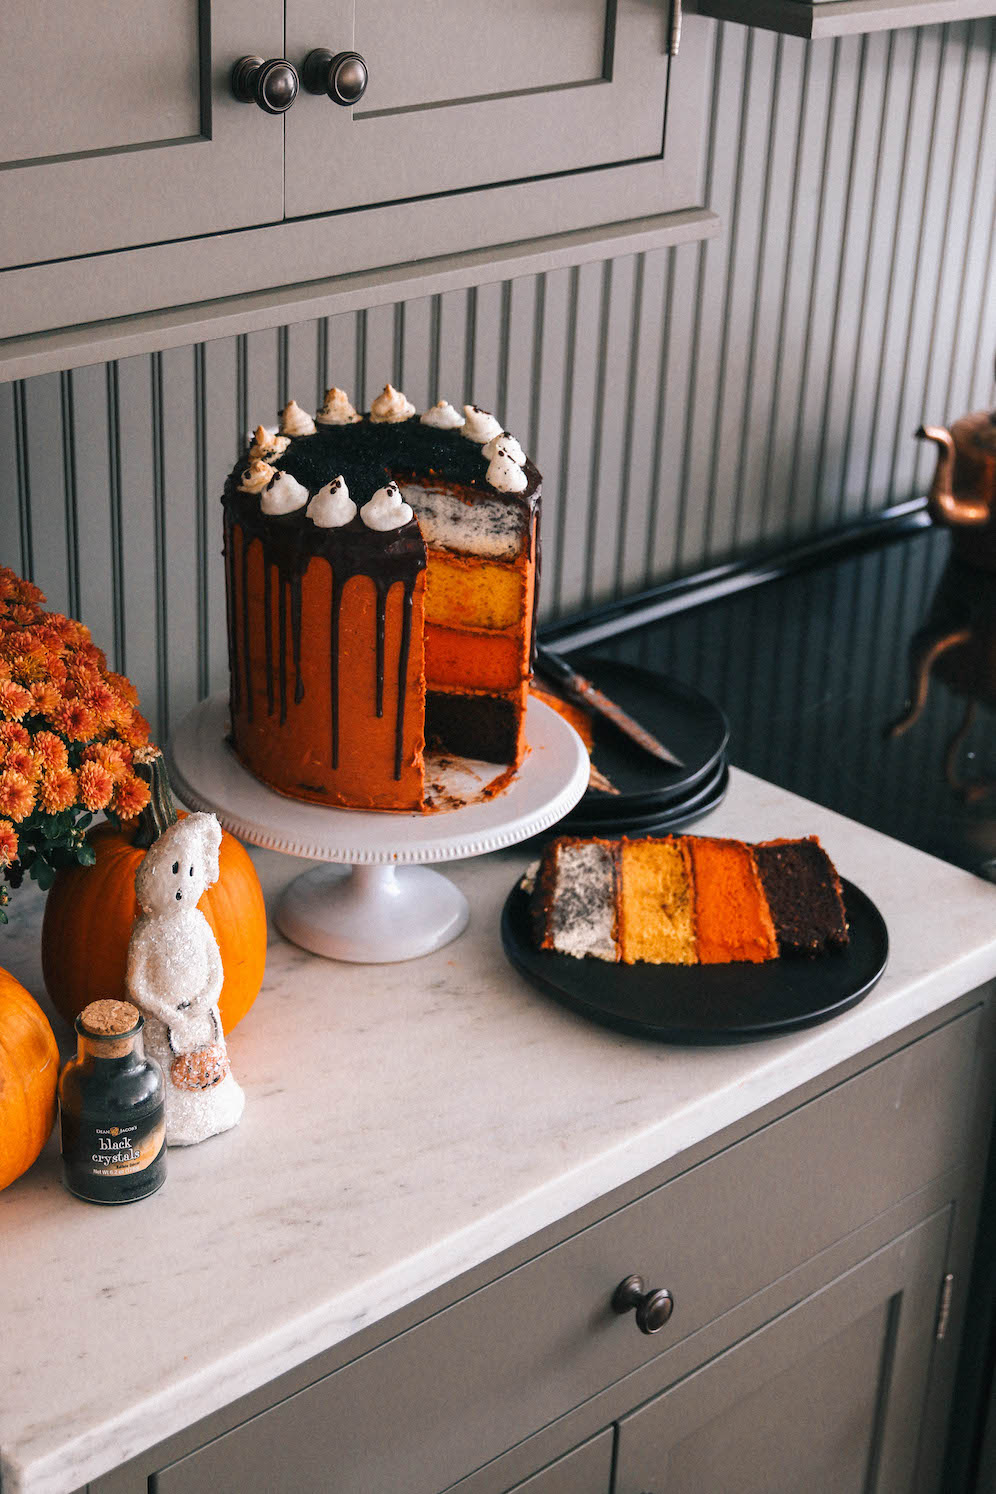
It’s our first holiday season living in our New England fixer-upper! This means Matt and I finally have a fully stocked kitchen for all my baking needs. Truthfully, I’m quite the messy baker. But, after binge-watching my all-time favorite baking show – Pumpkin Wars – our GE Profile Slide-In Electric Range and Custom Hood Insert was calling my name. So, I decided to be daring and make a four-layer candy corn drip cake for Halloween!
This was the first multi-step recipe I pursued in our newly renovated kitchen. If you’d like to see our entire kitchen reveal with before and after shots check out this blog post here.
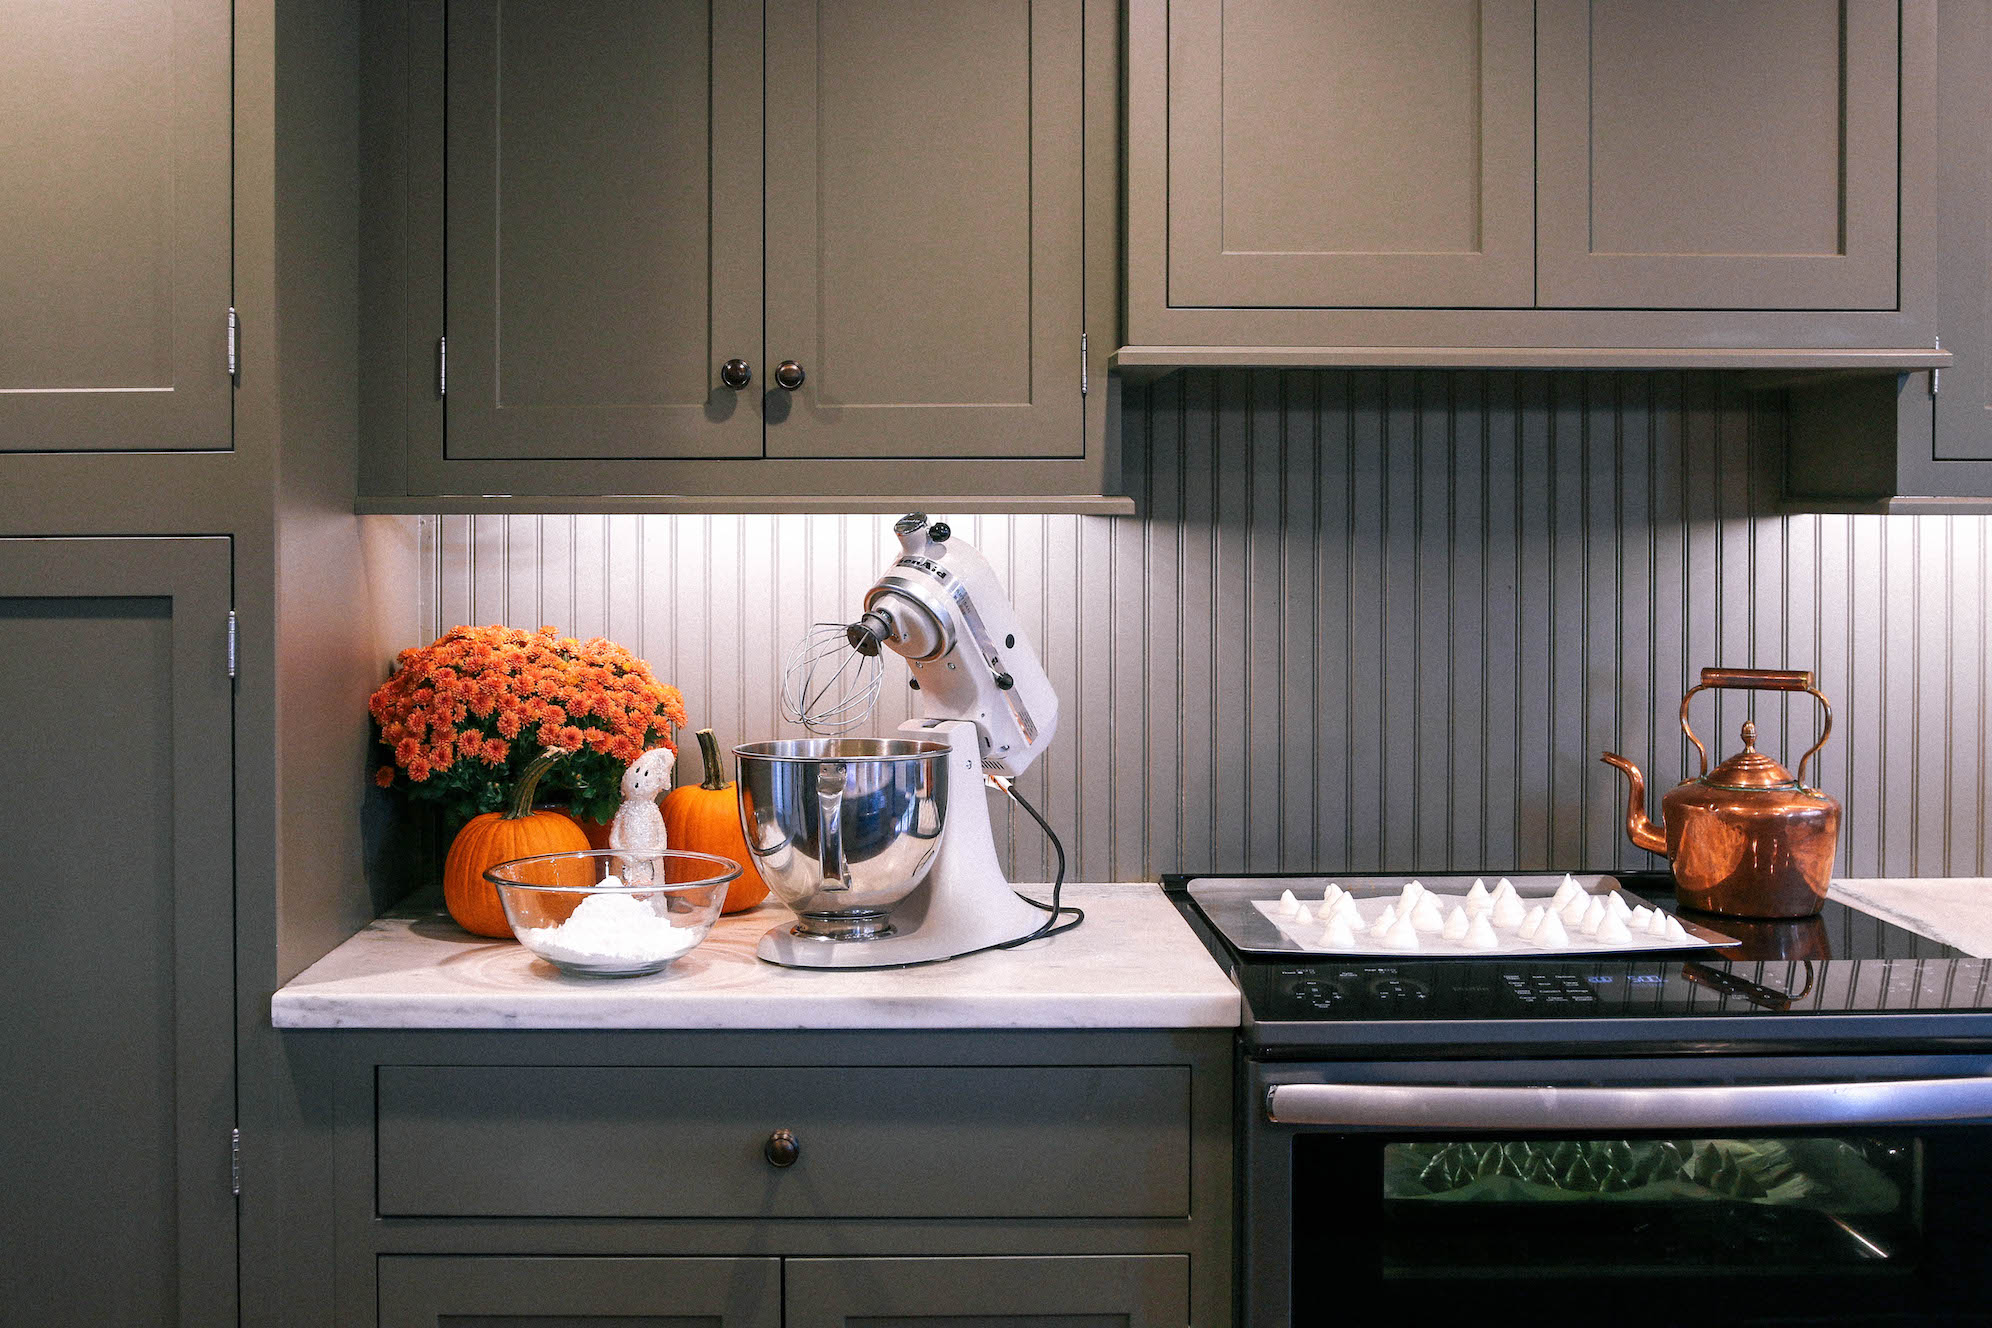
I was really excited to test out our GE Profile Slide-In Electric Range with sleek glide touch controls and to use the European convection for accurate heat circulation. The technology evenly bakes your goodies. Using the double oven convection range, Halloween cake baking was the perfect test run for the upcoming Thanksgiving and Christmas holidays. Matt and I love our electric range not only for its versatility but for its style. The slate color GE Appliances offers blends in perfectly with our kitchen and the sleekness of the touchpad controls leaves the space looking clean and minimalistic.
Below I’ve listed the step-by-step instructions for our Candy Corn Drip Cake for you to recreate for your own upcoming Halloween festivities!
Four Layer Candy Corn Drip Cake
INGREDIENTS:
- 6″ Vanilla Cakes Recipe (will need to create recipe 3x for top layers)
- 2 sticks unsalted butter, at room temperature, plus more for the pans
- 3 cups all-purpose flour, plus more for the pans
- 1 tablespoon baking powder
- 1/2 teaspoon salt
- 1 1/4 cups sugar
- 4 large eggs, at room temperature
- 1 tablespoon vanilla extract
- 1 1/4 cups whole milk
- 1 packet of primary color food dye
- 6″ Chocolate Cakes Recipe
- 1 cup unsweetened cocoa powder
- 2 1/2 cups all-purpose flour
- 2 cups of sugar
- 1 1/2 teaspoons baking powder
- 1 teaspoon baking soda
- 1 teaspoon salt
- 3 large eggs, at room temperature
- 3/4 cup vegetable oil
- 1/2 cup sour cream
- 2 teaspoons vanilla extract
- Chocolate Drip
- 6 oz semi-sweet chocolate chips
- 1/2 cup heavy whipping cream
- Meringue Ghosts
- 1 1/2 cups confectioners sugar
- 6 large egg whites
- 1 tablespoon vanilla extract
- Vanilla Buttercream Frosting
- 3 cups confectioners sugar
- 1 cup butter
- 1 teaspoon vanilla extract
- 1 to 2 tablespoons whipping cream
DIRECTIONS:
For the night before your spooky event, I suggest making the four layers of the Candy Corn Drip Cake and popping them in the fridge to cool overnight!
THE NIGHT BEFORE
- 6″ Vanilla Cakes Recipe
Preheat your GE Appliances oven to 350 degrees Fahrenheit. Beat 2 sticks of butter and sugar in a large bowl with a mixer on medium-high speed until smooth. Then reduce the mixer speed to medium. Beat in the eggs one at a time. In a clean bowl, whisk vanilla extract with 3 cups flour, baking powder, and salt until combined. Next, spoon in flour mixture in 3 batches by adding milk in between until smooth.
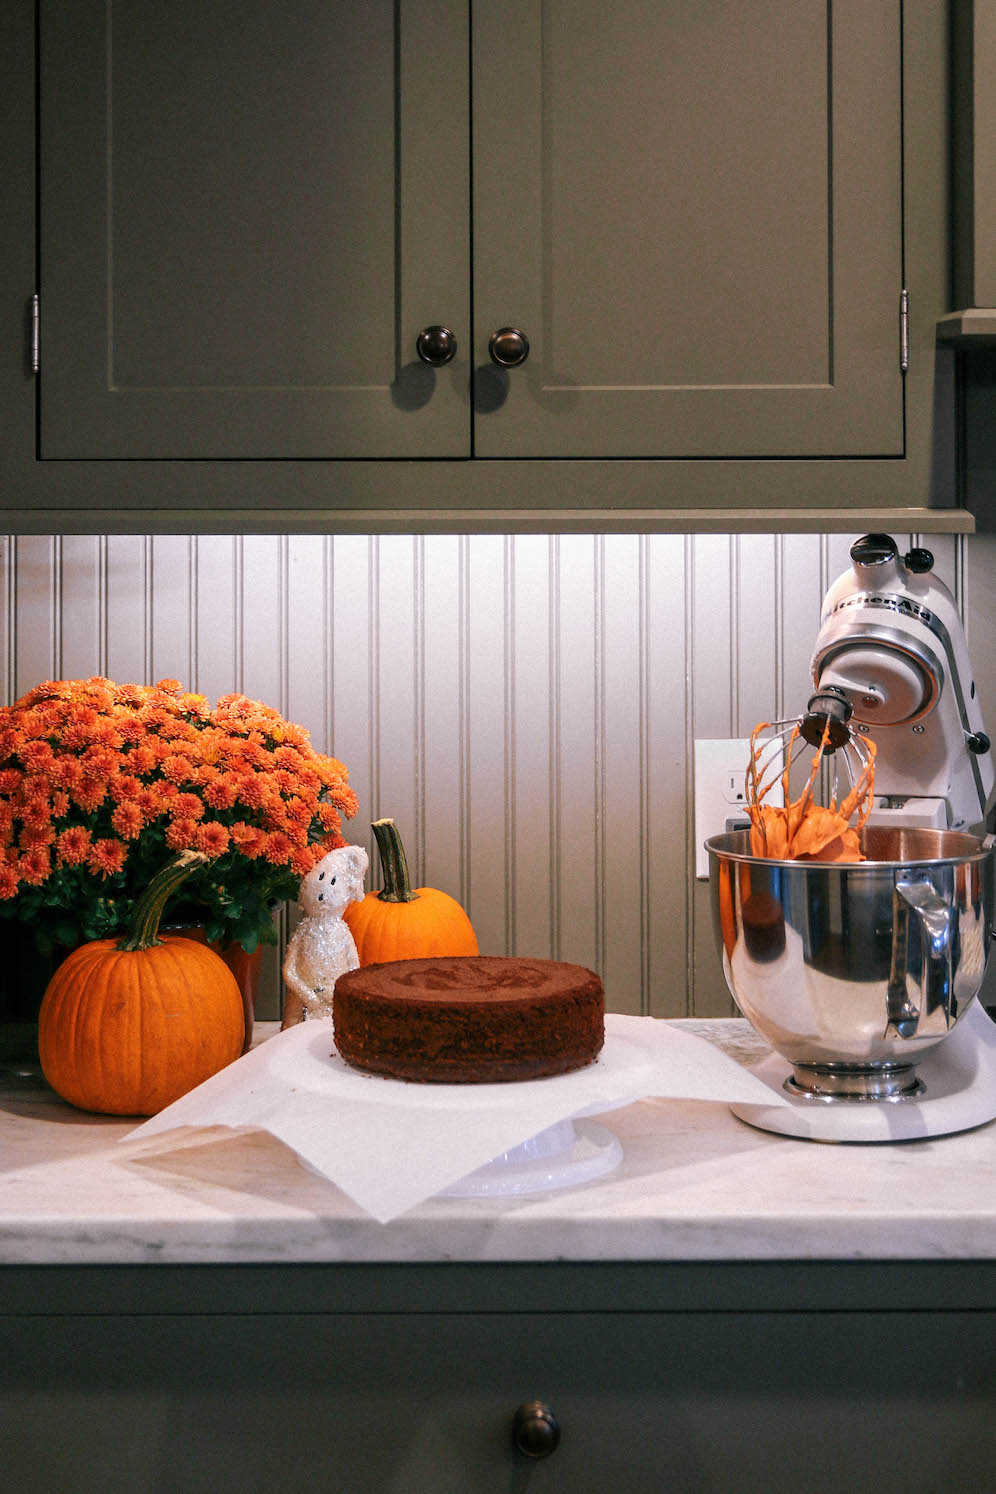
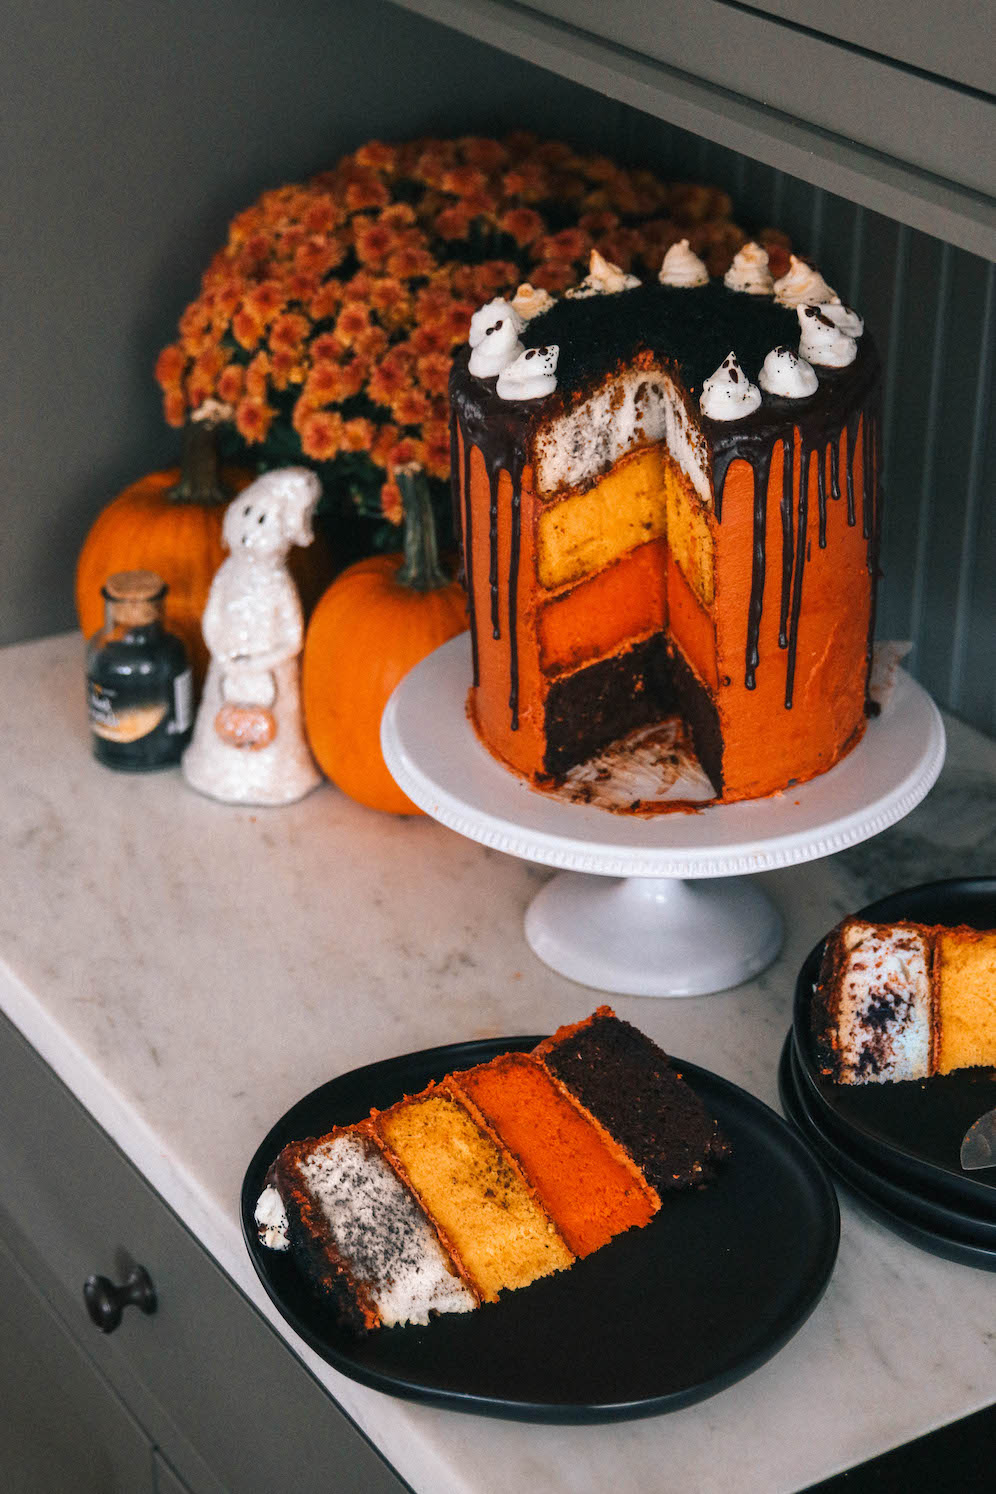
Add in each color to create the candy corn effect. One cake should be bright orange, the second should be a deep yellow, and the last should be left white. For large layers, I used filled my 6″ pan 3/4 of the way full. Then I let each layer bake for 35 – 40 min until the middle was cooked. Let cool then wrap in plastic wrap to refrigerate overnight.
- 6″ Chocolate Cakes Recipe:
Preheat your GE Appliances oven to 350 degrees Fahrenheit. Whisk together cocoa powder with 1 1/2 cups boiling water in a medium bowl until smooth. Whisk flour, sugar, baking powder, baking soda, and salt in a large bowl until combined.
Beat eggs, vegetable oil, sour cream, and vanilla with a mixer on medium speed until smooth. Reduce the mixer speed to low. Beat the cocoa mixture in a steady stream until combined. Then, finish mixing with a rubber spatula.
For large layers, I filled my 6″ pan 3/4 of the way full. Then I let each layer bake for 35 – 40 min until the middle was cooked. Let cool then wrap in plastic wrap to refrigerate overnight.
THE DAY OF:
- Vanilla Buttercream Frosting
I recommend making this simple Vanilla Buttercream Frosting once the Meringue Ghosts are in the oven! In a standing mixer with a whisk attachment, mix together your sugar and butter on low speed until well blended. Then, increase speed to medium and beat for two minutes.
Add the vanilla and cream while continuing to beat on medium speed for about a minute. Next, add in food coloring to your liking. I mixed up a bold orange color to embrace Halloween! Refrigerate until ready to frost.
- Meringue Ghosts
Preheat oven to 300 degrees Fahrenheit. Place 6 large egg whites in a standing mixer on low until you see bubbles start to form. Then, turn the mixer up to high for a couple of minutes. Once the egg whites are at stiff peaks, add in confectionary sugar one spoonful at a time.
Continue mixing on high for about 10 minutes. You’ll know your mixture is ready when it’s no longer grainy. Add vanilla extract and give it one final whip!
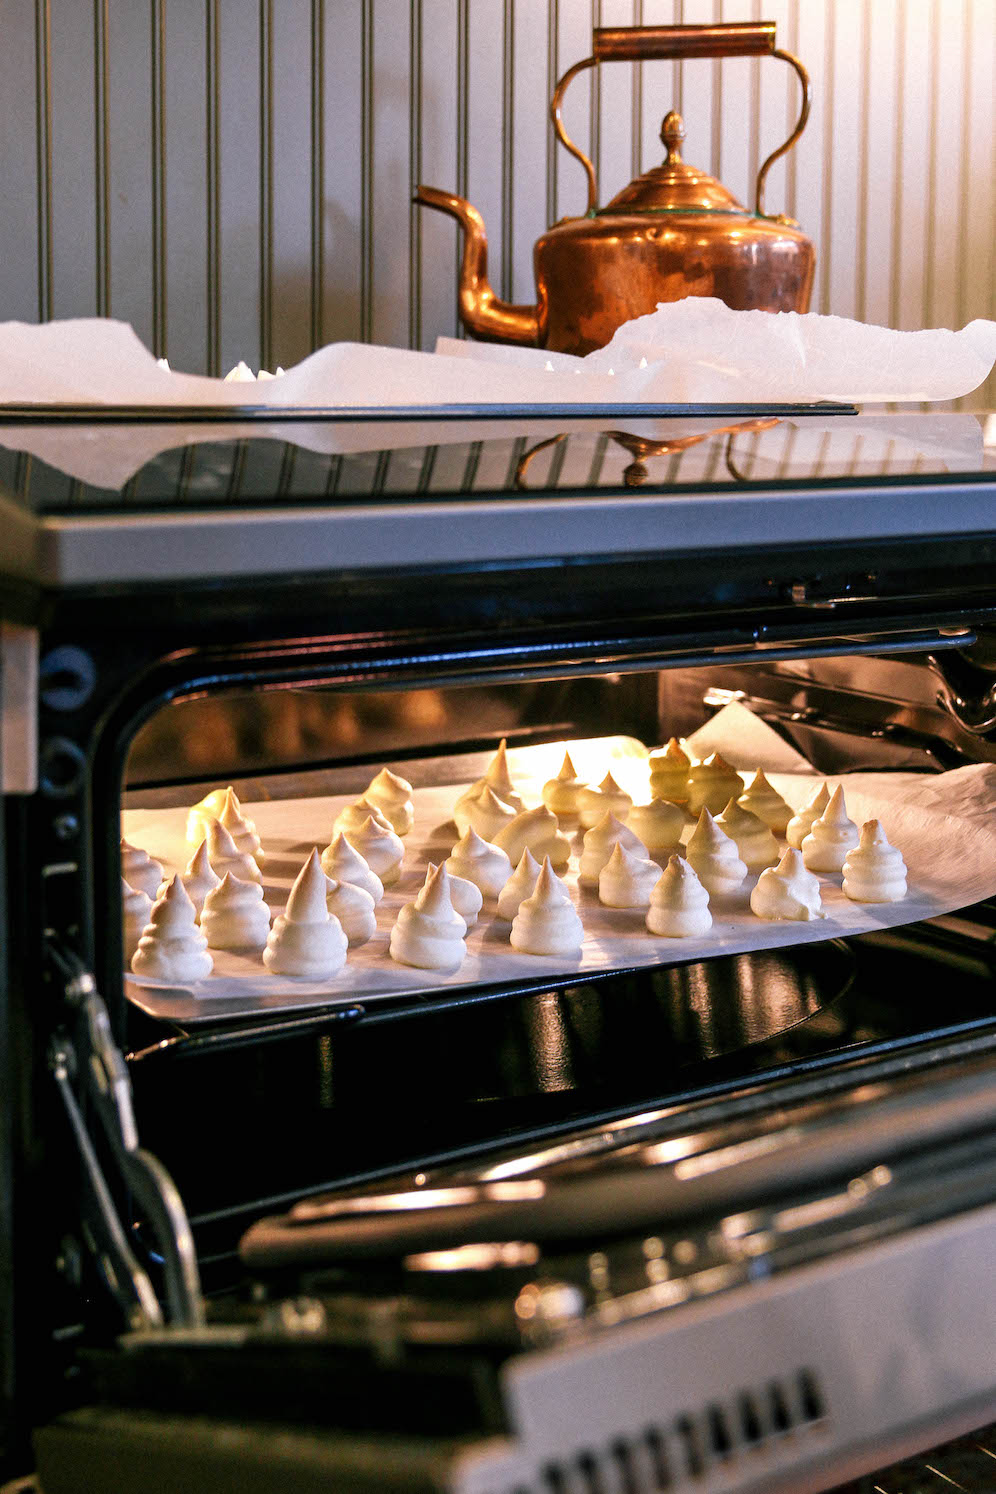
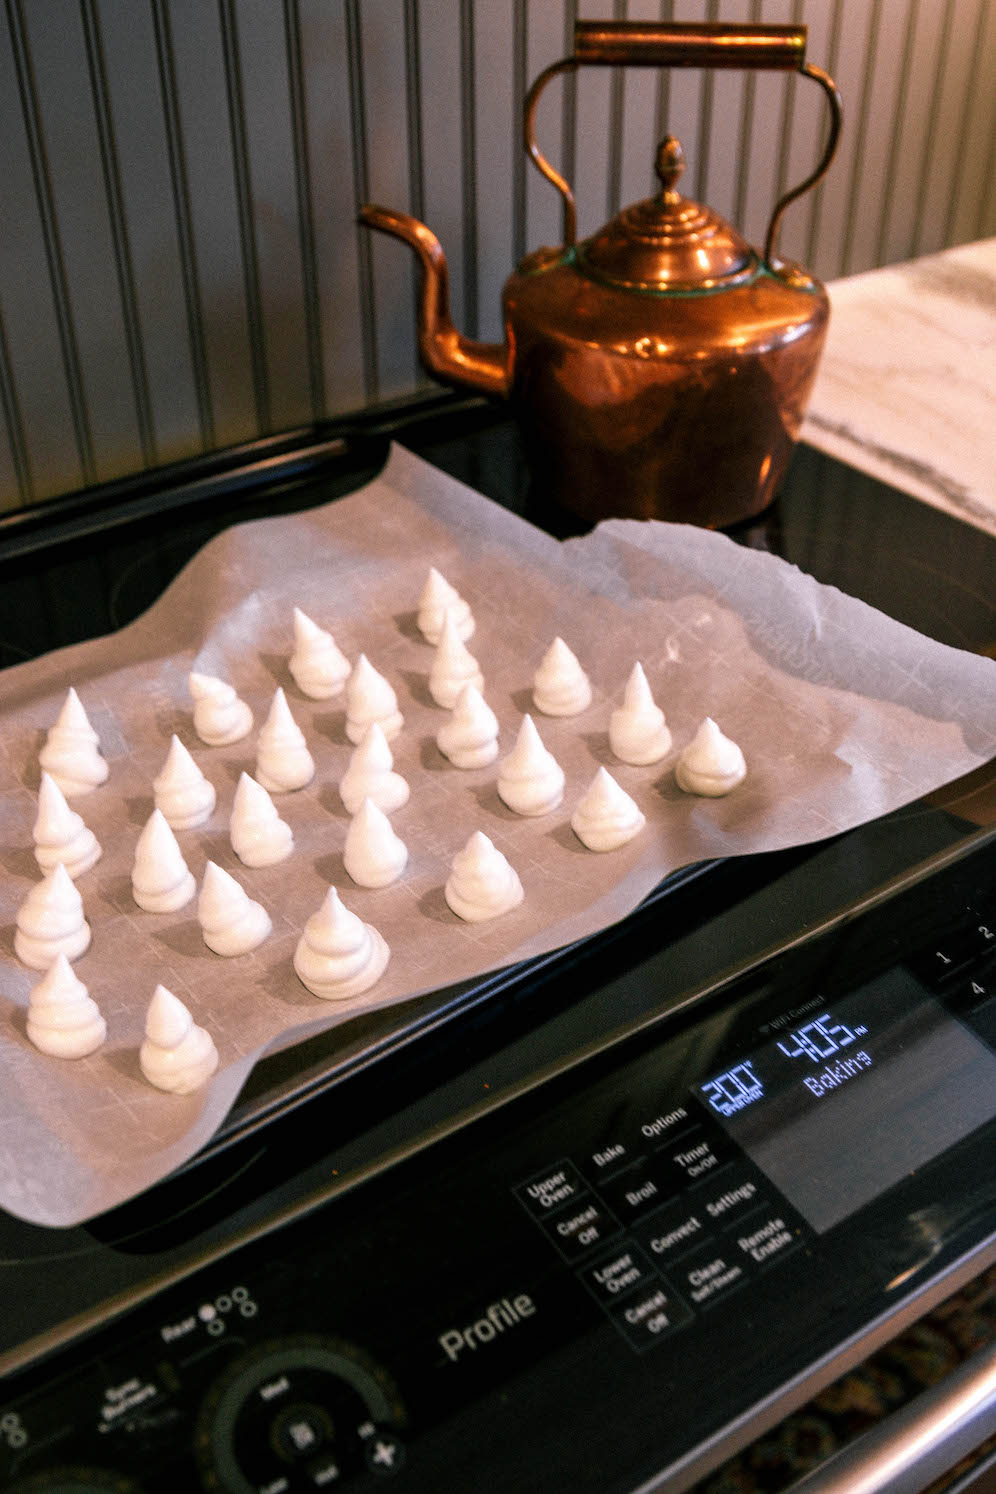
Transfer the mixture into a piping bag and pipe out tiny ghosts on a parchment-covered baking sheet. Turn down the oven to 200 degrees Fahrenheit. Let the tiny ghosts bake for 30 – 45 minutes or until they easily slide off the parchment paper.
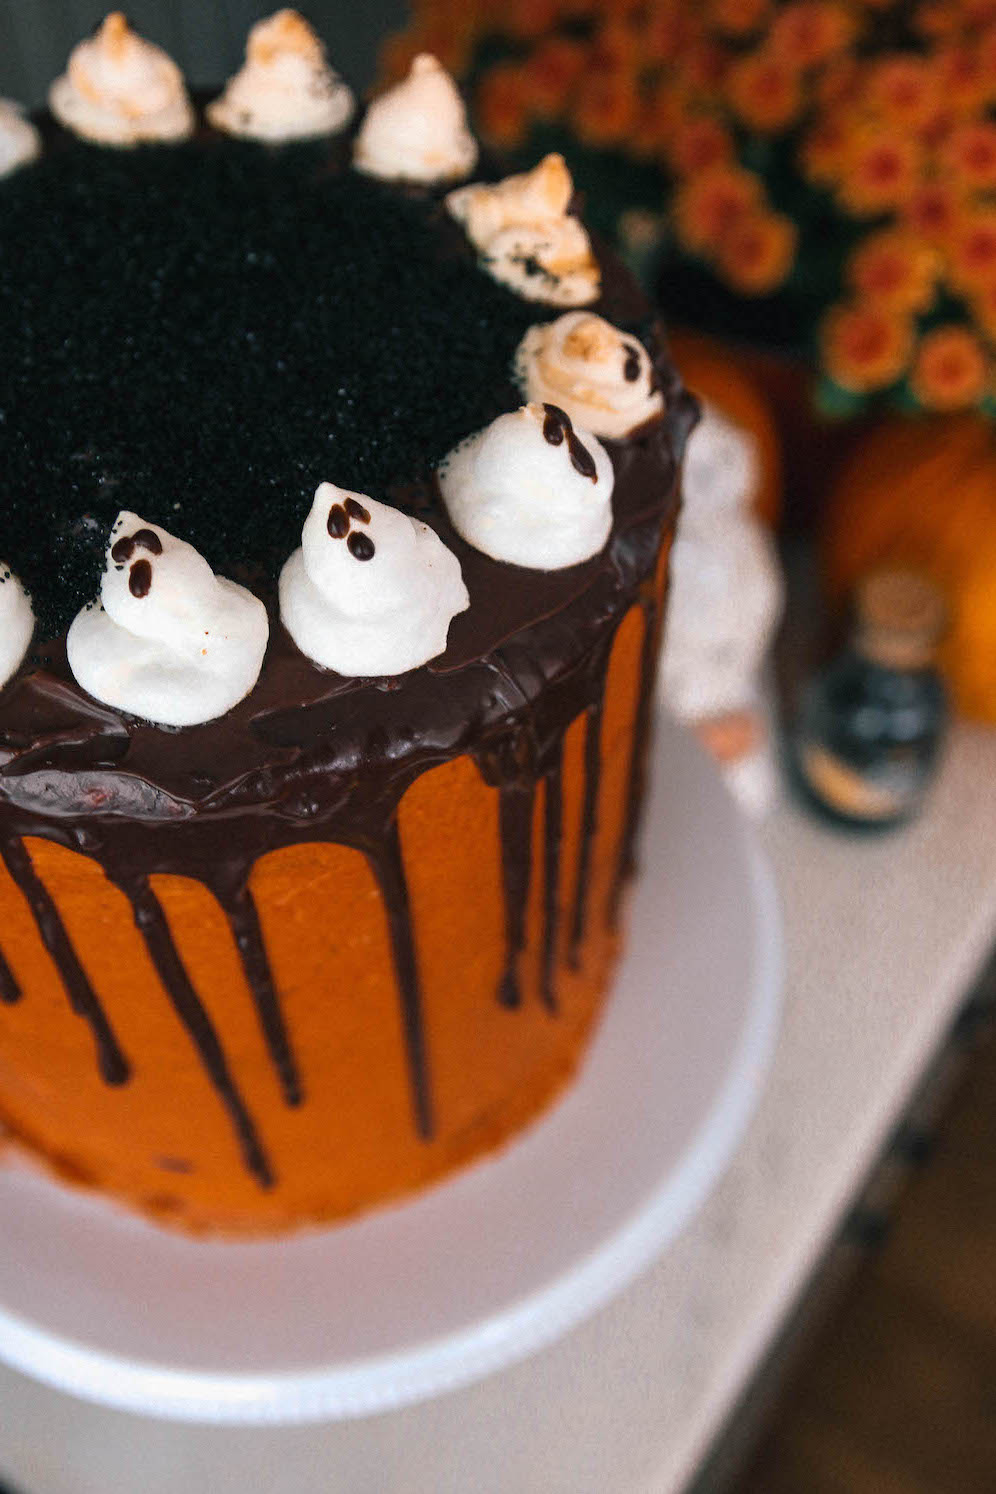
Lastly, make faces on the ghosts with royal icing or the chocolate drip we are preparing next!
- Chocolate Drip
In a saucepan heat up 1/2 cup heavy whipping cream until a few bubbles rise. Then, shut off the heat source and pour the mixture over your 6 oz semi-sweet chocolate chips. Stir until smooth. Let the mixture sit until congealed so the cake drips appear thick and glossy.
NOW FOR THE SPOOKY PART | PUTTING IT TOGETHER:
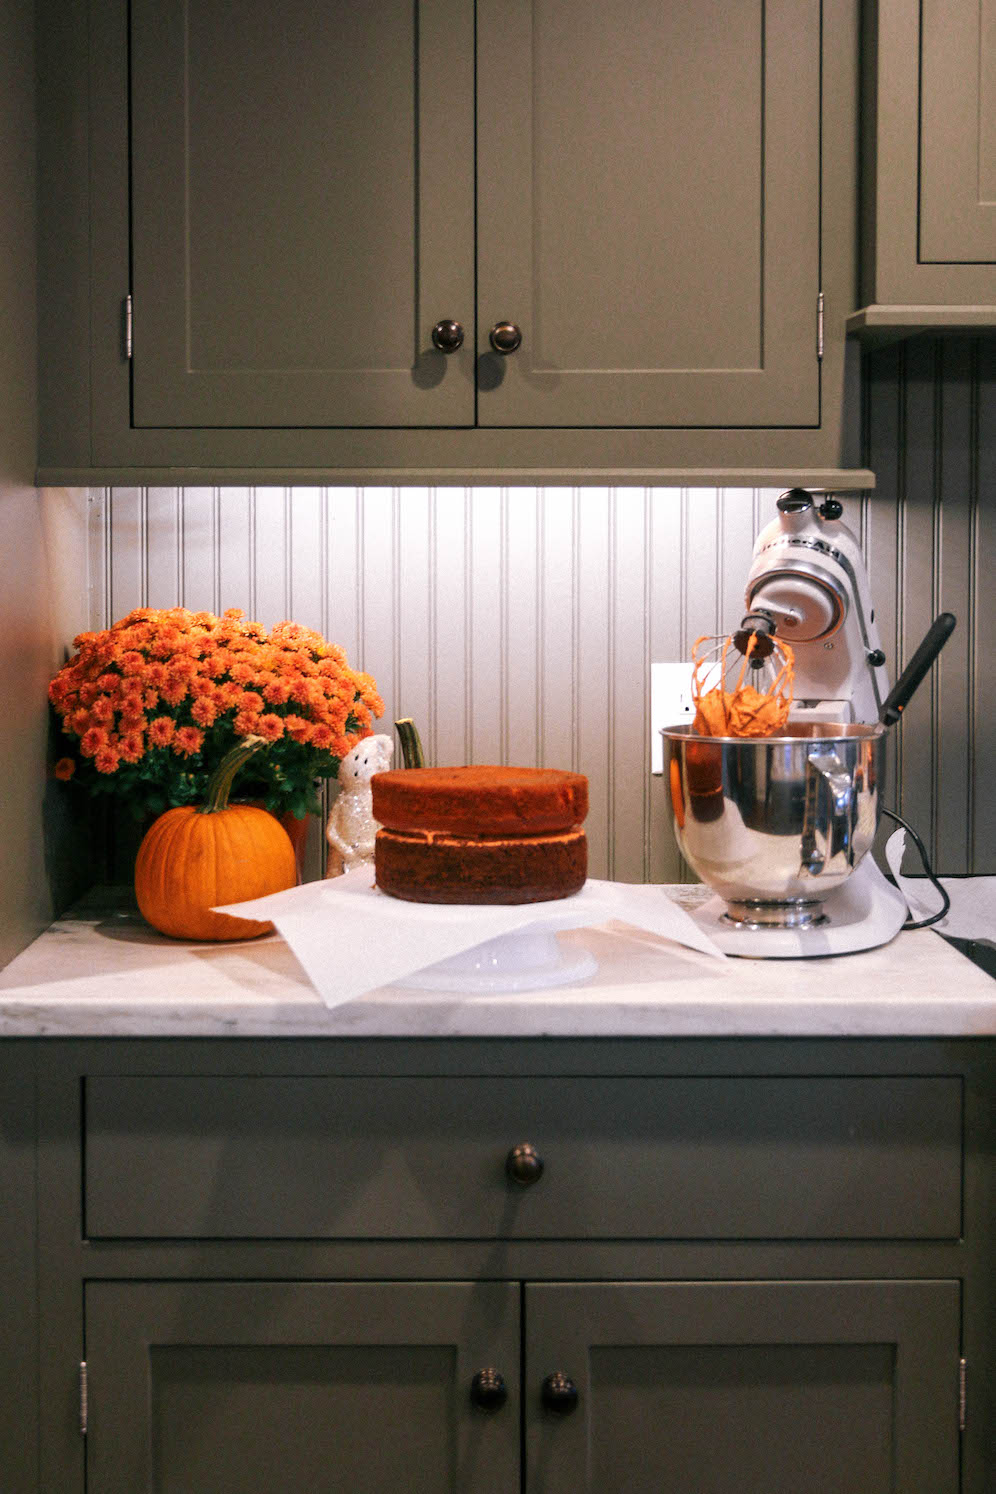
On a cake turntable, lay down a round cake pad and apply a glob of frosting to stabilize the cake. Next, place the chocolate cake and frost. Then, place the orange cake and frost. Place the yellow cake and frost. Then, place the orange cake and frost.
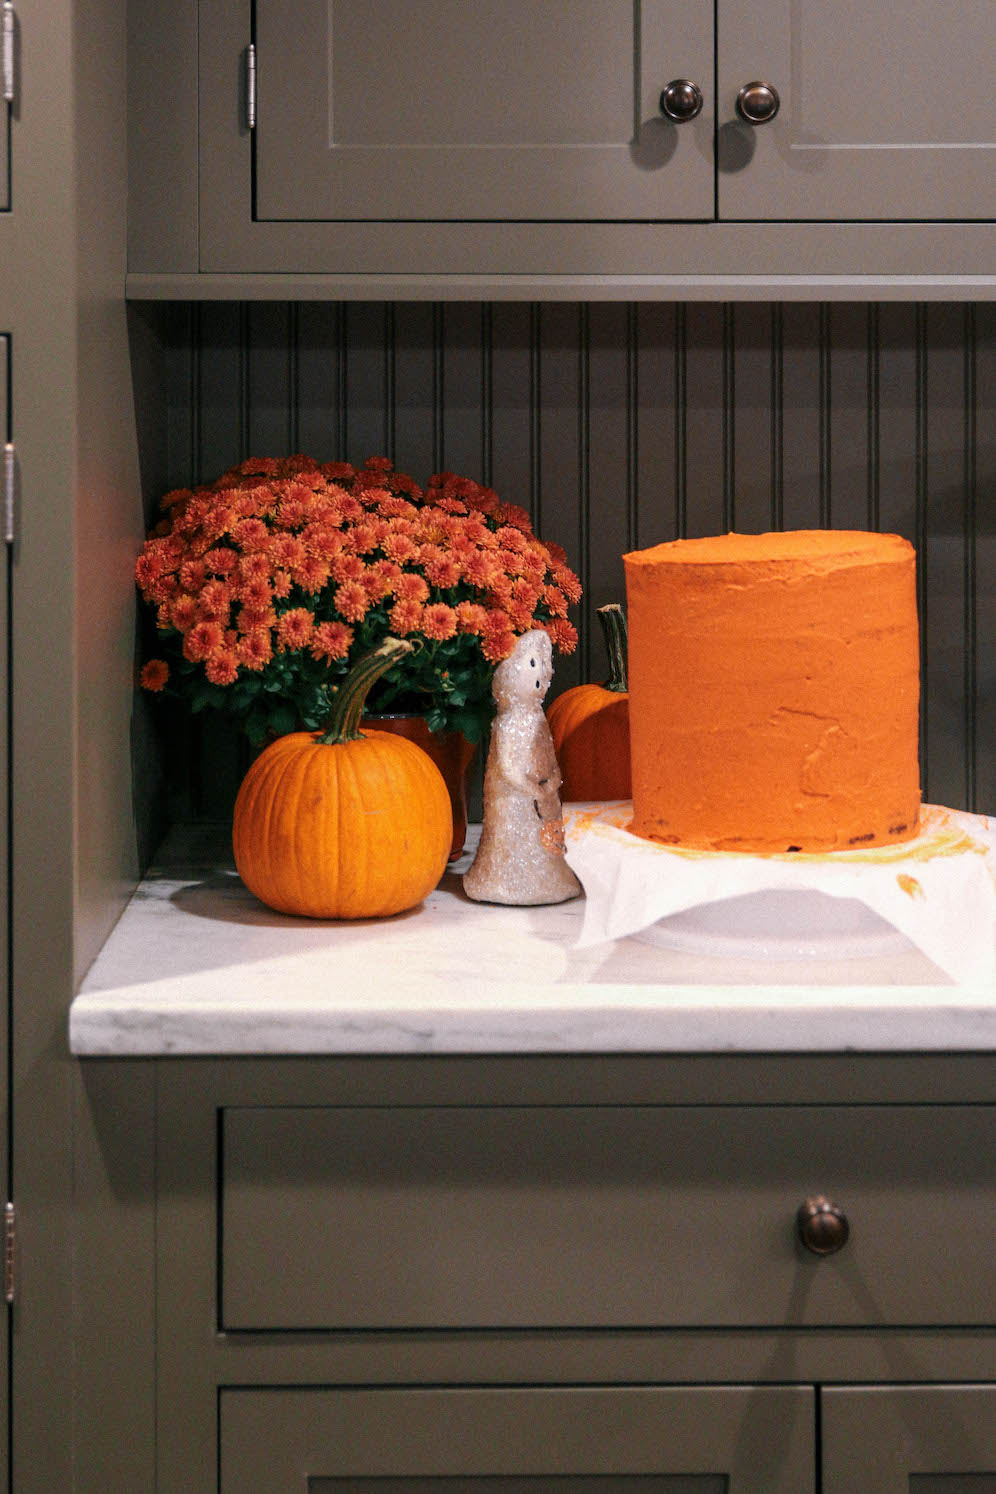
Lastly, do an overall crumb coat of your cake. Once complete pop your cake in the refrigerator to cool for 15 minutes before applying the final layer of buttercream.
DECORATING:
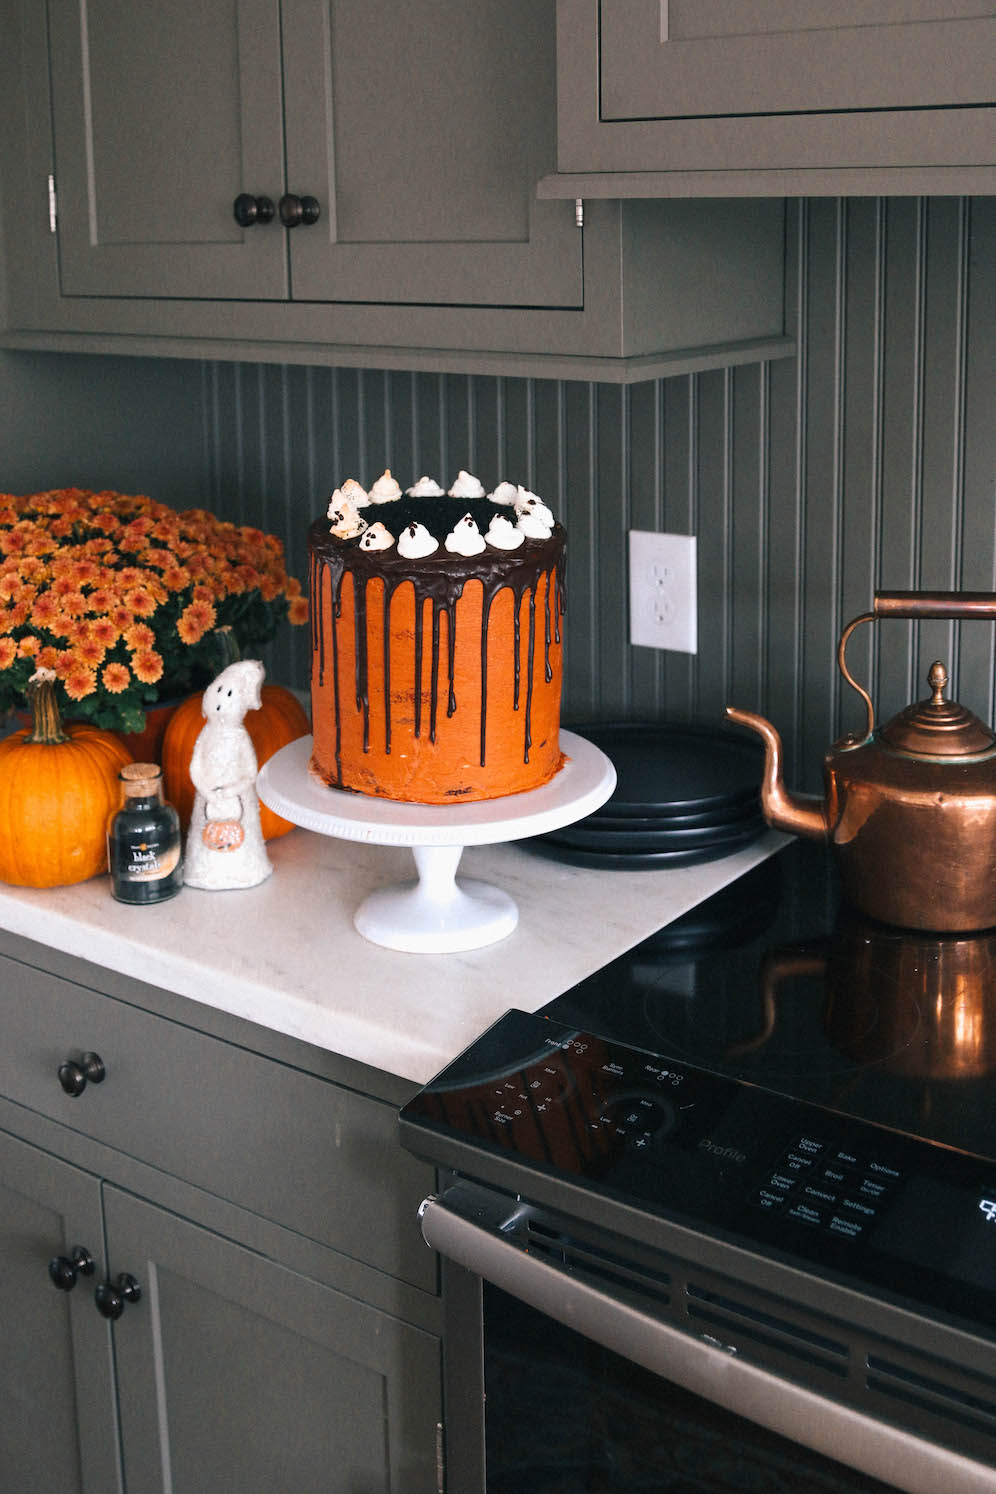
Grab the cake out of the fridge and apply the final layer of icing. Take your warm (NOT HOT) chocolate drip and pour it into a squeeze bottle. At a 45 degree angle apply the chocolate to the top of the cake – apply slightly different pressure for different length drips.
Use the remaining chocolate to create faces for the meringue ghosts and to cover the top of the cake. Place the meringue ghosts along the outside of the cake. If you made extra ghosts add them to the rim of the cake too!
Add sprinkles or extra decoration as desired. Lastly, ENJOY!
SHOP THIS POST:
Thank you to GE Appliances for the gifted items in this post.
Newsletter
Subscribe to see our favorite pieces of New England, in your inbox weekly.



Leave a Comment