
06.21.2023
I am so excited to finally share our baby boy’s nursery reveal with you all! As many of you know, back in 2018 Matt and I purchased a fixer-upper. We spent the better half of 2019 renovating a few major […]
I am so excited to finally share our baby boy’s nursery reveal with you all!
As many of you know, back in 2018 Matt and I purchased a fixer-upper. We spent the better half of 2019 renovating a few major rooms including our colonial kitchen, master bathroom, and secondary full upstairs bath.
Following that we took on roughly one home project a year.
We renovated a small bedroom upstairs into a home office space, refurnished our living room, and as of last summer added a deck to our home. So, when we found out I was pregnant this past fall, we knew our next home project would be the nursery!
As someone with a passion for interior design, I came into the project with a lot of ideas. While I knew what I wanted the nursery to look and feel like this is my first baby and I had little idea what I needed for the space when it came to function. I enjoy seeking advice or consultations from my favorites in the game so, I decided to make an appointment with Carley Page Summers of The Expert.
During our 1-hour virtual call, we decided how to make the landing space functional for the nursery, picked out wallpaper, a crib, rocker, and the overall layout. I love working with these experts so much because not only do they source recommendations but they also provide layout planning! I would have tried to fit so much more into this room, but Carley reminded me of the need for space for the baby to play and grow.
Working with Carley was a hit! Plus, the fact that she recently had a baby of her own let me know her design opinions were really rooted in mutual experience for me and the baby.
So, without further ado, let’s jump into some before and after content:
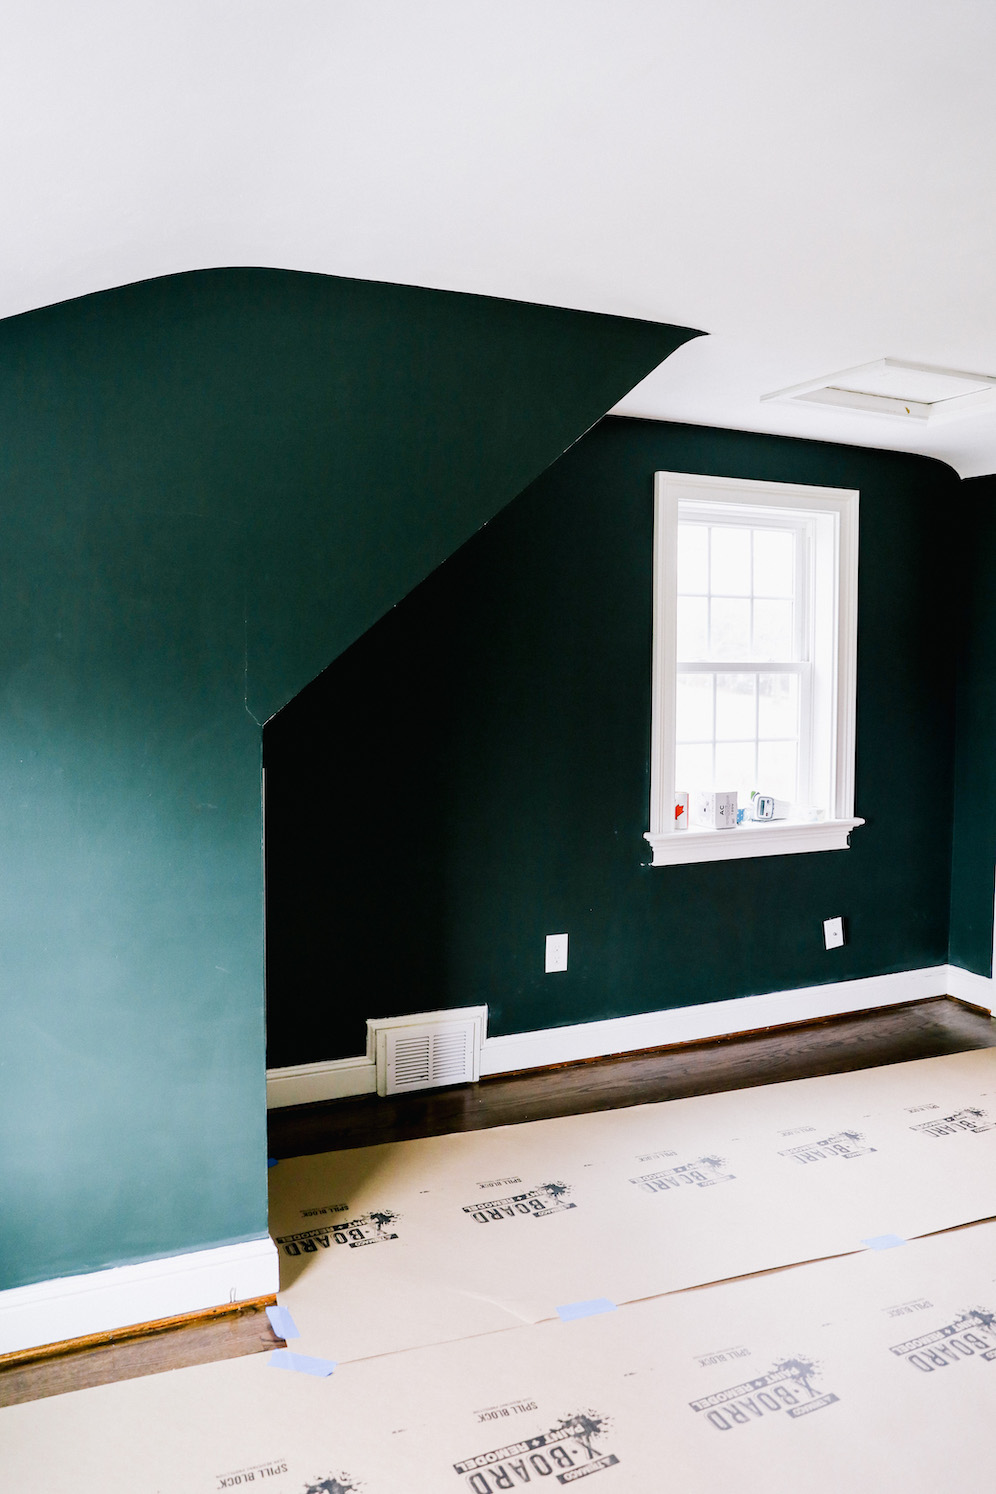
Before Images:
First, I have to give a HUGE shoutout to my sister, Tessa, and my cousin, Lauren, who helped me clear out this space. Over the past five years this room became a purgatory of sorts for props, seasonal decor, furniture, paperwork etc – and they helped me within six hours clear out the entire space – AMAZING!
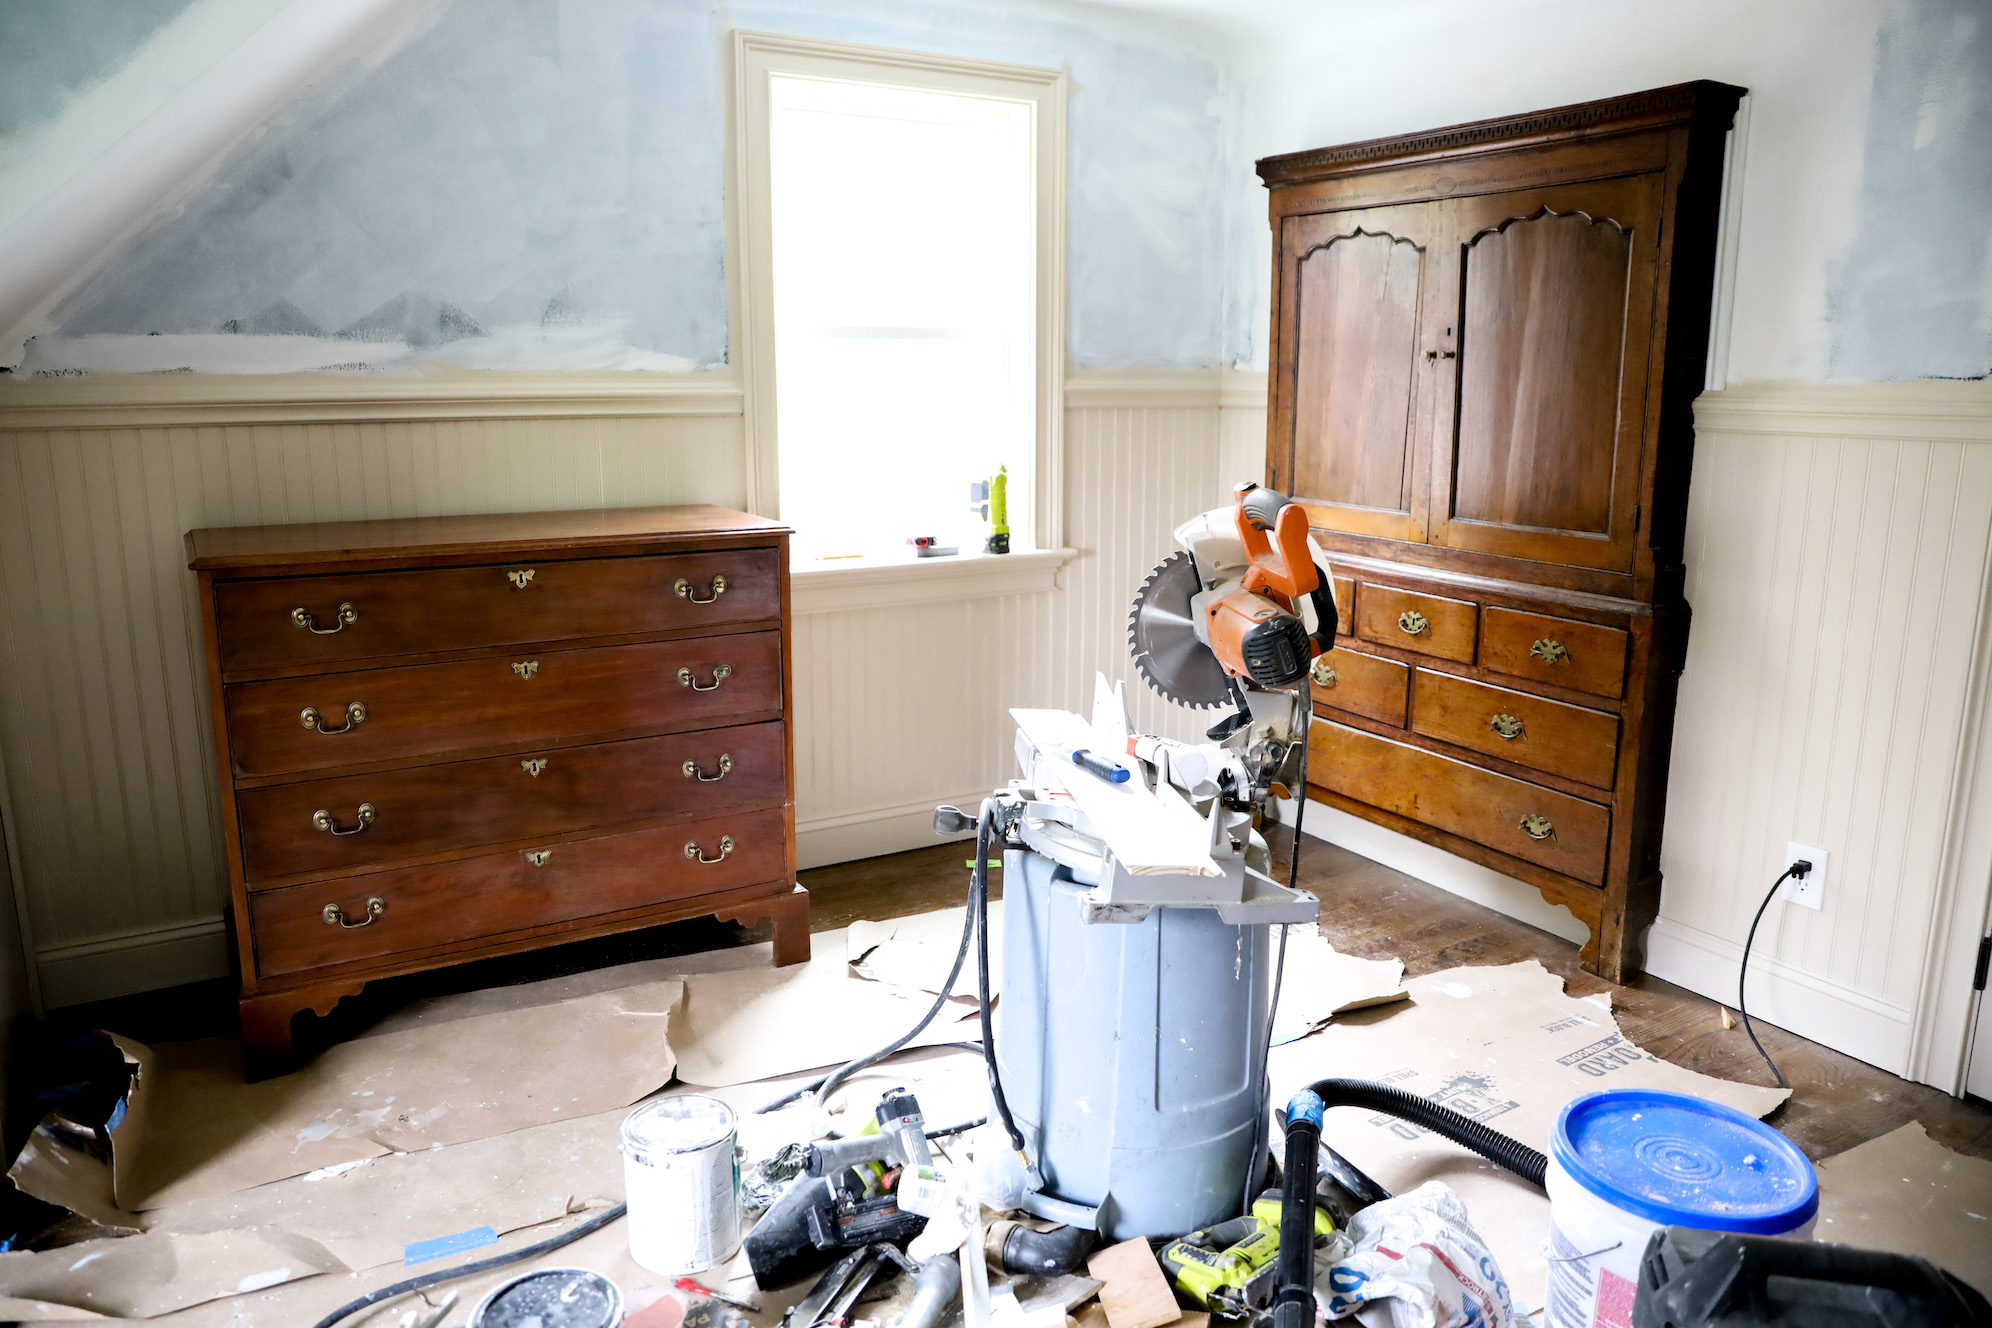
Matt and I started renovating the area back in February.
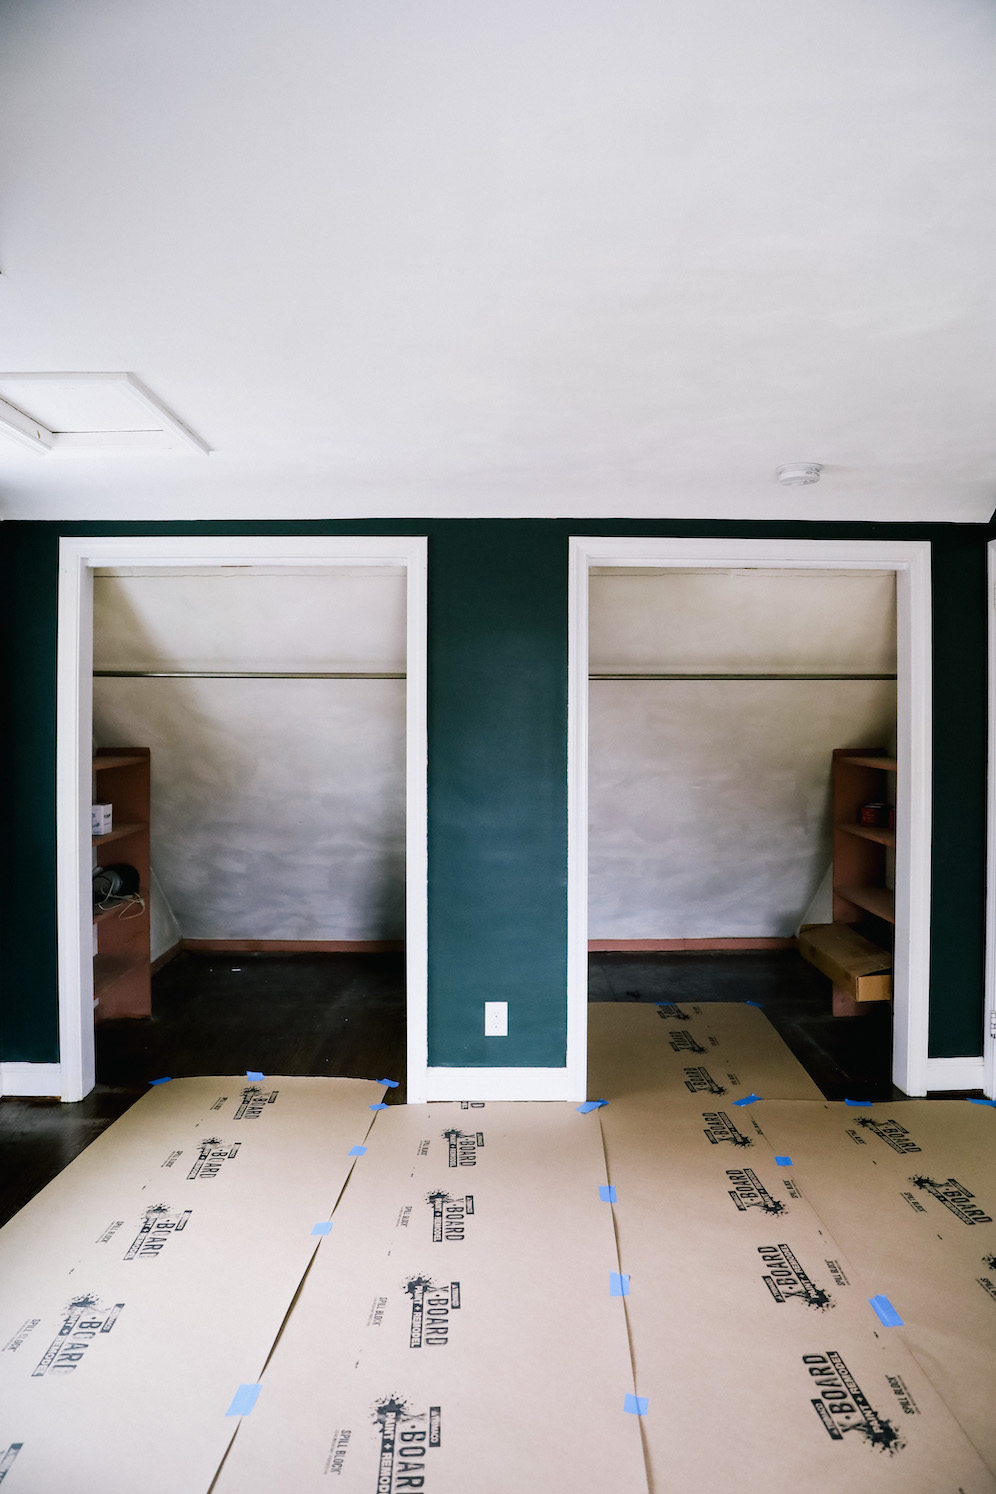
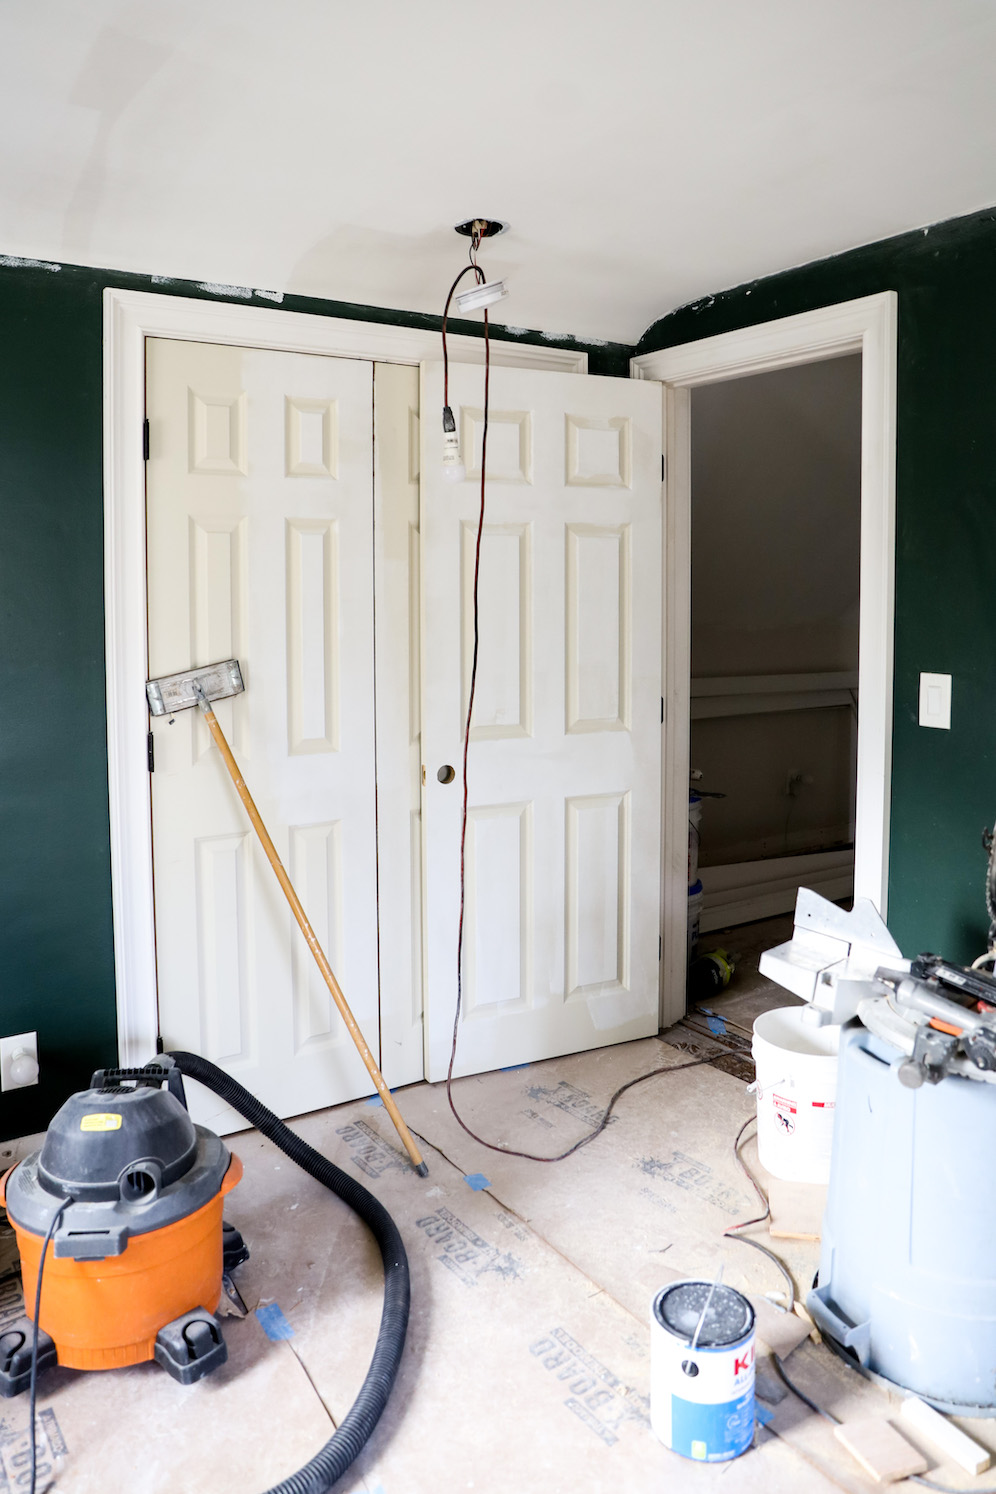
Work In Progress Images:
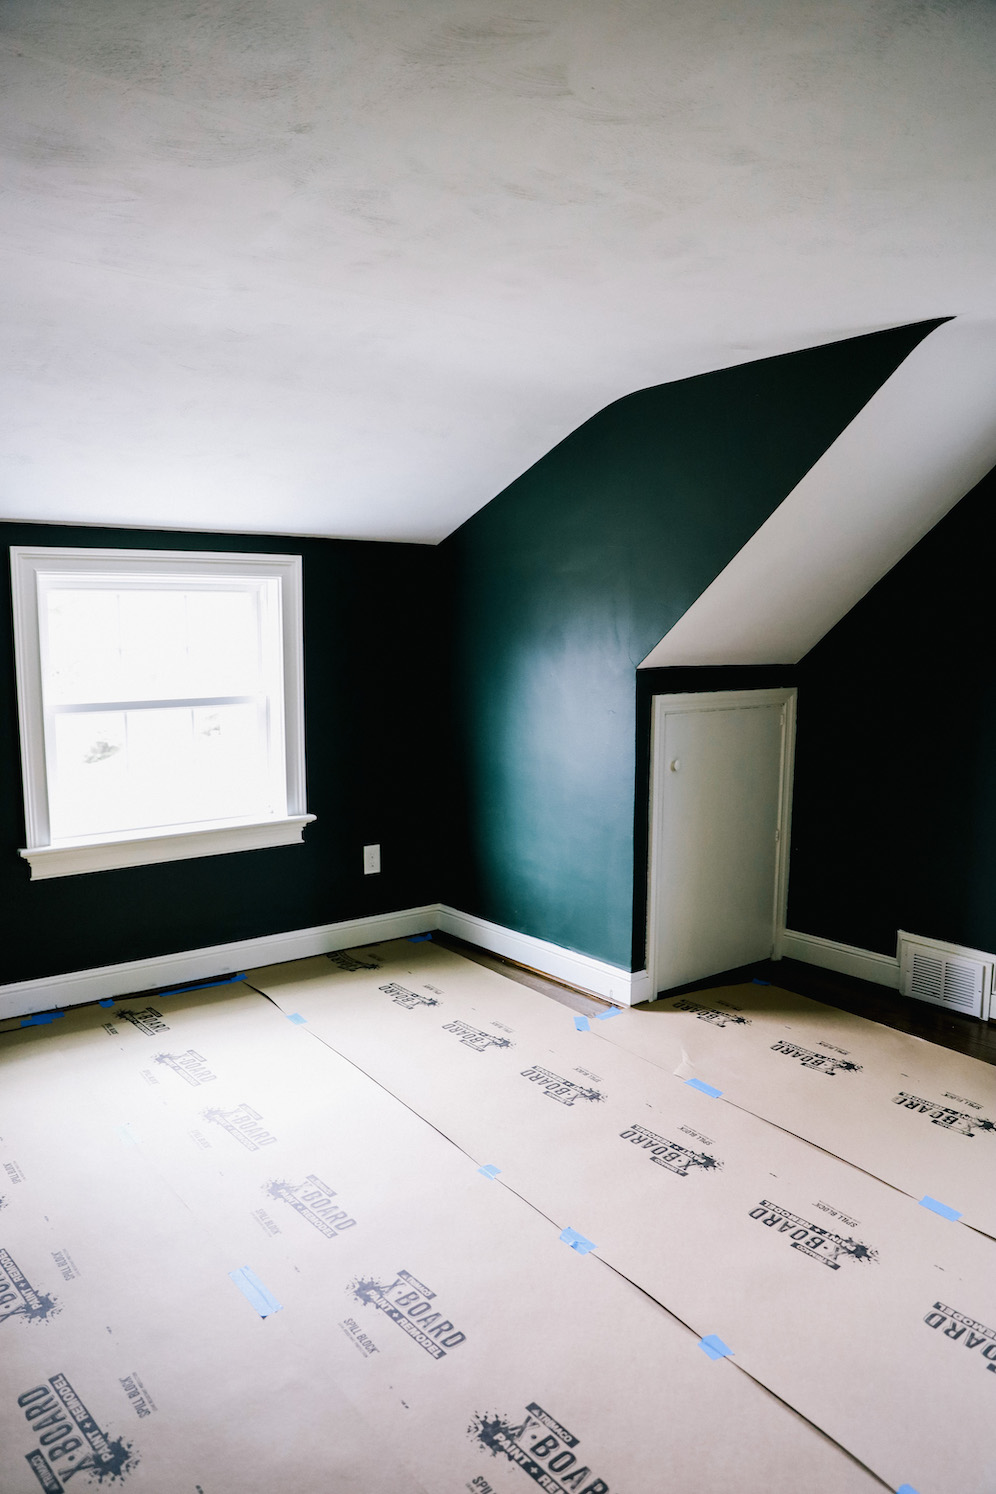
Once the space was cleared Matt laid down craft paper. The following week our contractor Paul got to work:
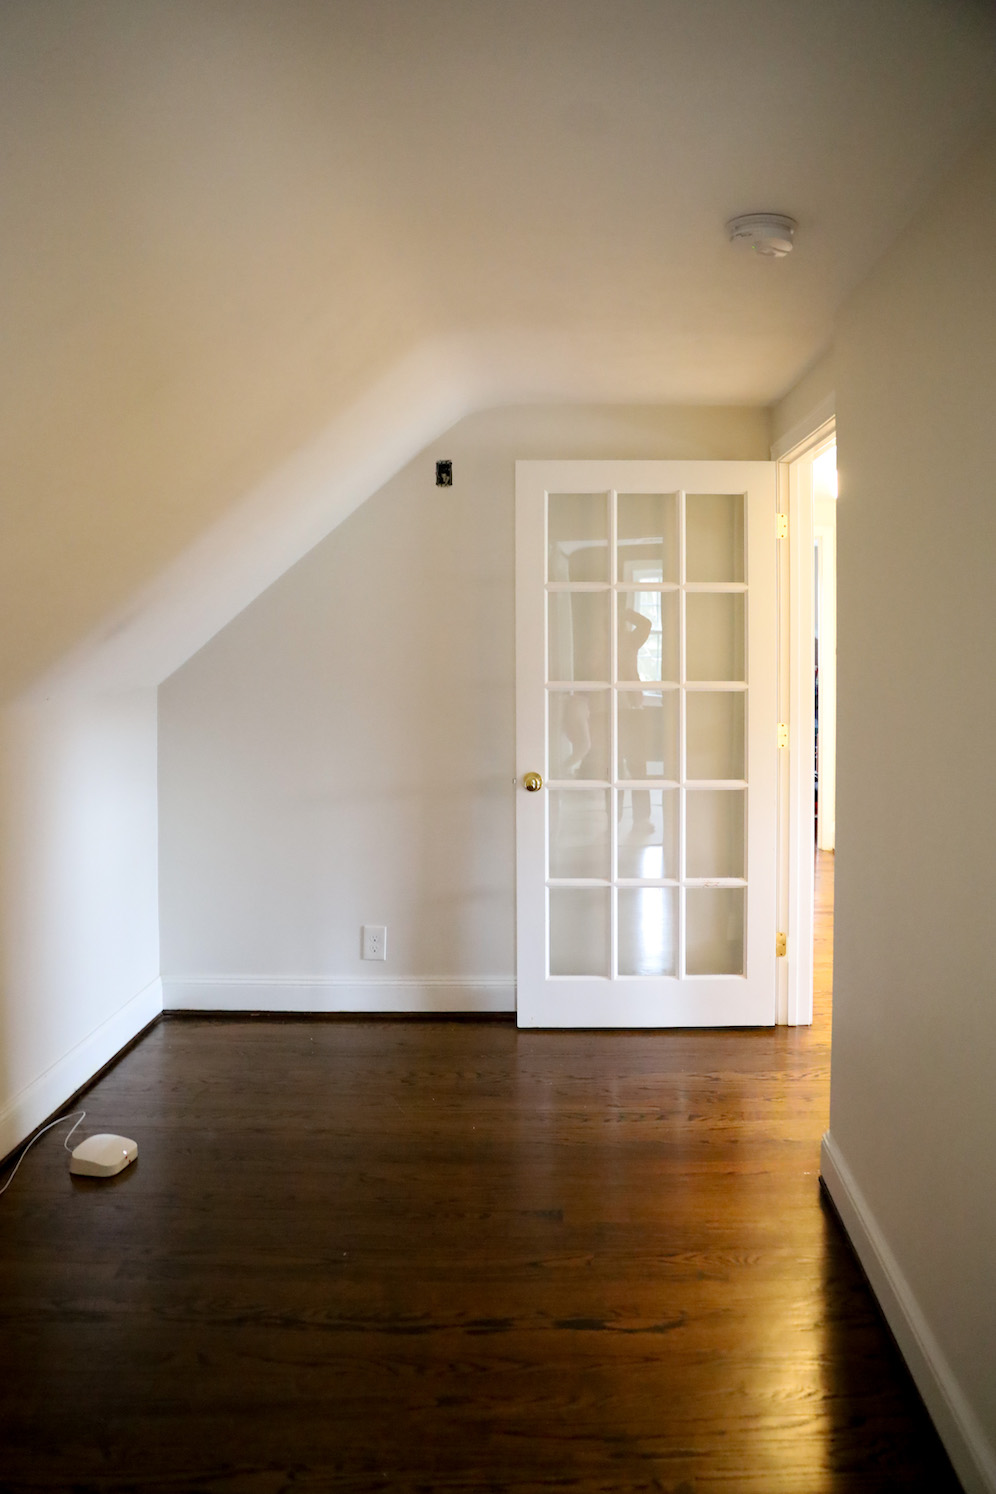
- The Staircase Landing: Upstairs we have two equal-sized bedrooms on either side of our home. However, one had what was labeled a ‘seating room’ attached to it – which always felt like a waste of space. The space included a glass panel door and acted as a storage room for us over the last five years. When we decided which upstairs room to make into the nursery, I thought this would be a good opportunity to utilize that ‘seating room.’ We removed the door and opened up the threshold casing – turning it into a stairway landing to use as a playroom down the line.
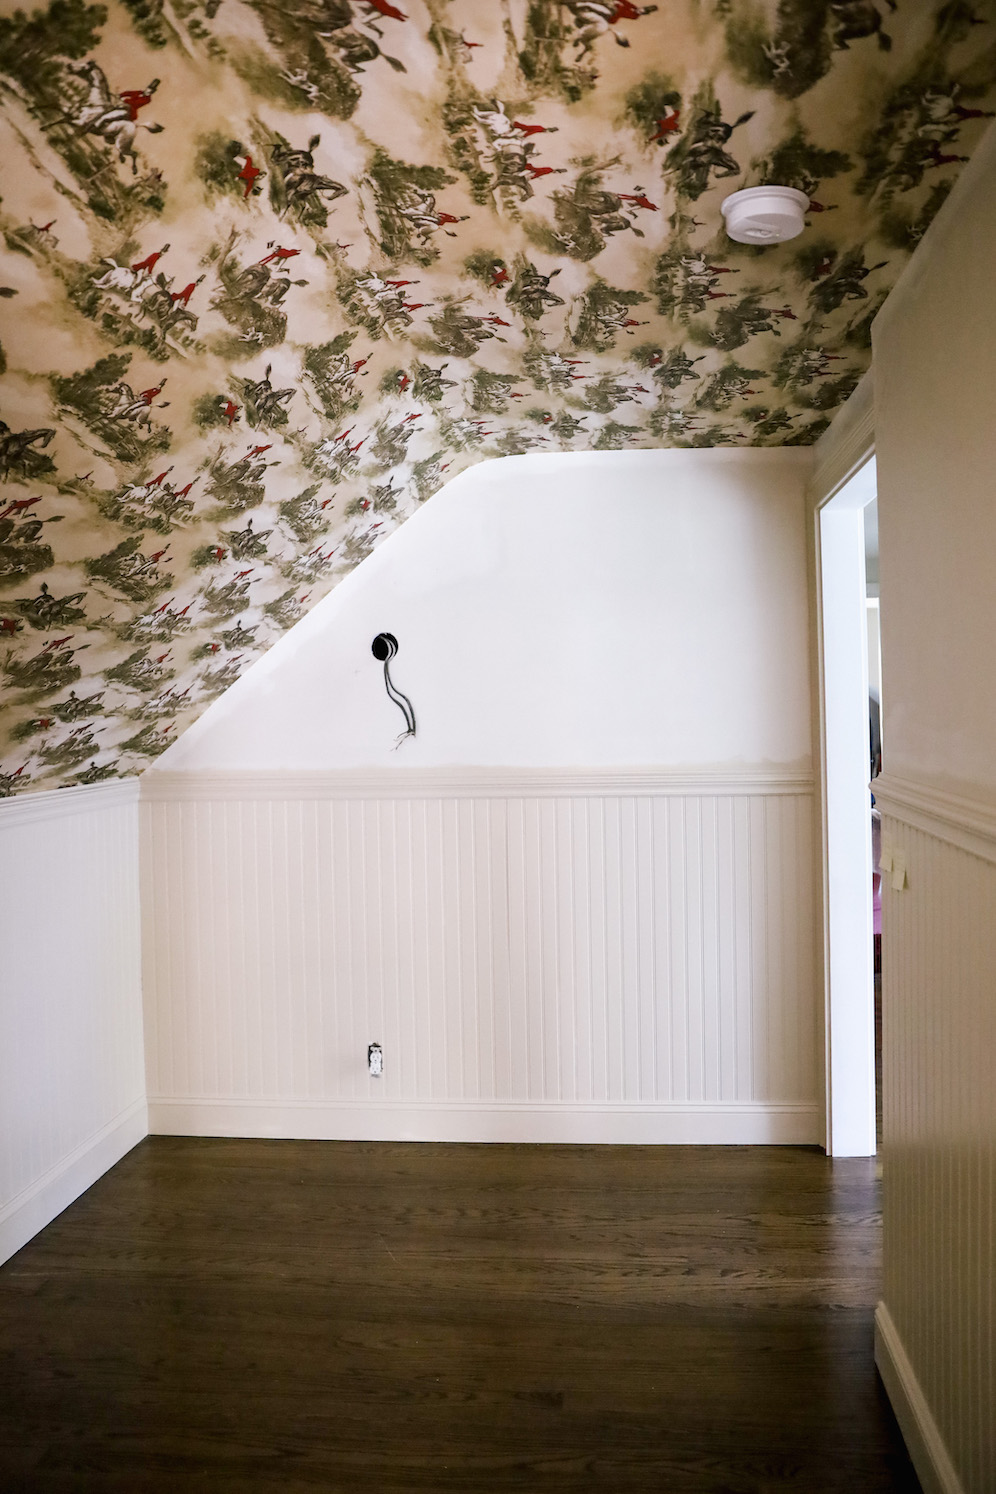
- The Ceiling: This space had popcorn ceilings and since Carley and I both thought wallpapering the ceiling would be a VIBE – we had to have the ceiling as flat as possible.
- The Beadboard: I fell in love with this English Hunting Scene wallpaper. Since it was on the more expensive side, adding beadboard to the bottom of the space helped medigate the price and gave the room a very finished colonial feel! We also have beadboard backsplash in our kitchen – so I liked how we now had beadboard downstairs and upstairs for cohesiveness. When it comes to beadboarding, Matt and I purchased these inexpensive beadboard sheets from The Home Depot and then purchased thicker chair rail molding from our local lumbar yard to give the beadboard a more expensive look.
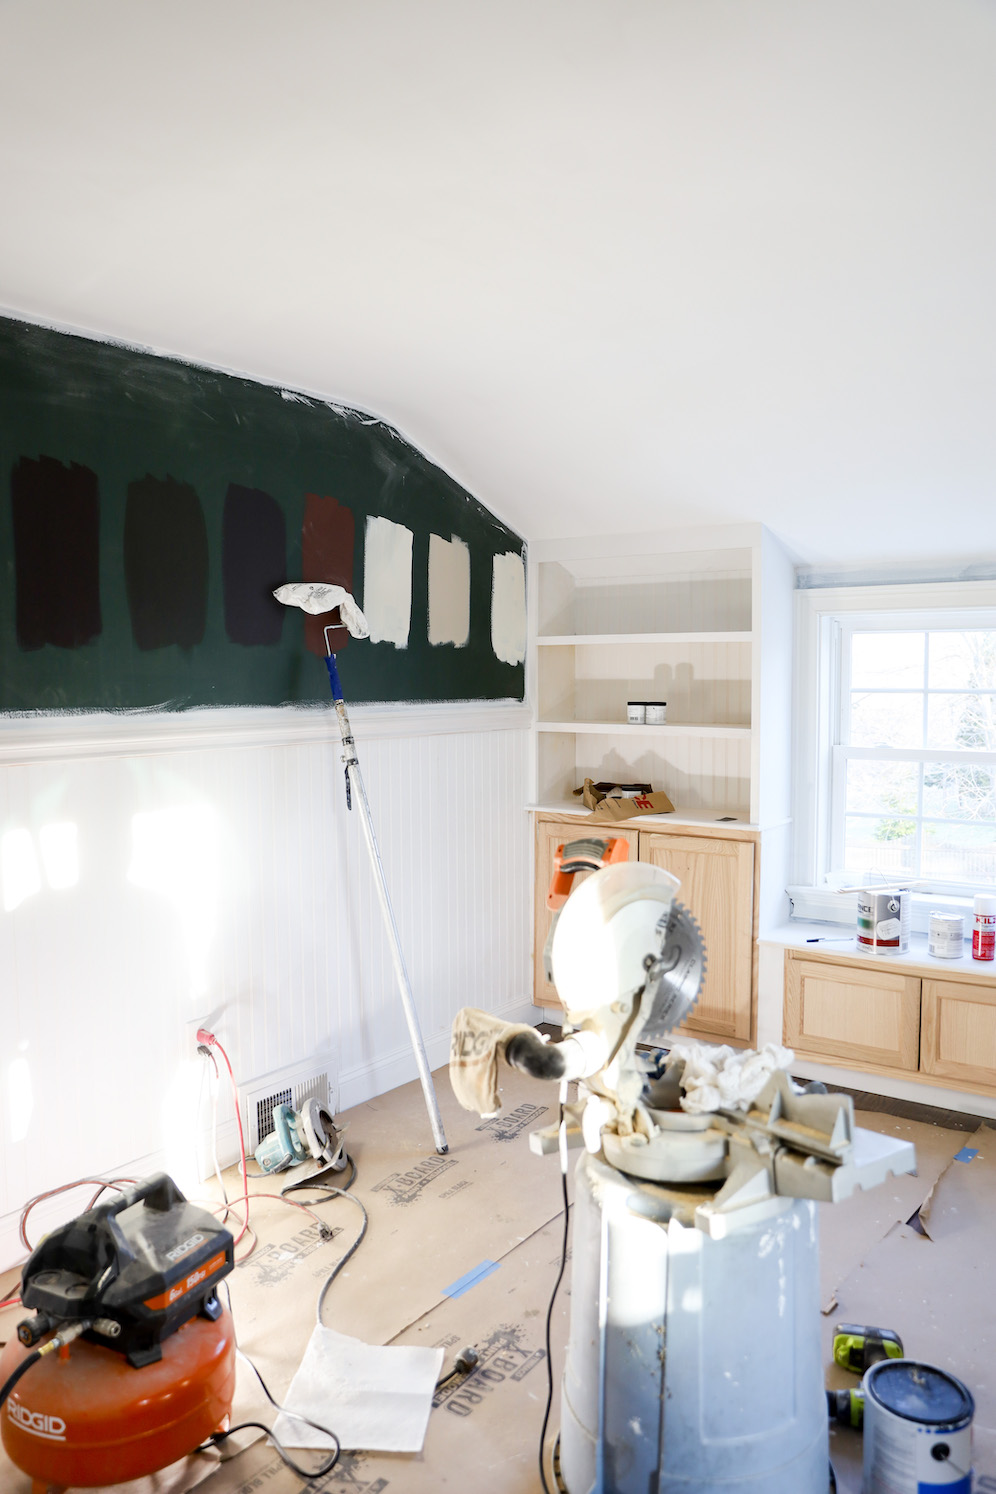
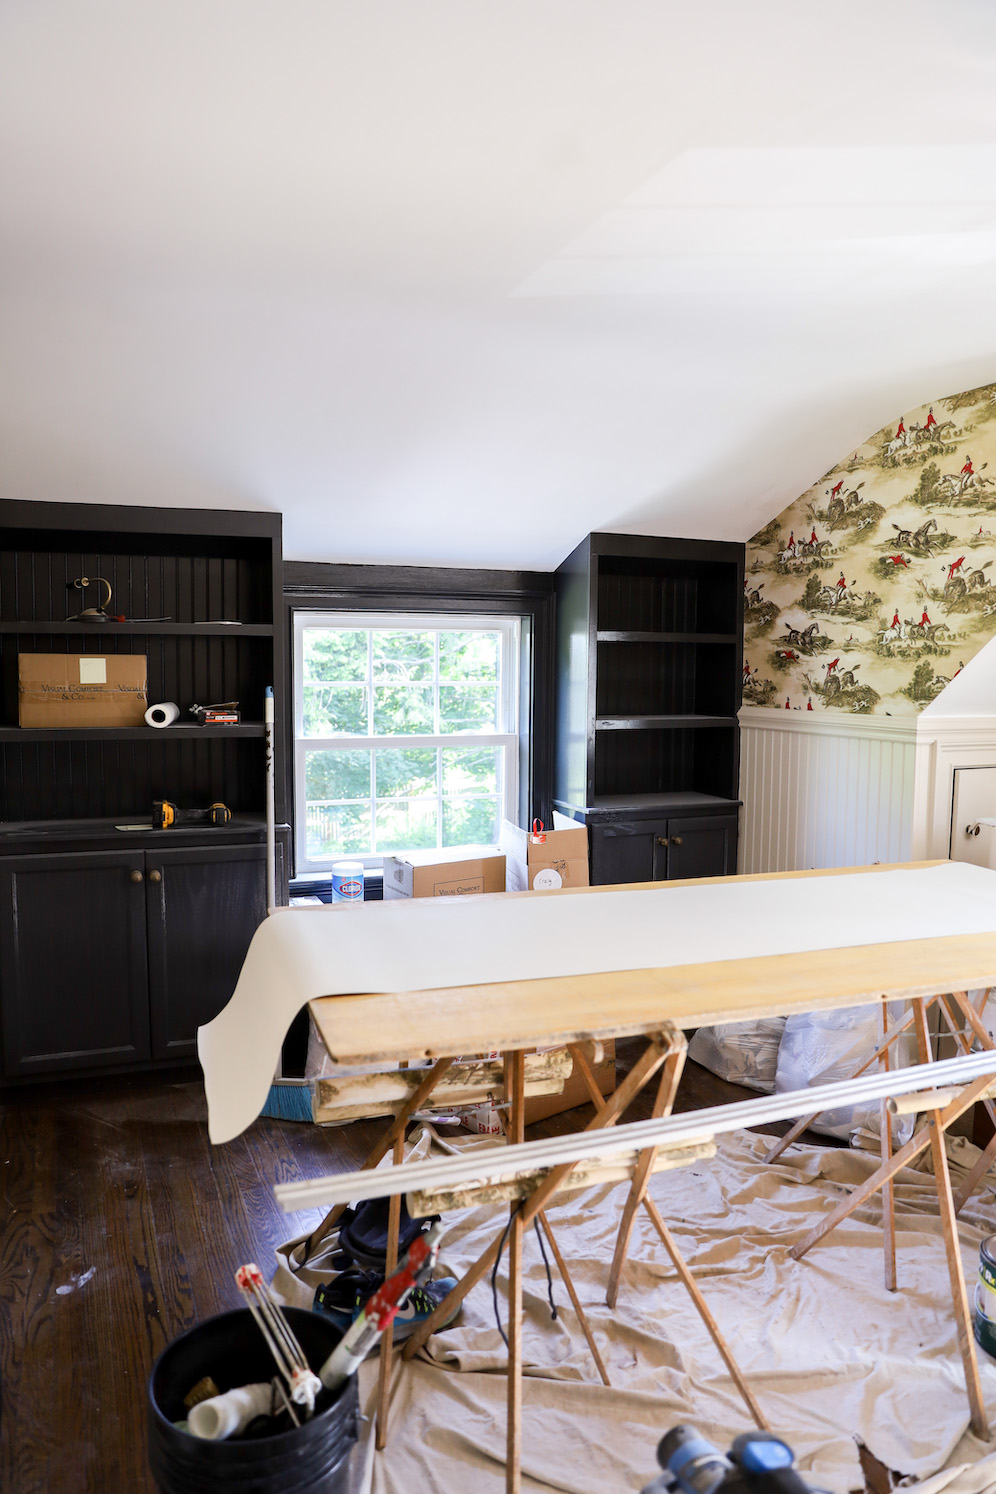
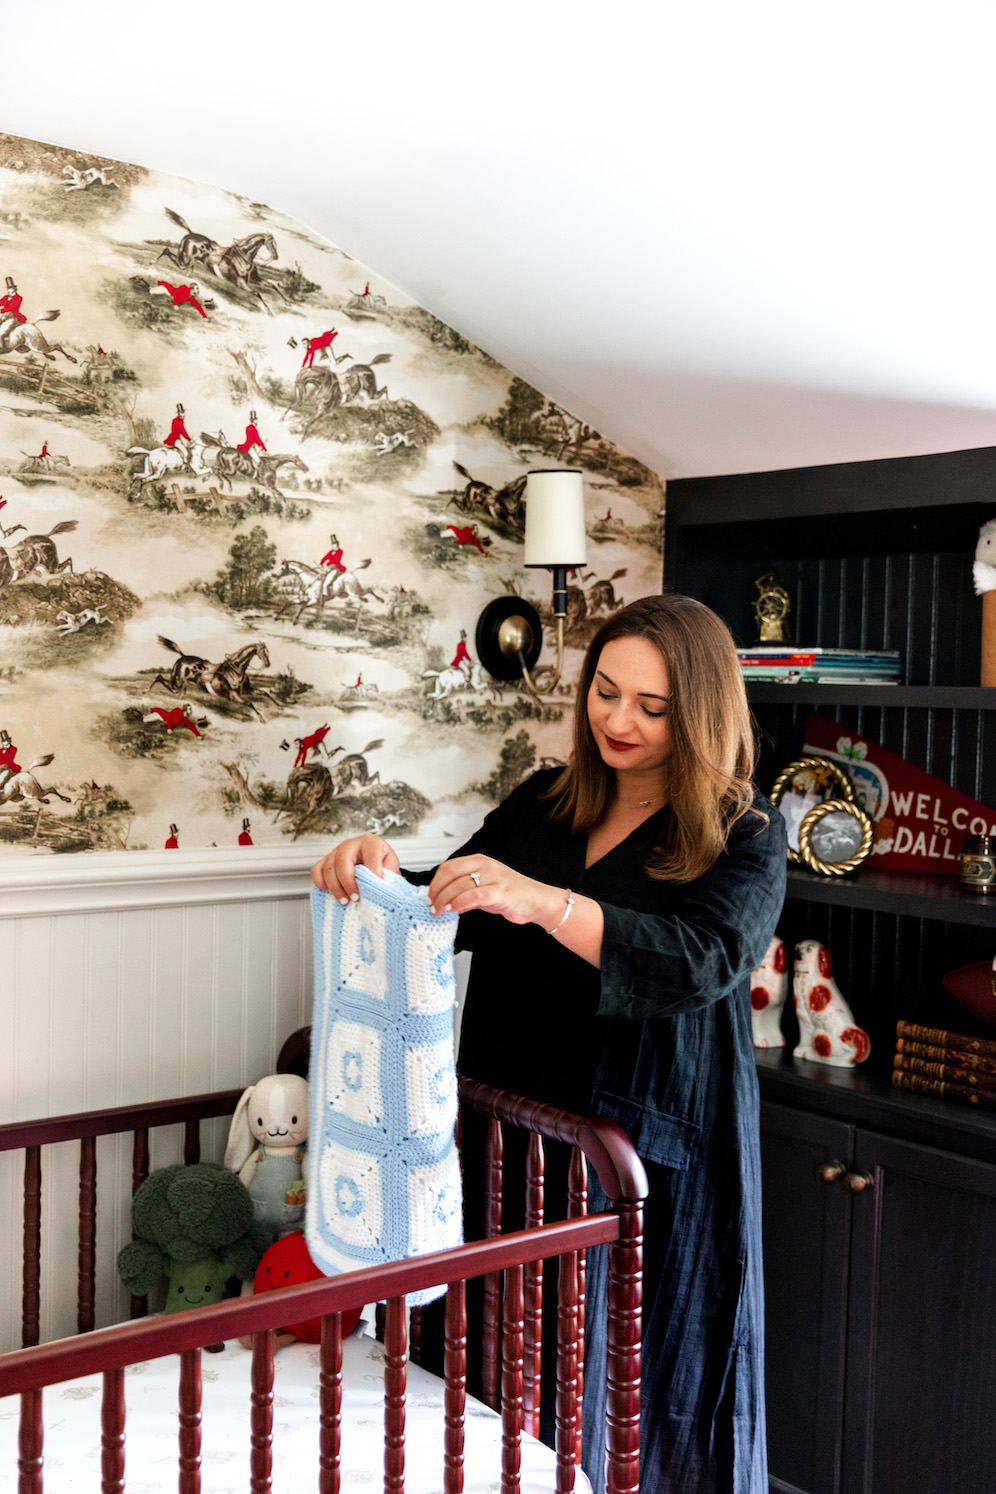
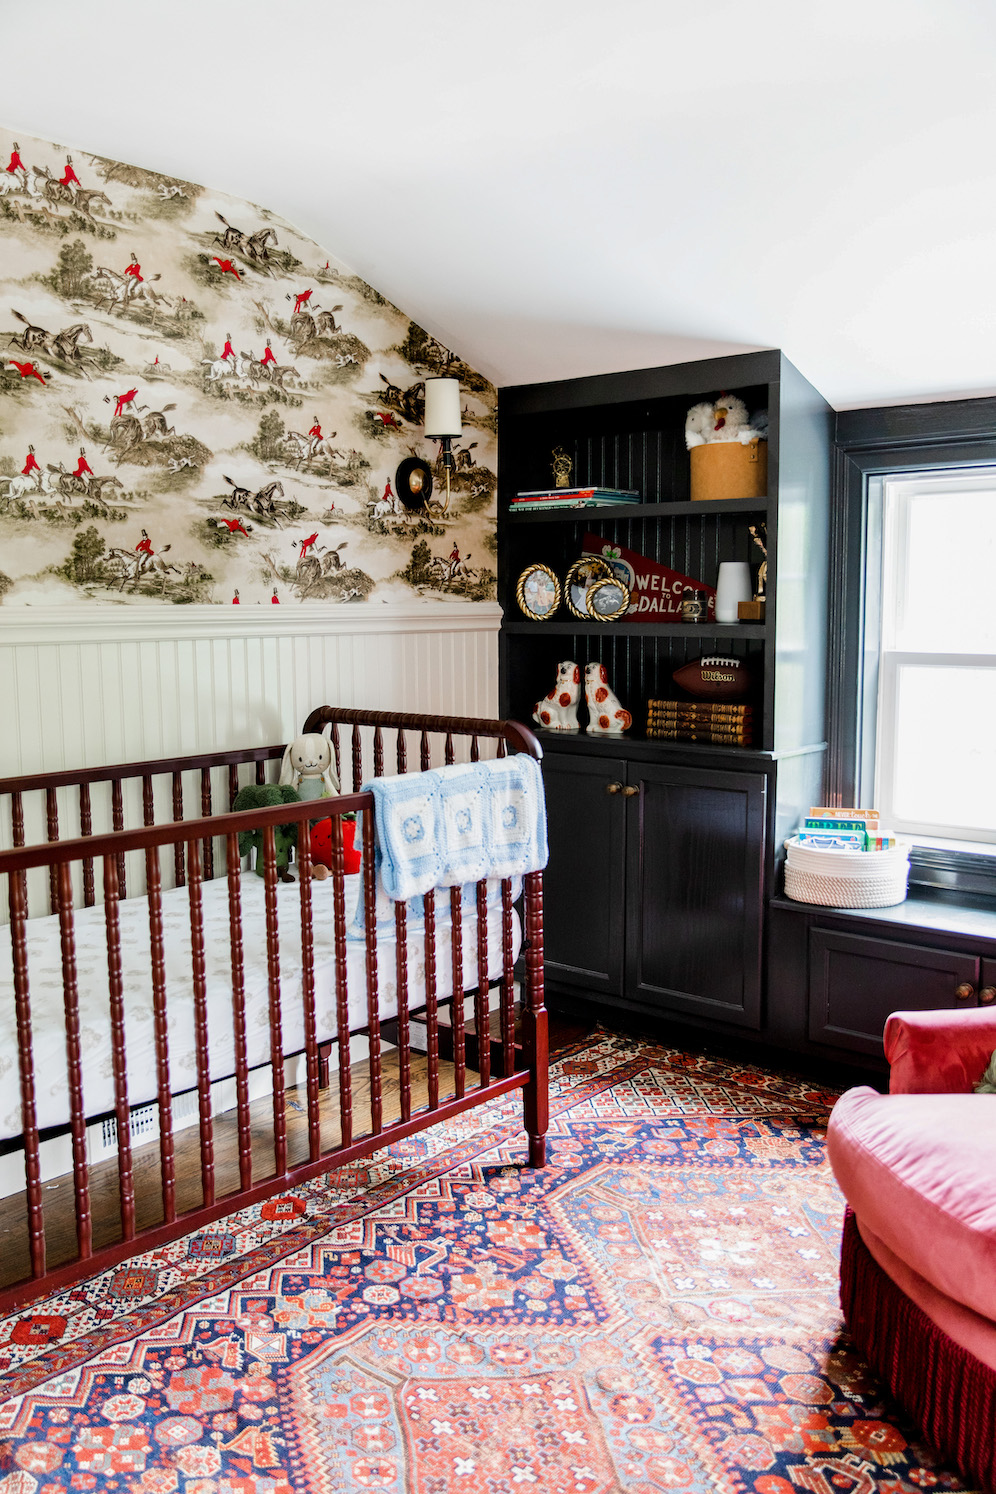
- The Bookcases: Similar to our mulitpurpose room we did the previous year with The Home Depot, we wanted to utilize the dormered space of the room located on the back wall. Since the ceilings are low here we thought floor to ceiling bookcases would be perfect. While Matt and I didn’t have the budget for custom built in cabintery for this space we were able to make it work with three unfinished wall cabinets on the bottom. Paul then backed the wall with leftover beadboard we had and made shelving to give the space a built-in look.
- The Built-In Dresser: Finally, prior to construction this space had a giant closet with doors that would fall off the hinges constantly. For a cleaner aesthetic we replaced one set of doors with standard closet doors and utilized the rest of the closet space for a built-in with a twist. Carley recommended a built-in but it wasn’t in our budget. Until, one day while creating content for New England Interiors I came across a stunning antique linen press on Etsy. I have to say it’s by far my favorite piece in the room and gives this space so much character!
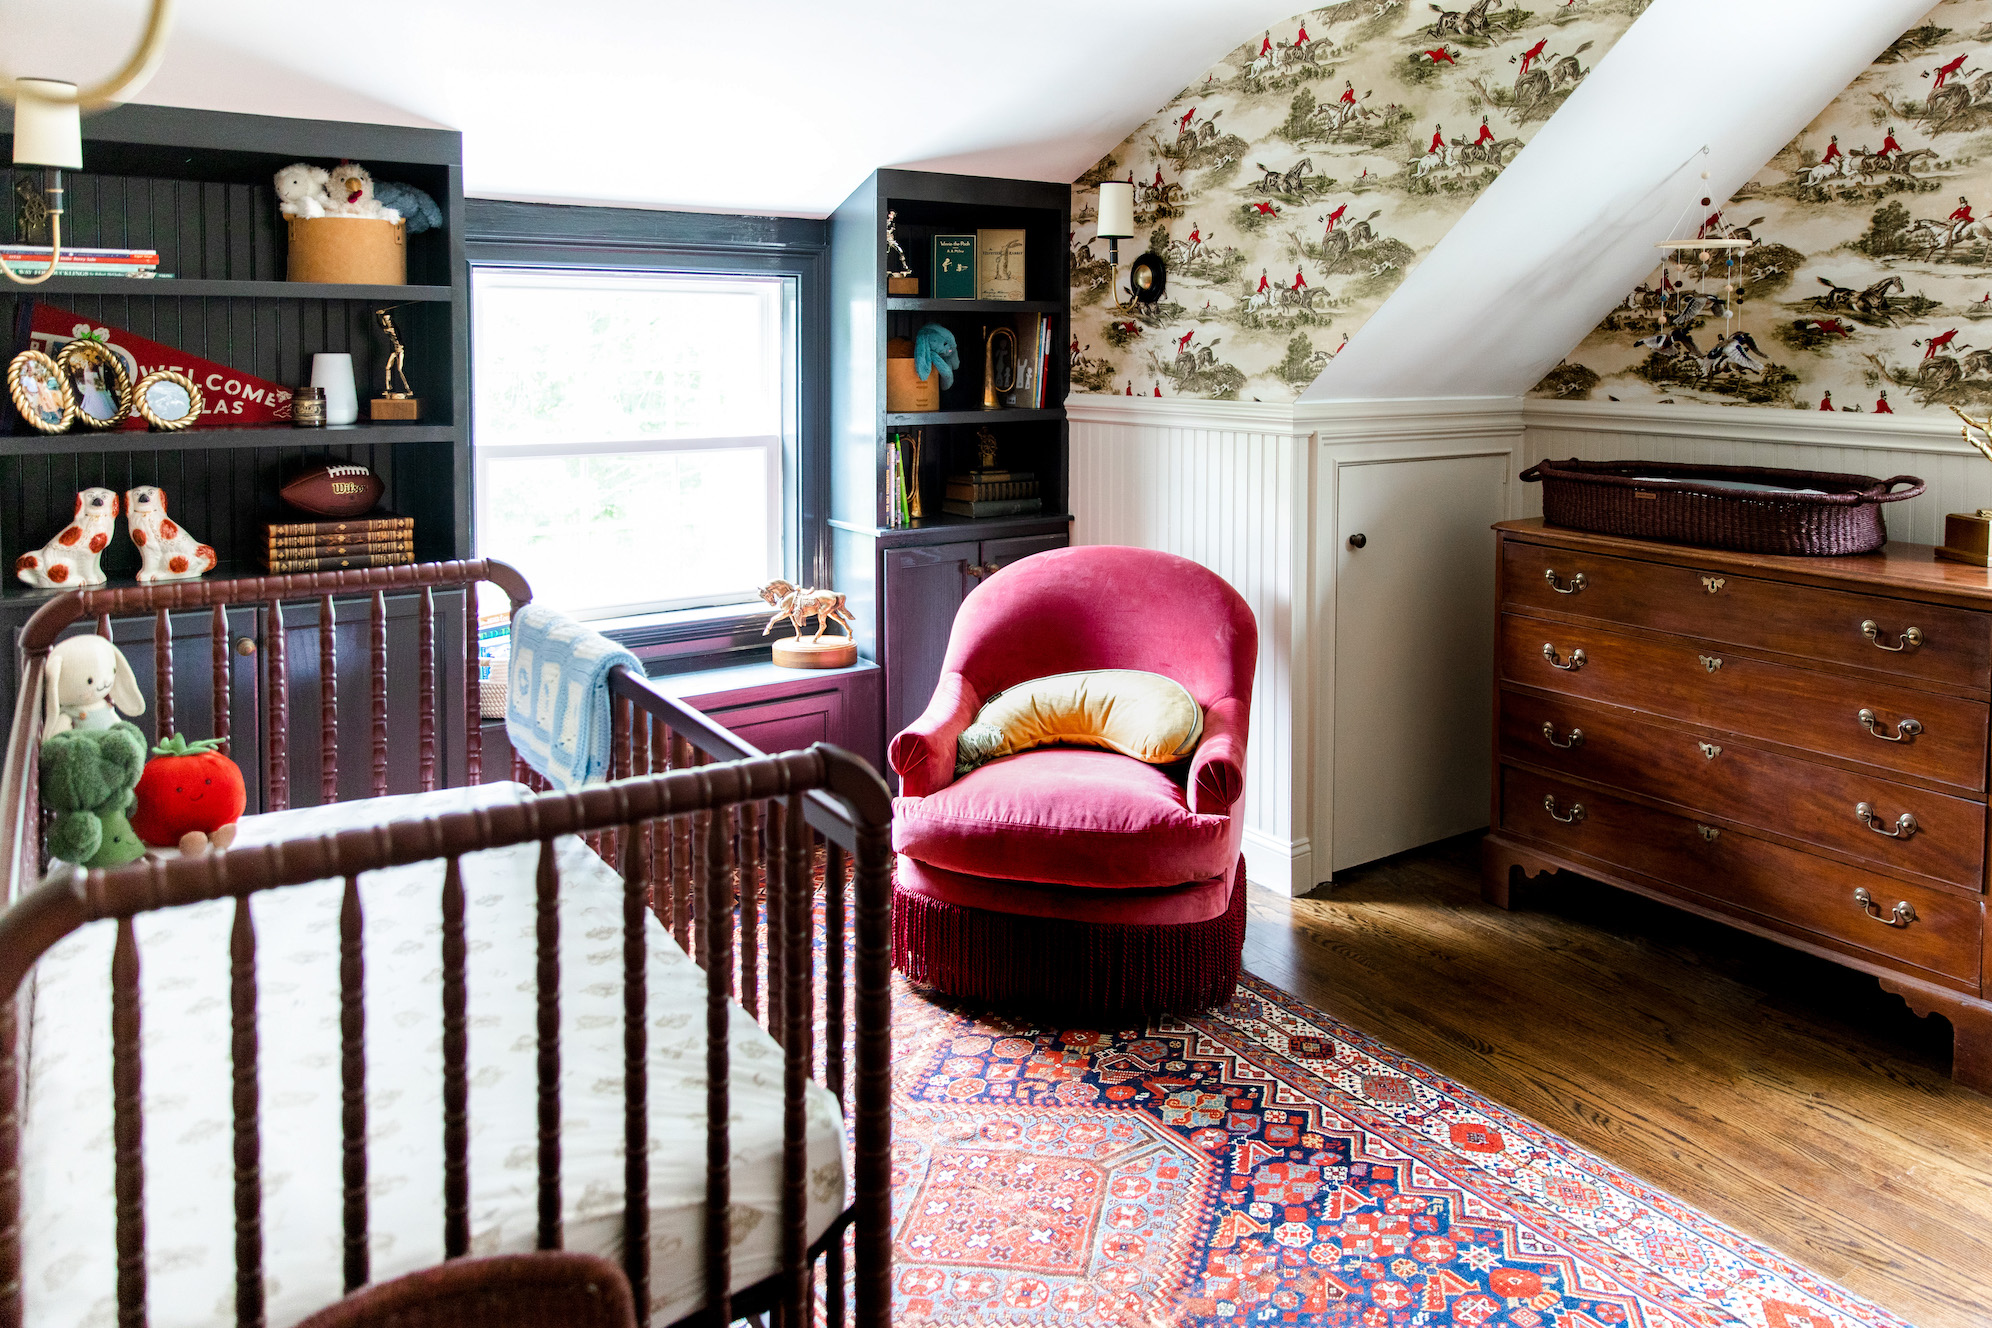
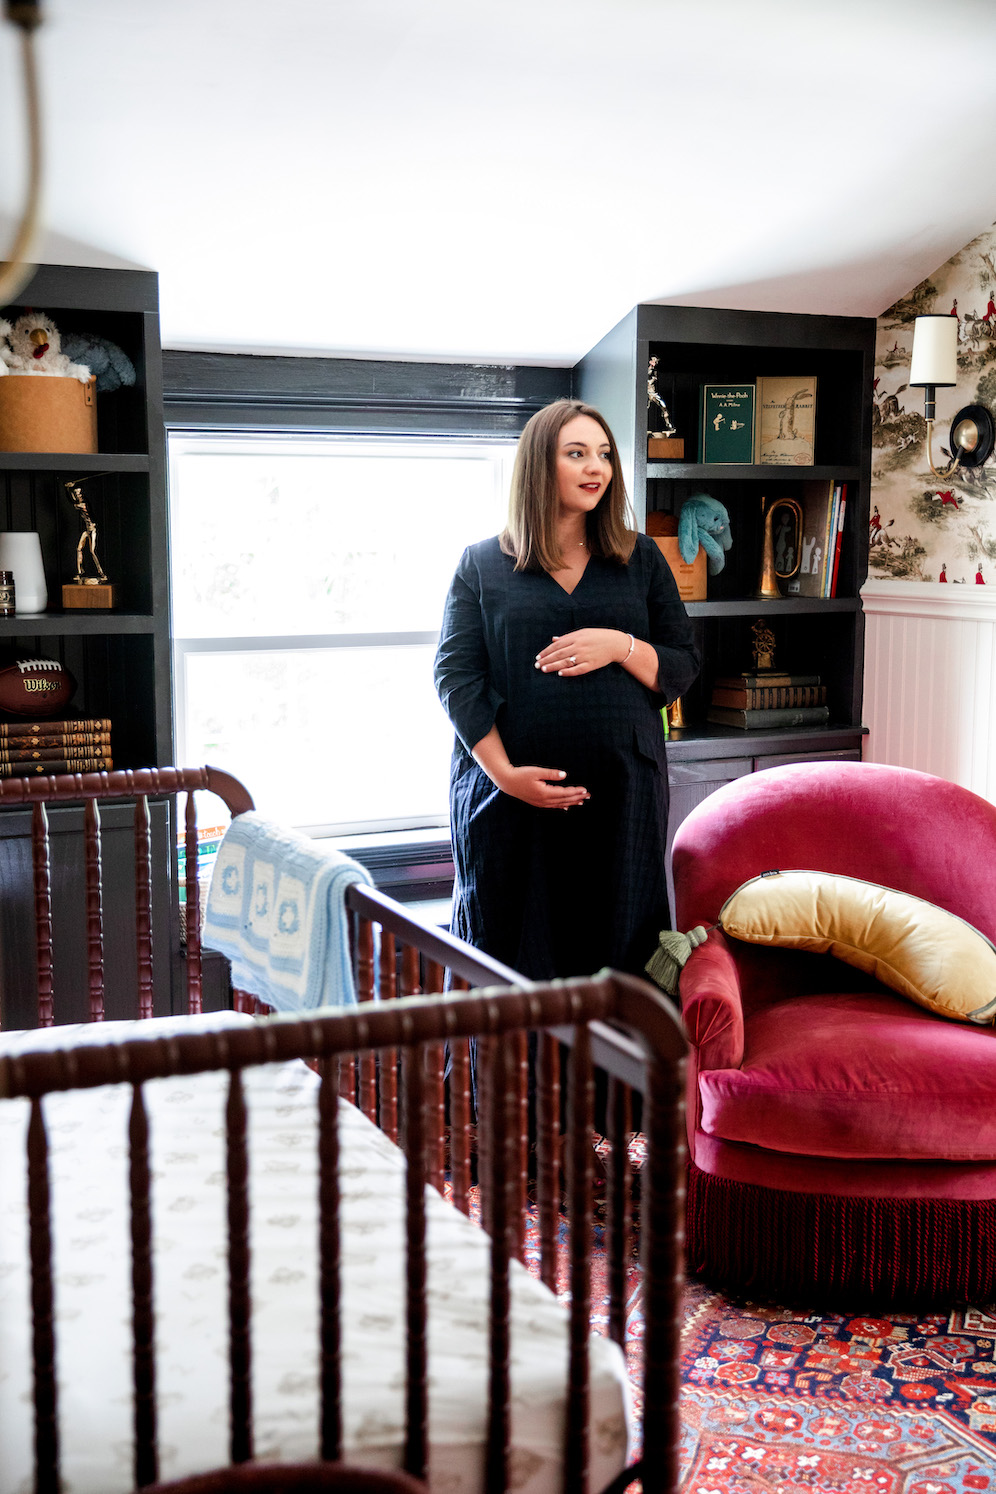
Nursery Reveal:
Ta-da!
I’m so proud of this space. In order to keep the reveal on the shorter side, I’m going to point out three of my favorite design elements and list all other brands and items featured within the space below. I’ll also put together a nursery registry guide with more images so you can get all the nitty-gritty!
When it comes to design elements for the nursery my favorite is by far the following: the antique linen press, the custom plaid daybed designed for the staircase landing, and the wallpaper.
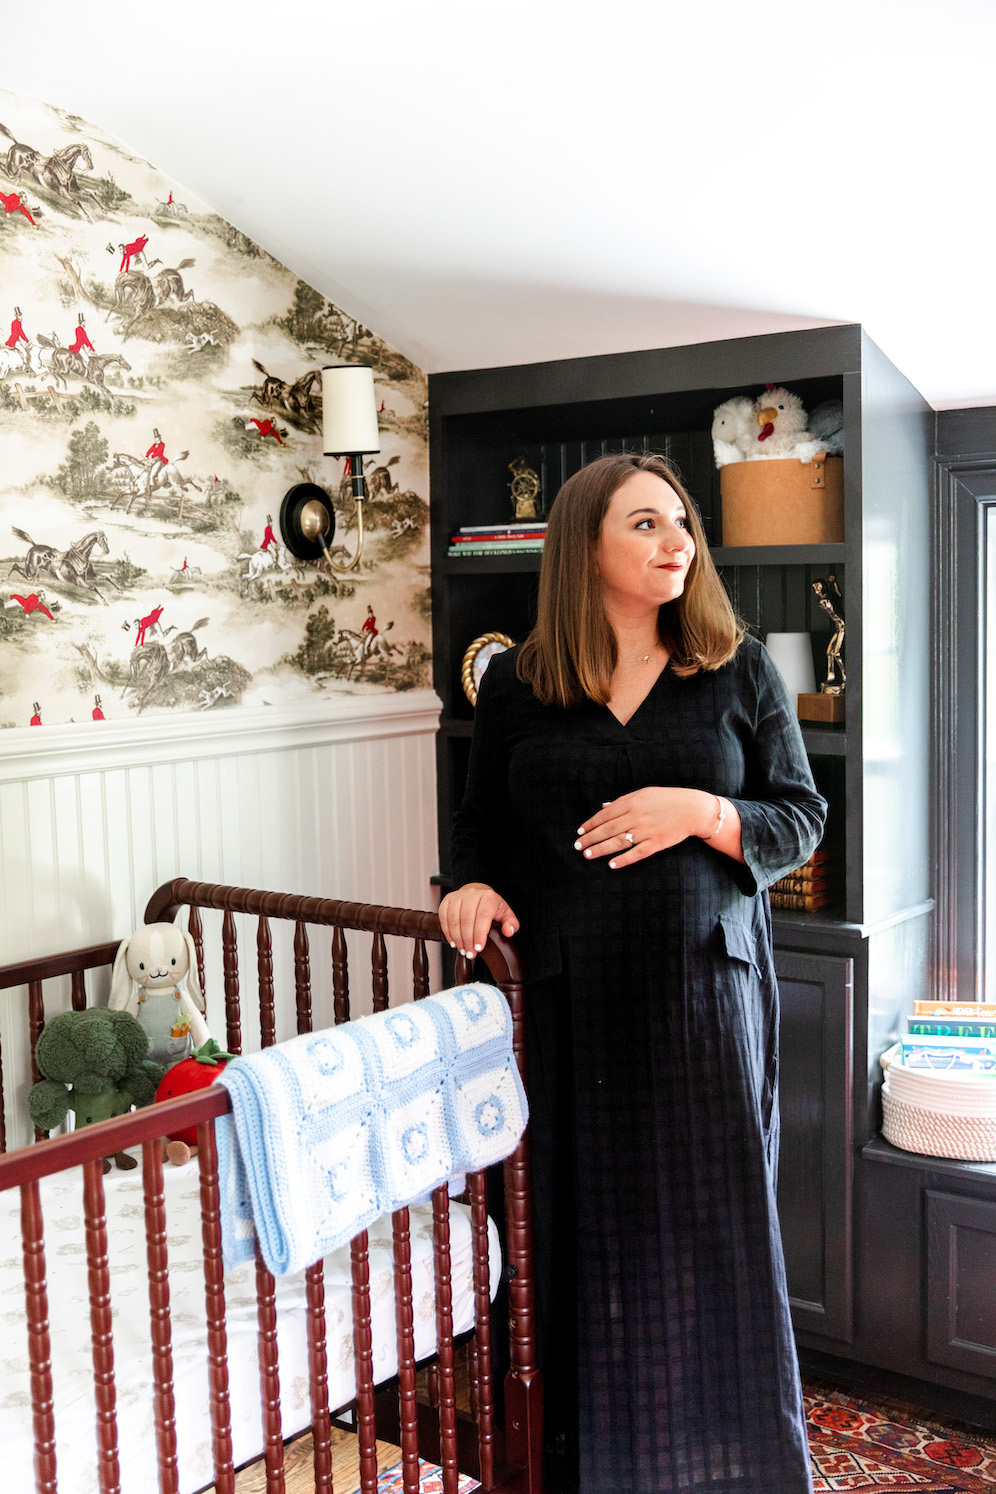
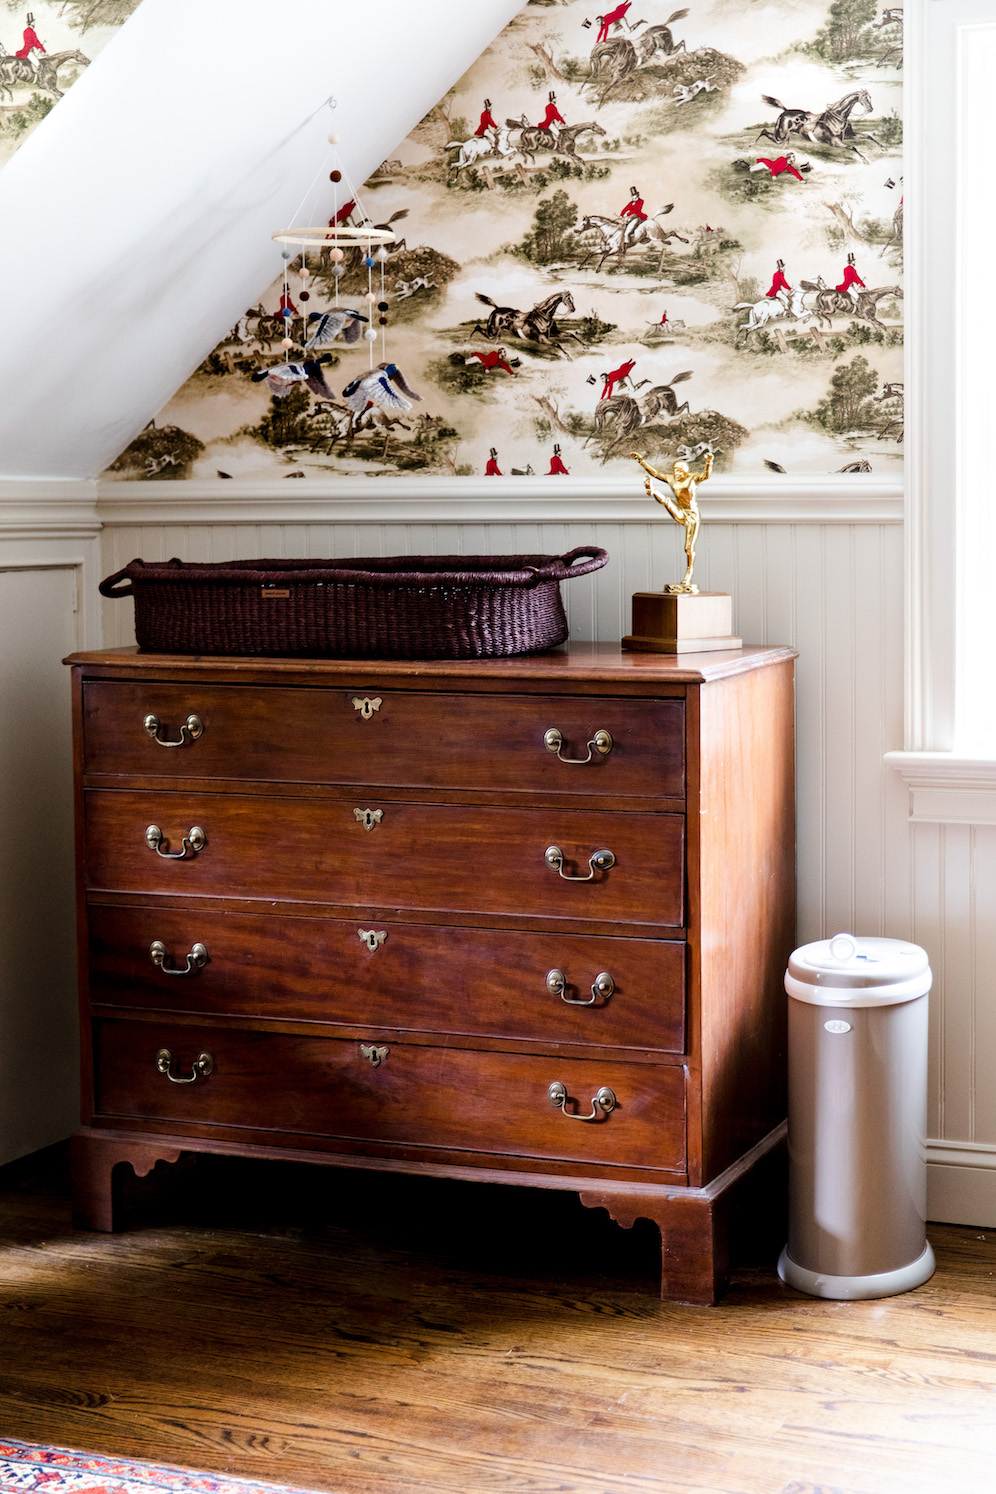
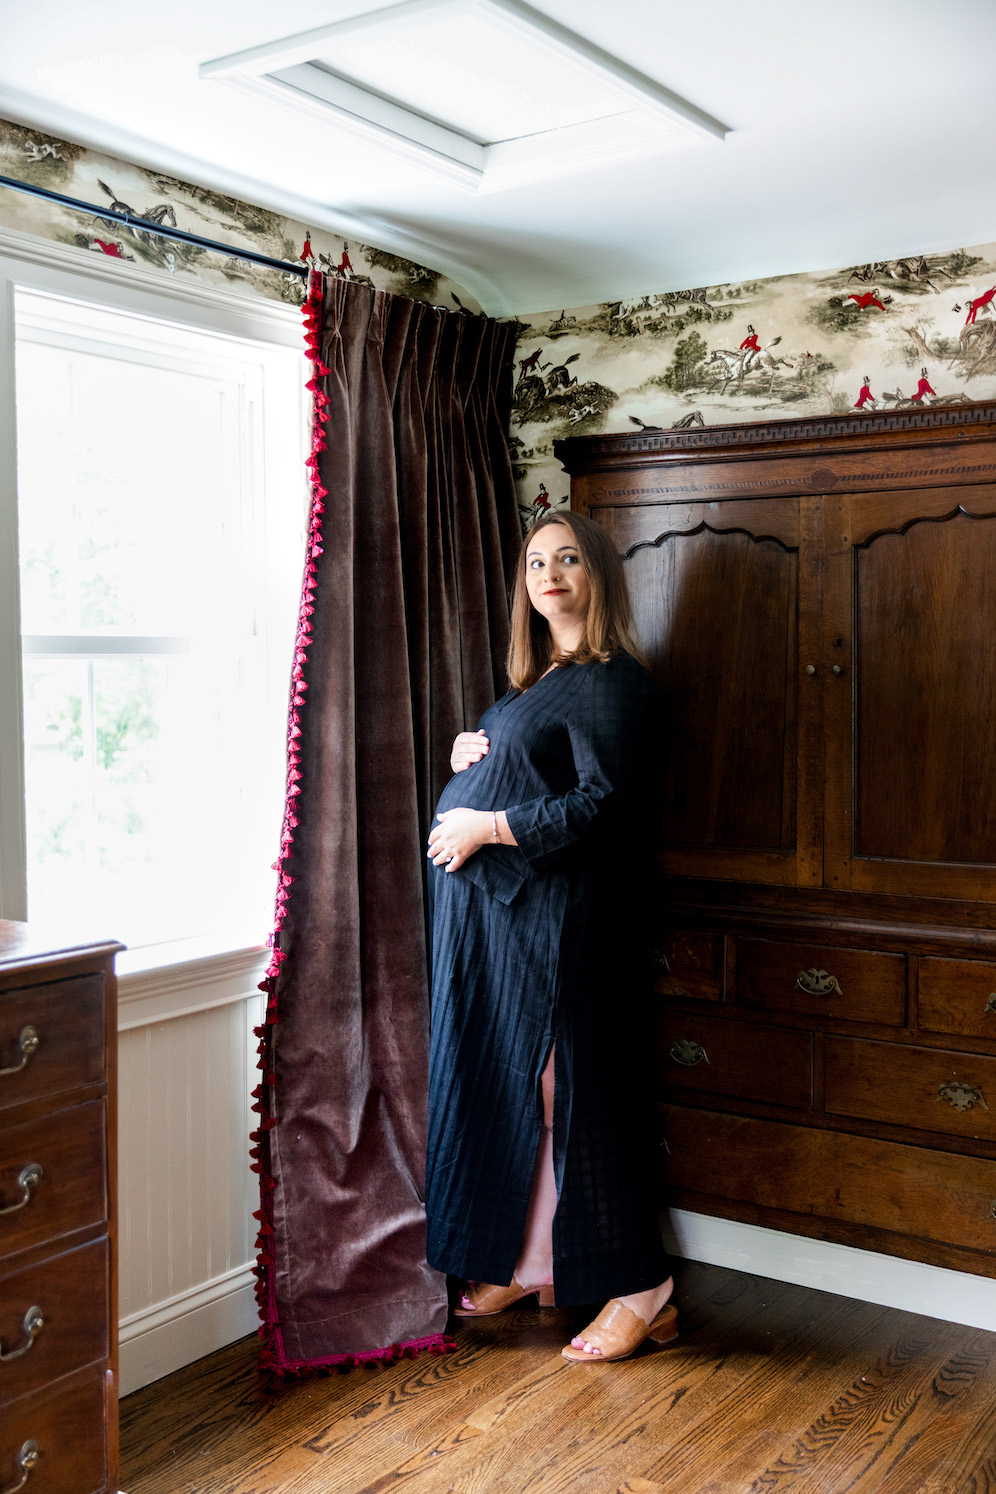
The antique linen press was such a gamble and it paid off. It adds so much character and storage to our space. The biggest concern Paul, my contractor, had was the fact that it would be sticking out of the wall and not flush – like a standard built-in. But, I find the detailing on the sides fits in perfectly with my aesthetic. I love that the space is a very good mix of antiques – the rugs, the dresser, the linen press, some decor – and new!
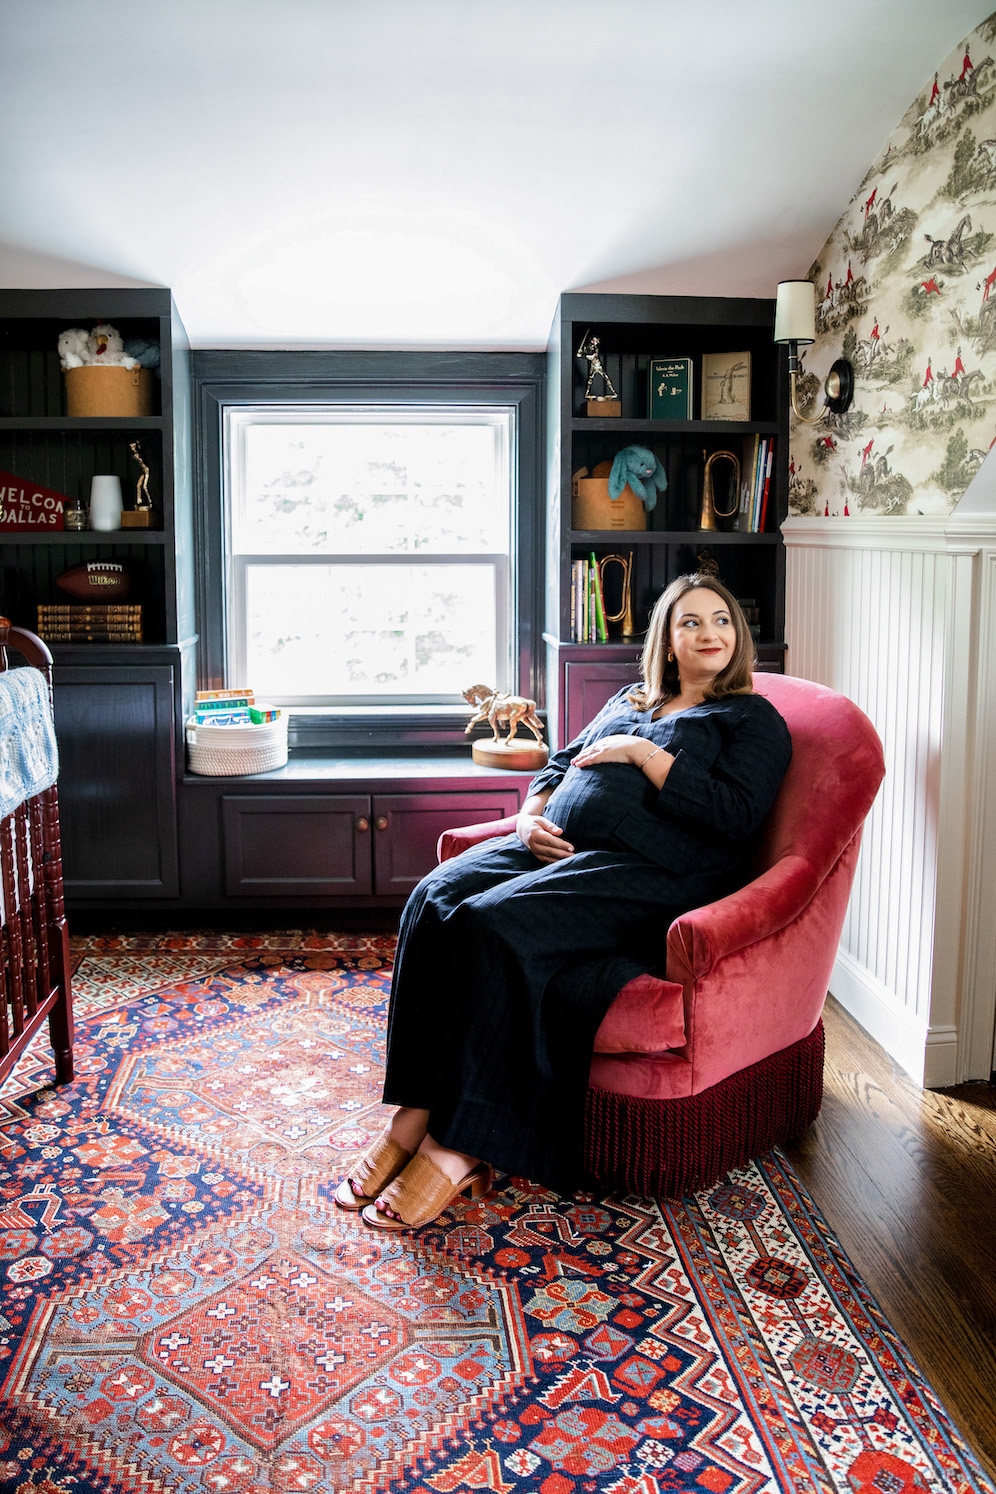
Secondly, I’m obsessed with the custom plaid daybed.
The daybed was actually Carley’s idea. When she realized our master bedroom was downstairs she recommended putting a daybed in the staircase landing space so that I could have a place to sleep upstairs with the baby. The daybed is adjacent to the crib and has bins that roll out to maximize storage. I would have never thought to add a daybed if it wasn’t for Carley’s recommendation as a new mom.
I found the company Liven Up on Etsy. They make custom furniture and were kind enough to rush the process for me. The daybed made it here in time for the photoshoot!
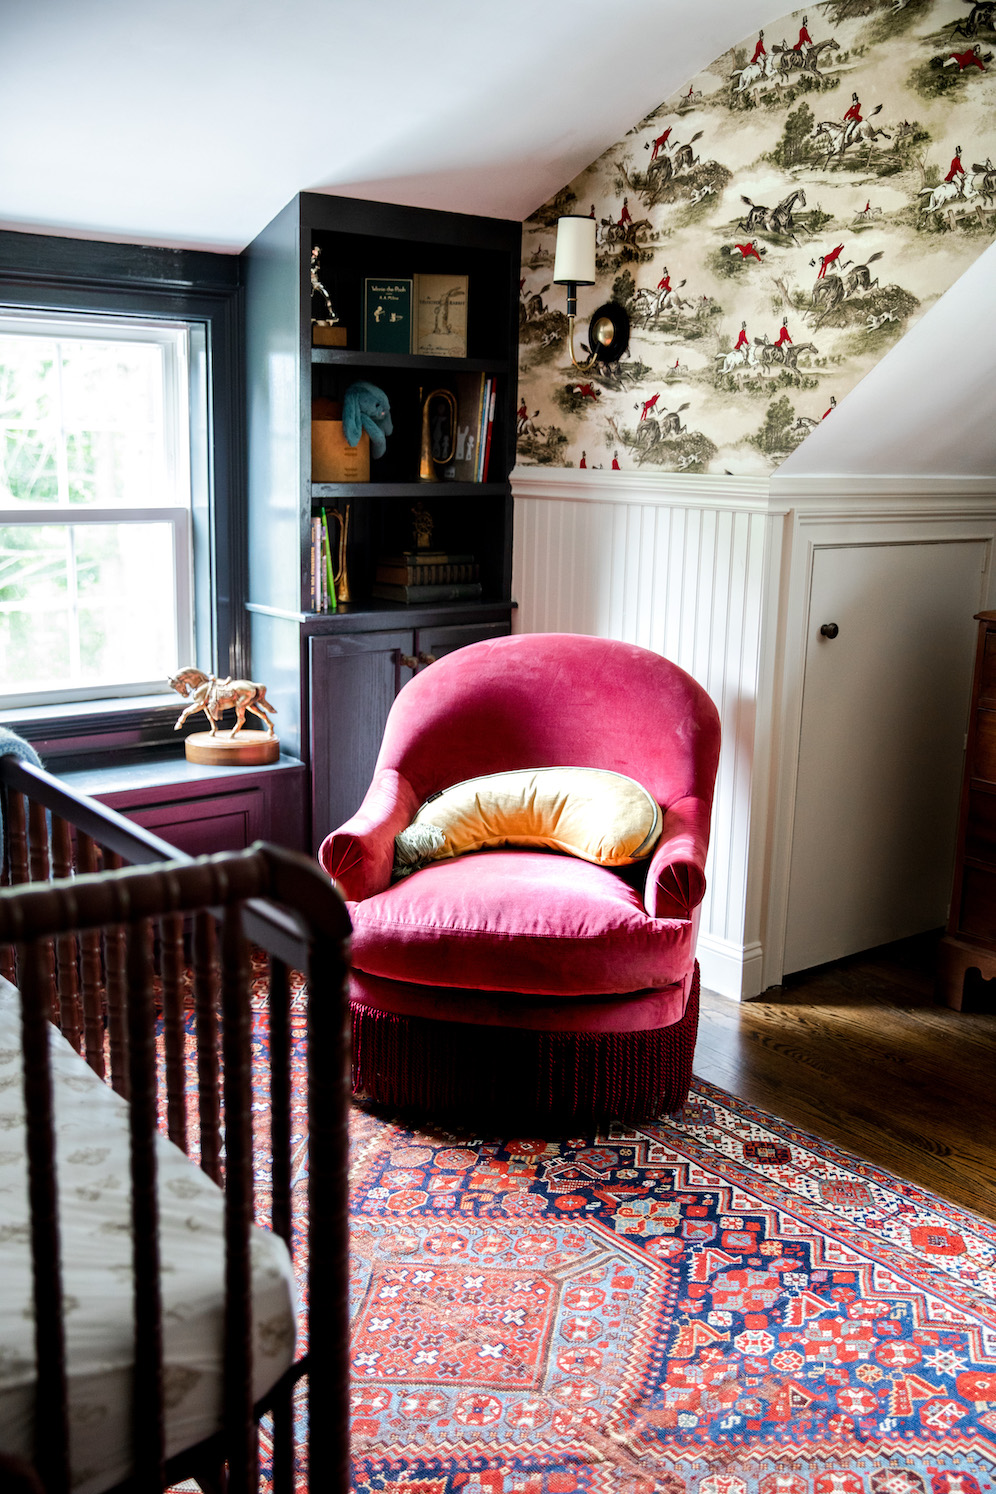
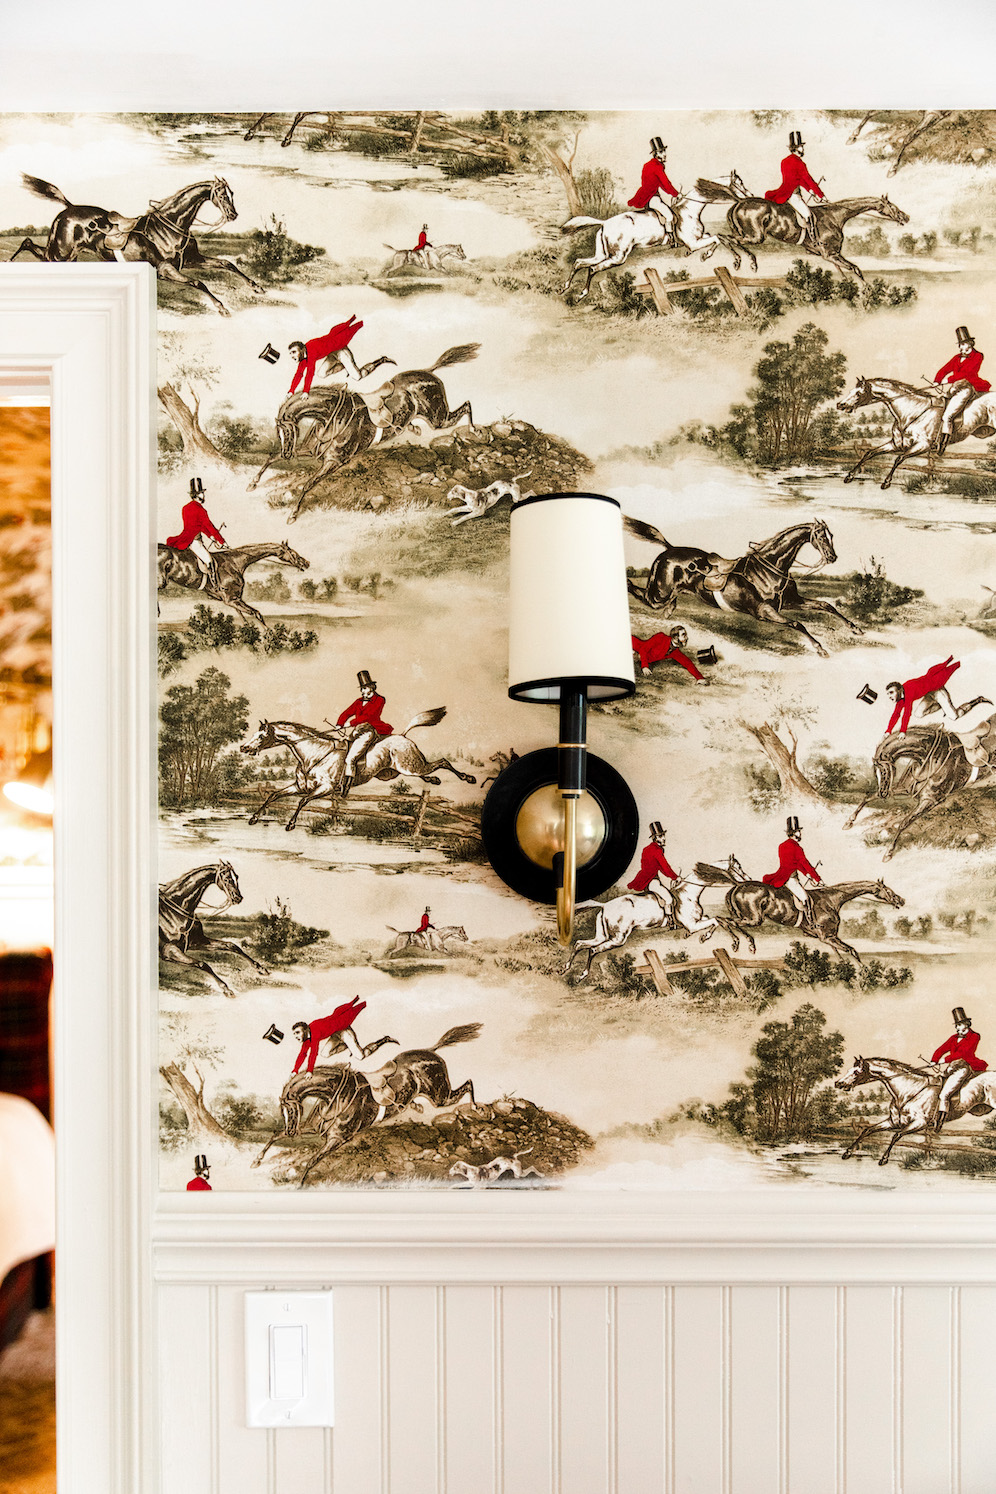
Finally, I have to say the English Hunting Scene wallpaper is everything to me! It brings such character into this room. In fact, we used it as a foundation for our color pallet. You’ll see pops of red, black, and green throughout the space. This ties into the muted yet intricate design of the English wallpaper.
There was a lot of debating about wallpapering the ceiling in the staircase landing room. But, I could not be happier. I love it!
Nursery Links:
- Furniture:
- Linen Press Similar
- Antique Dresser Similar
- DaVinci Jenny Lind 3-in-1 Convertible Crib in Rich Cherry
- The Paige Swivel and Rocker Chair by River & Bond – Designed By Carley Page Summers
- Liven Up Custom Daybed
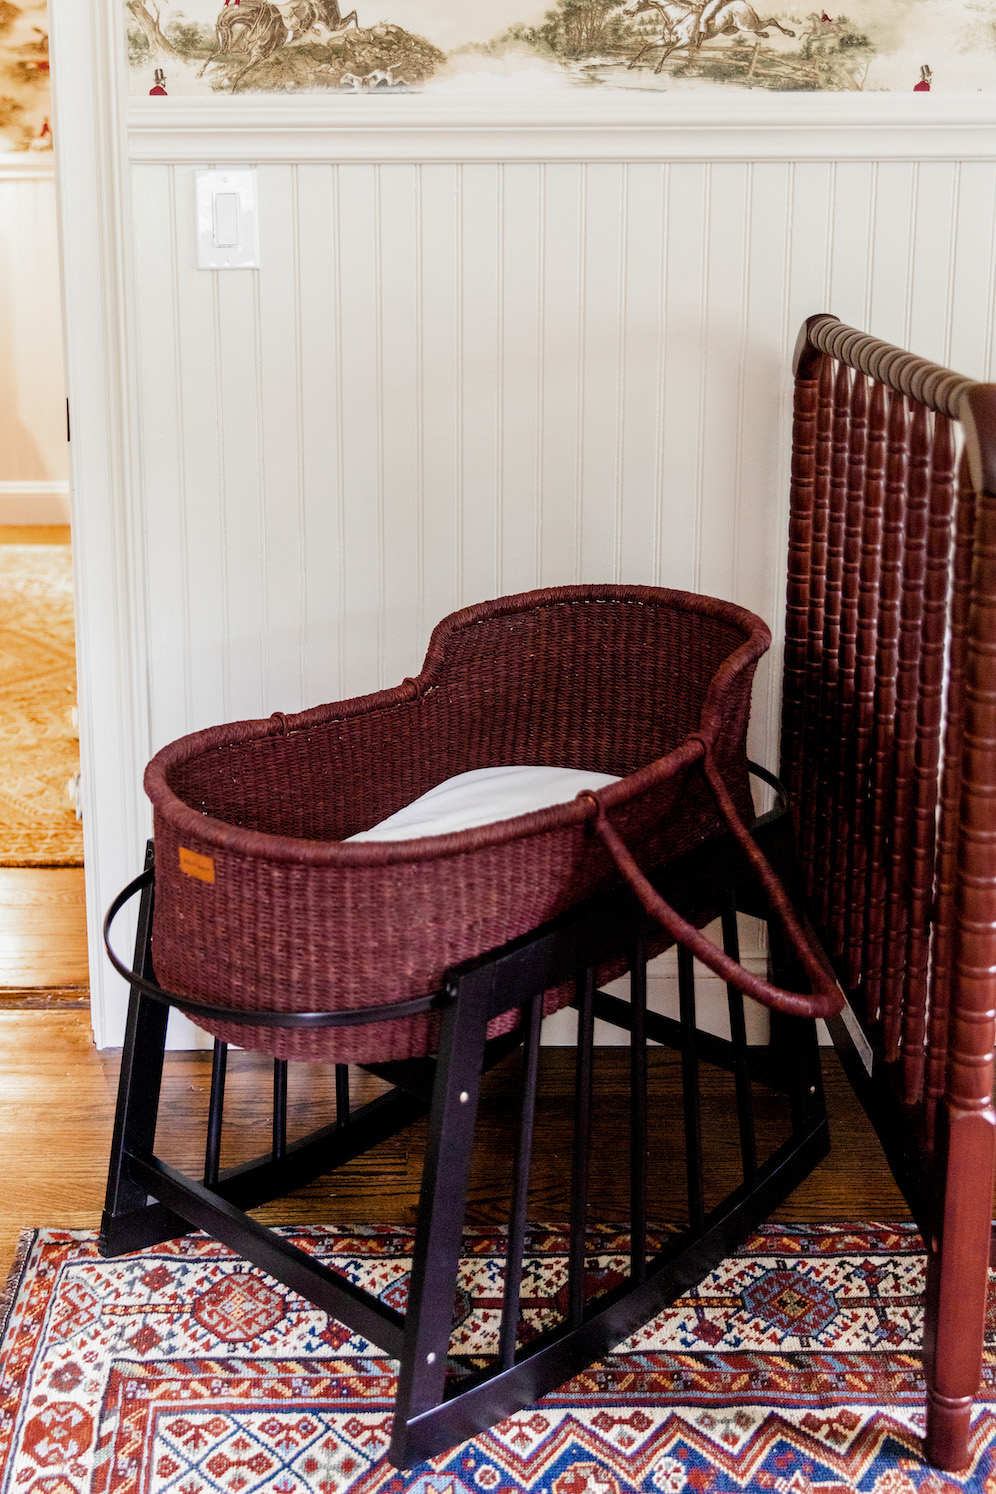
- Moses Basket in Copper – By Plum & Sparrow – Use Code AUBREY20 For 20% Off!
- Modern Rocking Bassinet Stand – By Plum & Sparrow – Use Code AUBREY20 For 20% Off!
- Newton Baby Crib Mattress – Use Code M350 For $50 Off!
- Lighting by Chloe Watson Design:
- Curtians by Pepper Home:
- Pinch Pleat Walnut Velvet Curtains With Raspberry Trim
- Oat Fabric For Custom Roman Shade Curtain
- Decor:
- La Maman Wedge In Tawny Olive – By DockATot
- Changing Basket – By Plum & Sparrow – Use Code AUBREY20 For 20% Off!
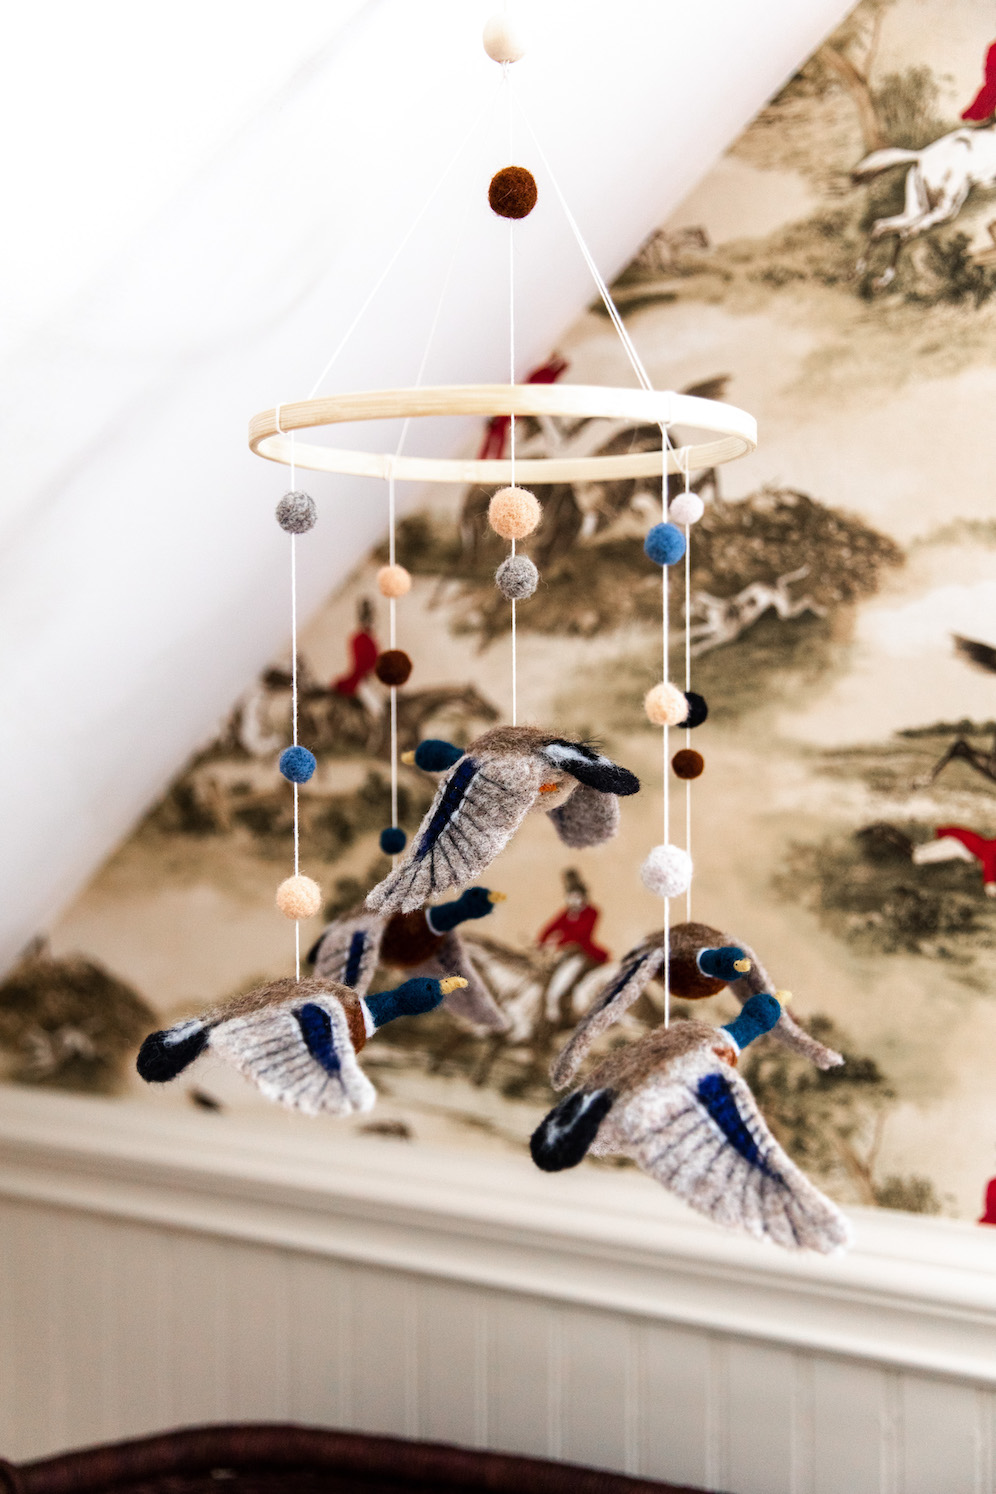
- Duck Mobile
- Antique Rugs – By New England Loom
- English Hunting Scene Wallpaper – By Lionheart Wallpaper
- Faux Leather Camel Baskets
- Antique Bookends
- Broccoli Jellycat
- Tomato Jellycat
- The Bunny Doll Little
- AC Unit:
Matt and I are so excited to meet Baby Craig and show him his new room! I hope he approves. Don’t forget to check back next week for our third trimester recap post!
Newsletter
Subscribe to see our favorite pieces of New England, in your inbox weekly.
Leave a Comment