01.30.2018
[outfit_details] After our apartment flooded at the start of January, we used the incident as an opportunity to clean out our apartment and reorganize. The first room I wanted to get my hands on was the pantry. Moving in with […]
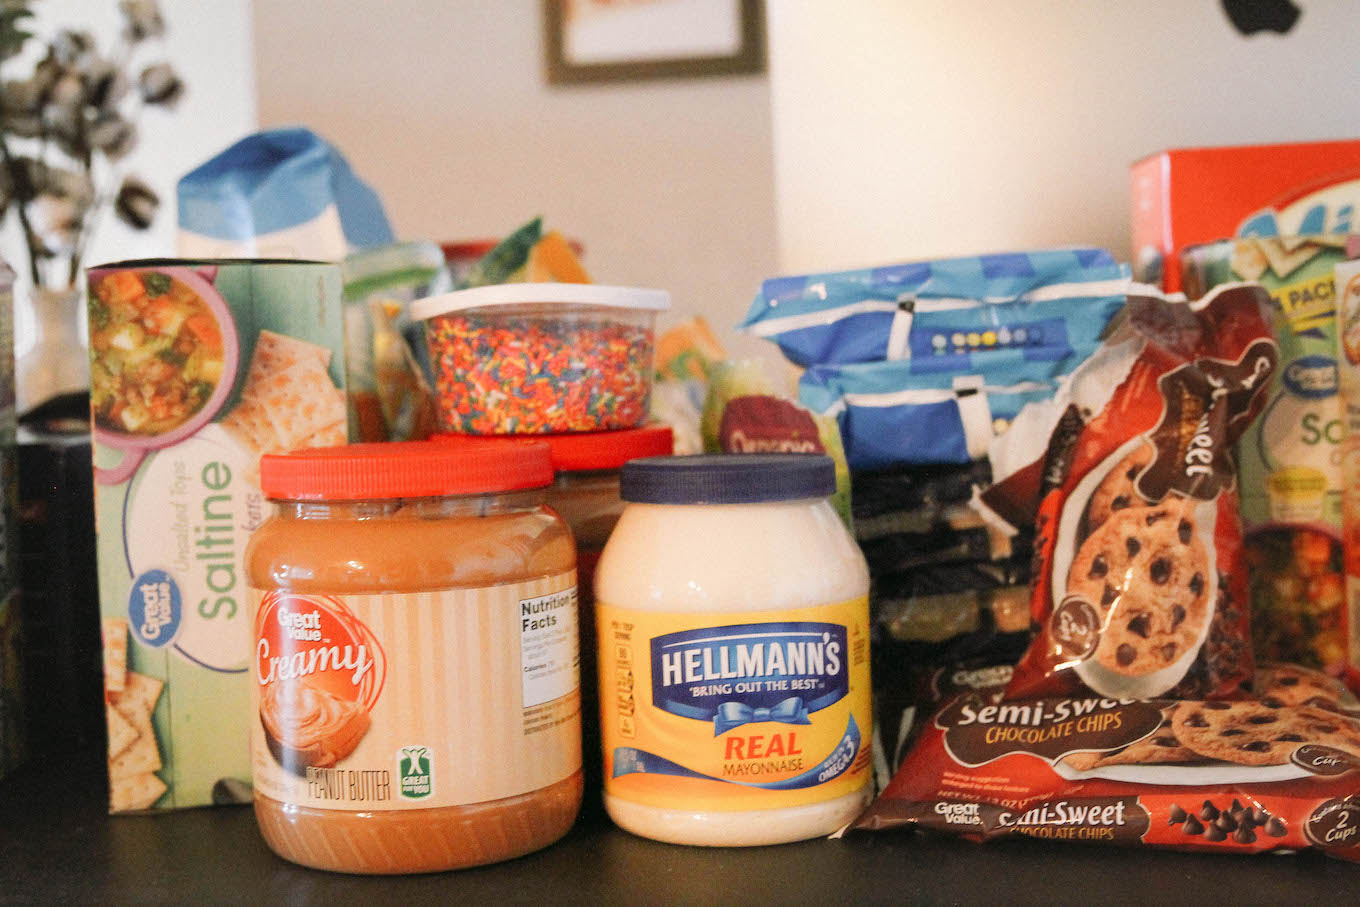
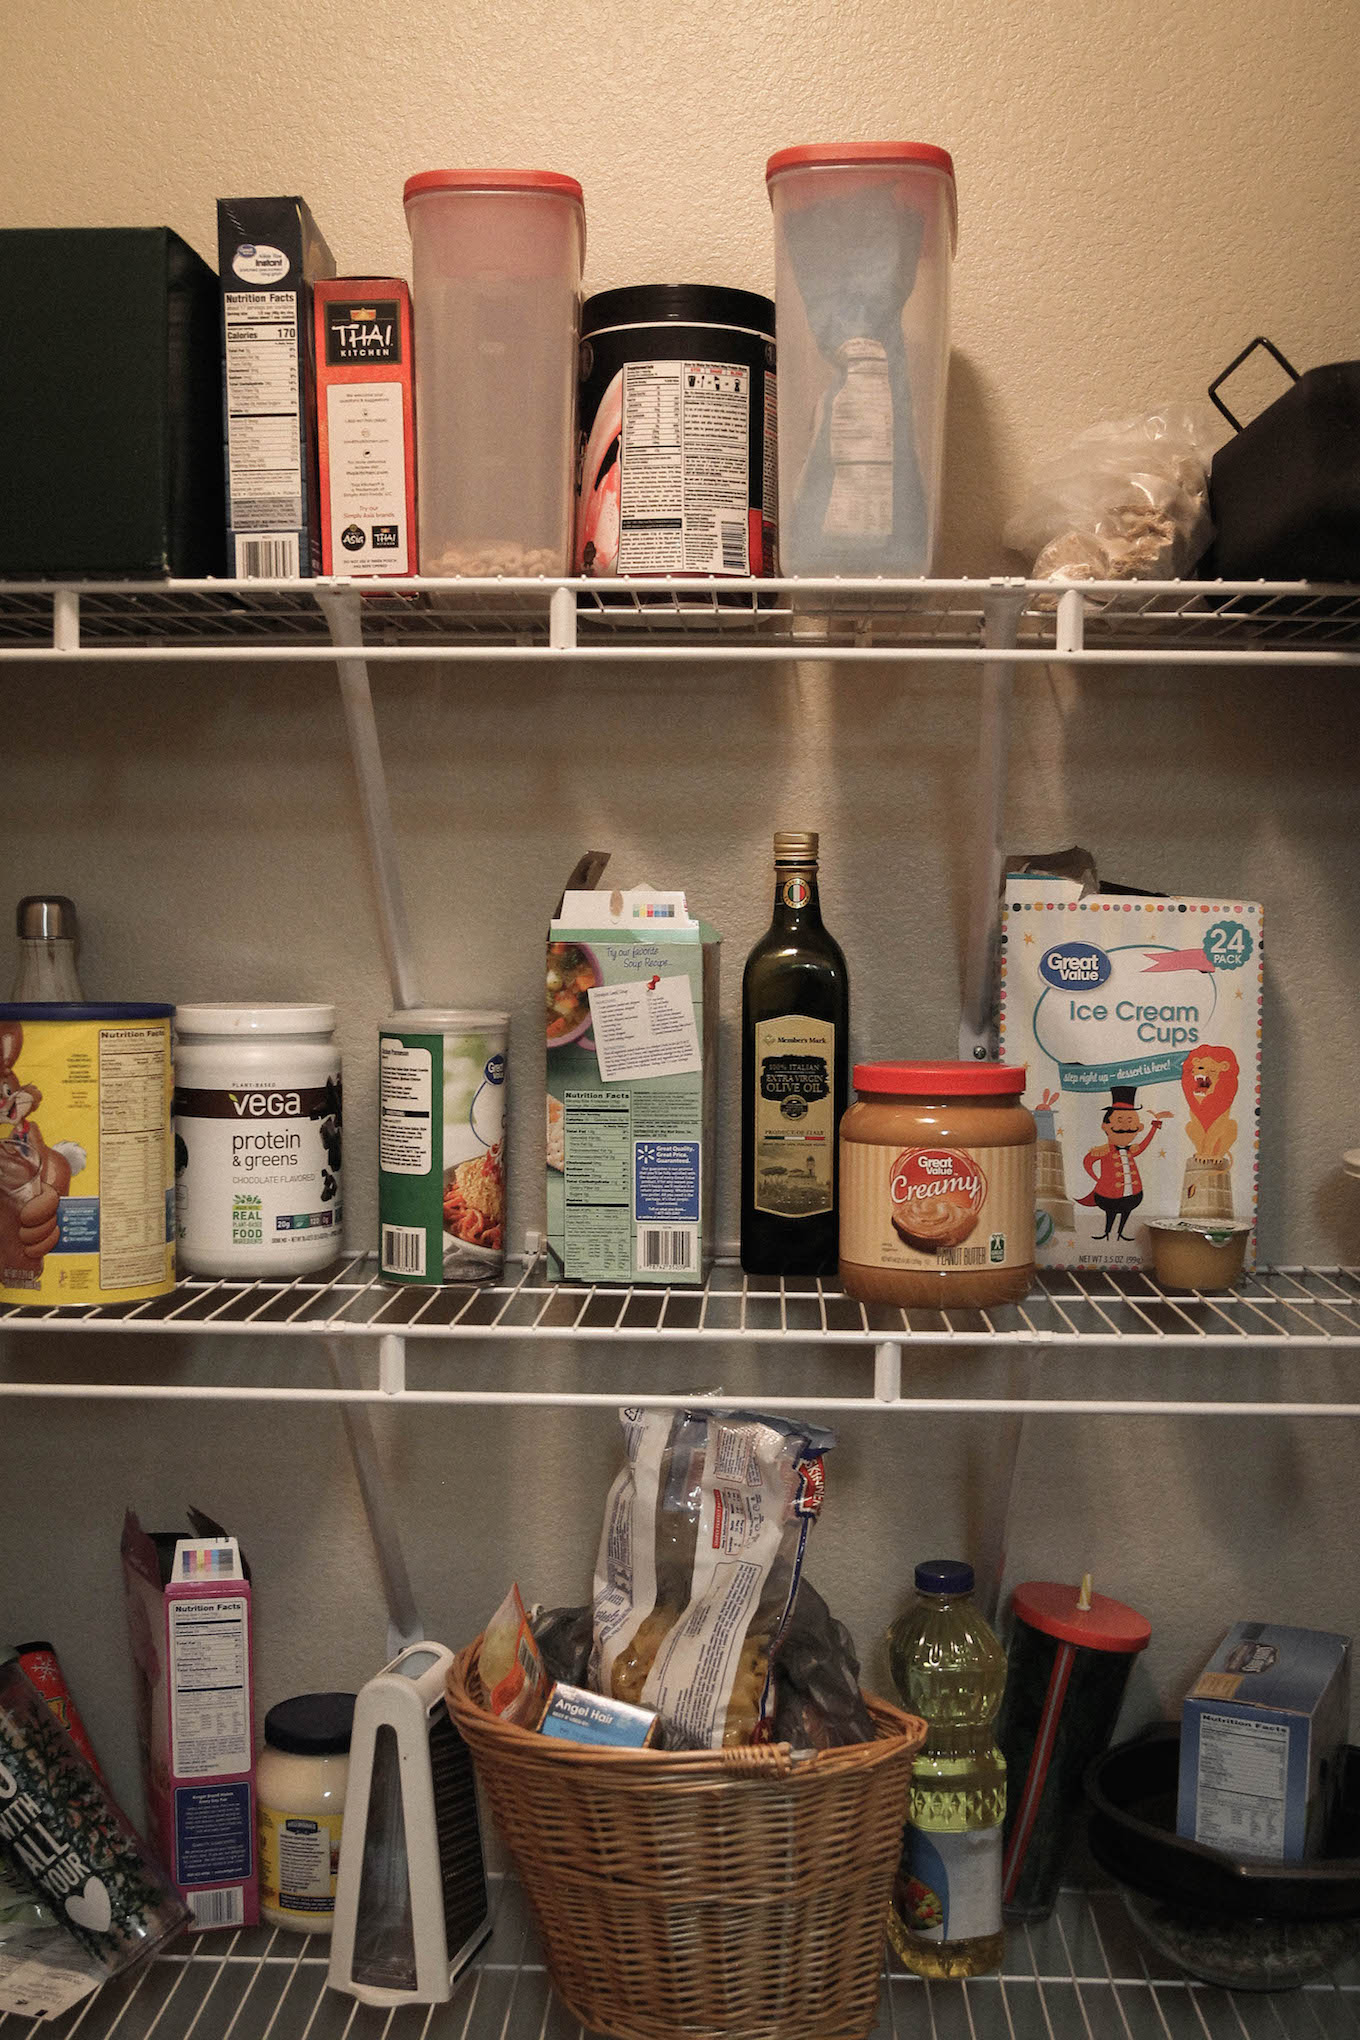
After our apartment flooded at the start of January, we used the incident as an opportunity to clean out our apartment and reorganize. The first room I wanted to get my hands on was the pantry. Moving in with Matt was a highlight of 2016 but keeping the pantry full was a lowlight, between the amount of peanut butter sandwiches Matt consumes and boxes, yes boxes of Oreo cookies weekly; I would blink and find myself with an empty pantry. The issue wasn’t that we weren’t buying enough food, the issue was that each time we went to the grocery store we were stocking up on the wrong things.
Basically, we were replenishing inventory that had back stock and never restocked the goods that we figured we had. Our pantry was originally organized on wired shelves and smaller items were simply thrown in baskets due to the fact that they fell over easily on the wire shelves. I felt like our pantry’s pitfall was those shelves so I headed to Pinterest to find a quick fix. We figured a quick fix would be ideal in terms of budget and due to the fact that our apartment wouldn’t allow us to physically replace the shelves.
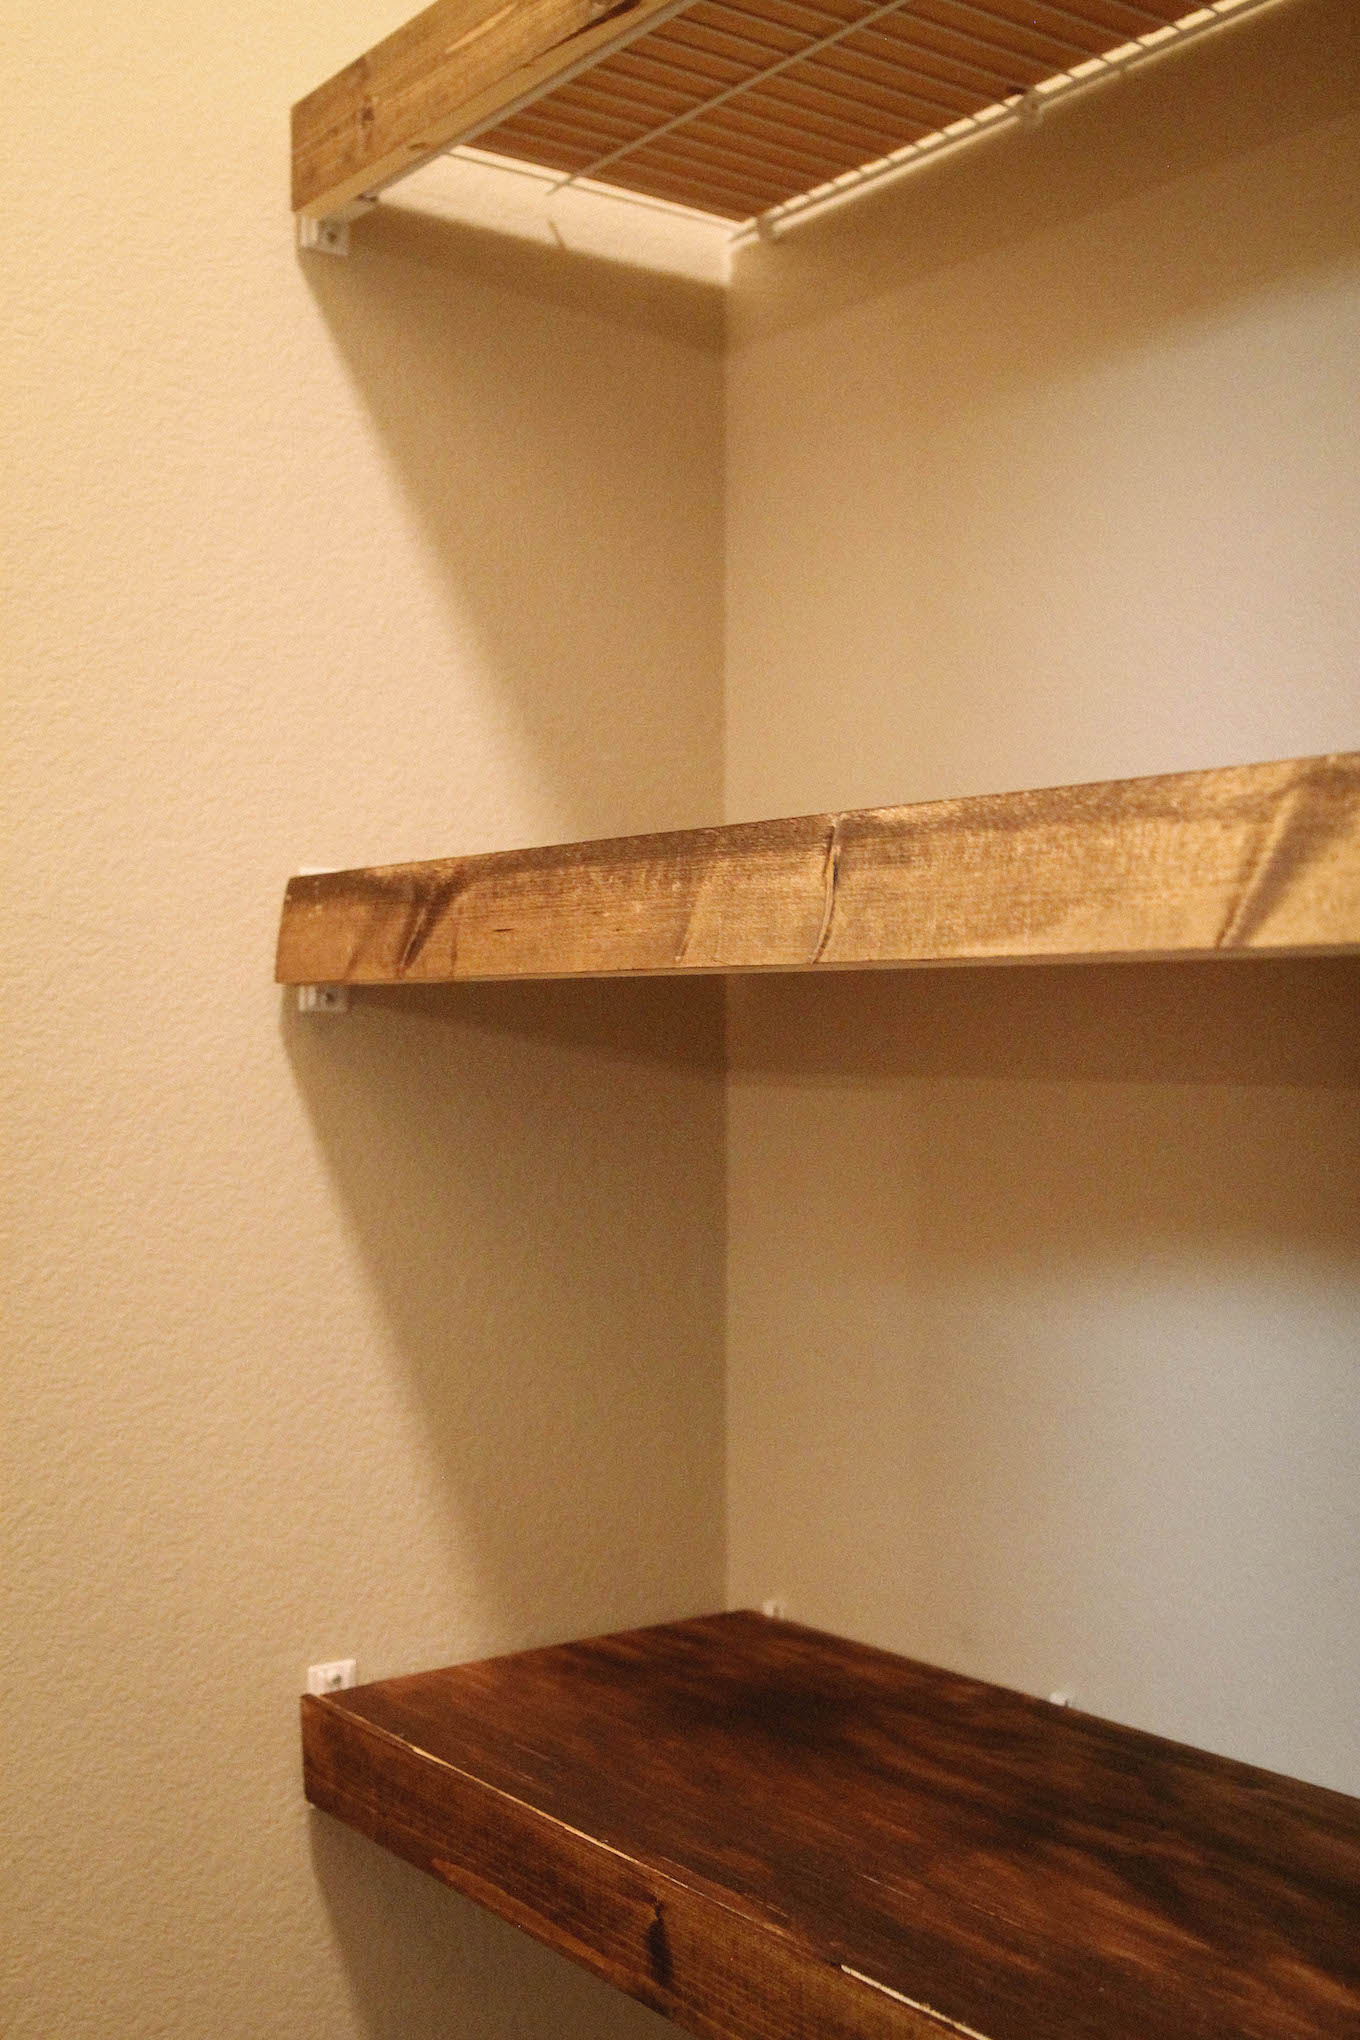
After going down the rabbit hole of Pinterest, I found suggestions for using plastic liners, cardboard layouts and then I found this article suggesting DIY wood covers for wire shelving. I knew this easy DIY fix would allow Matt and I to better display and take inventory of what we had in the pantry and what we had to purchase. You can watch our whole ‘pantry journey’ in the vlog video below, we wanted to bring you all along, step by step, in hopes to inspire you to make time to reorganize and get creative with the unique spaces within your homes.
[video_widget][/video_widget]
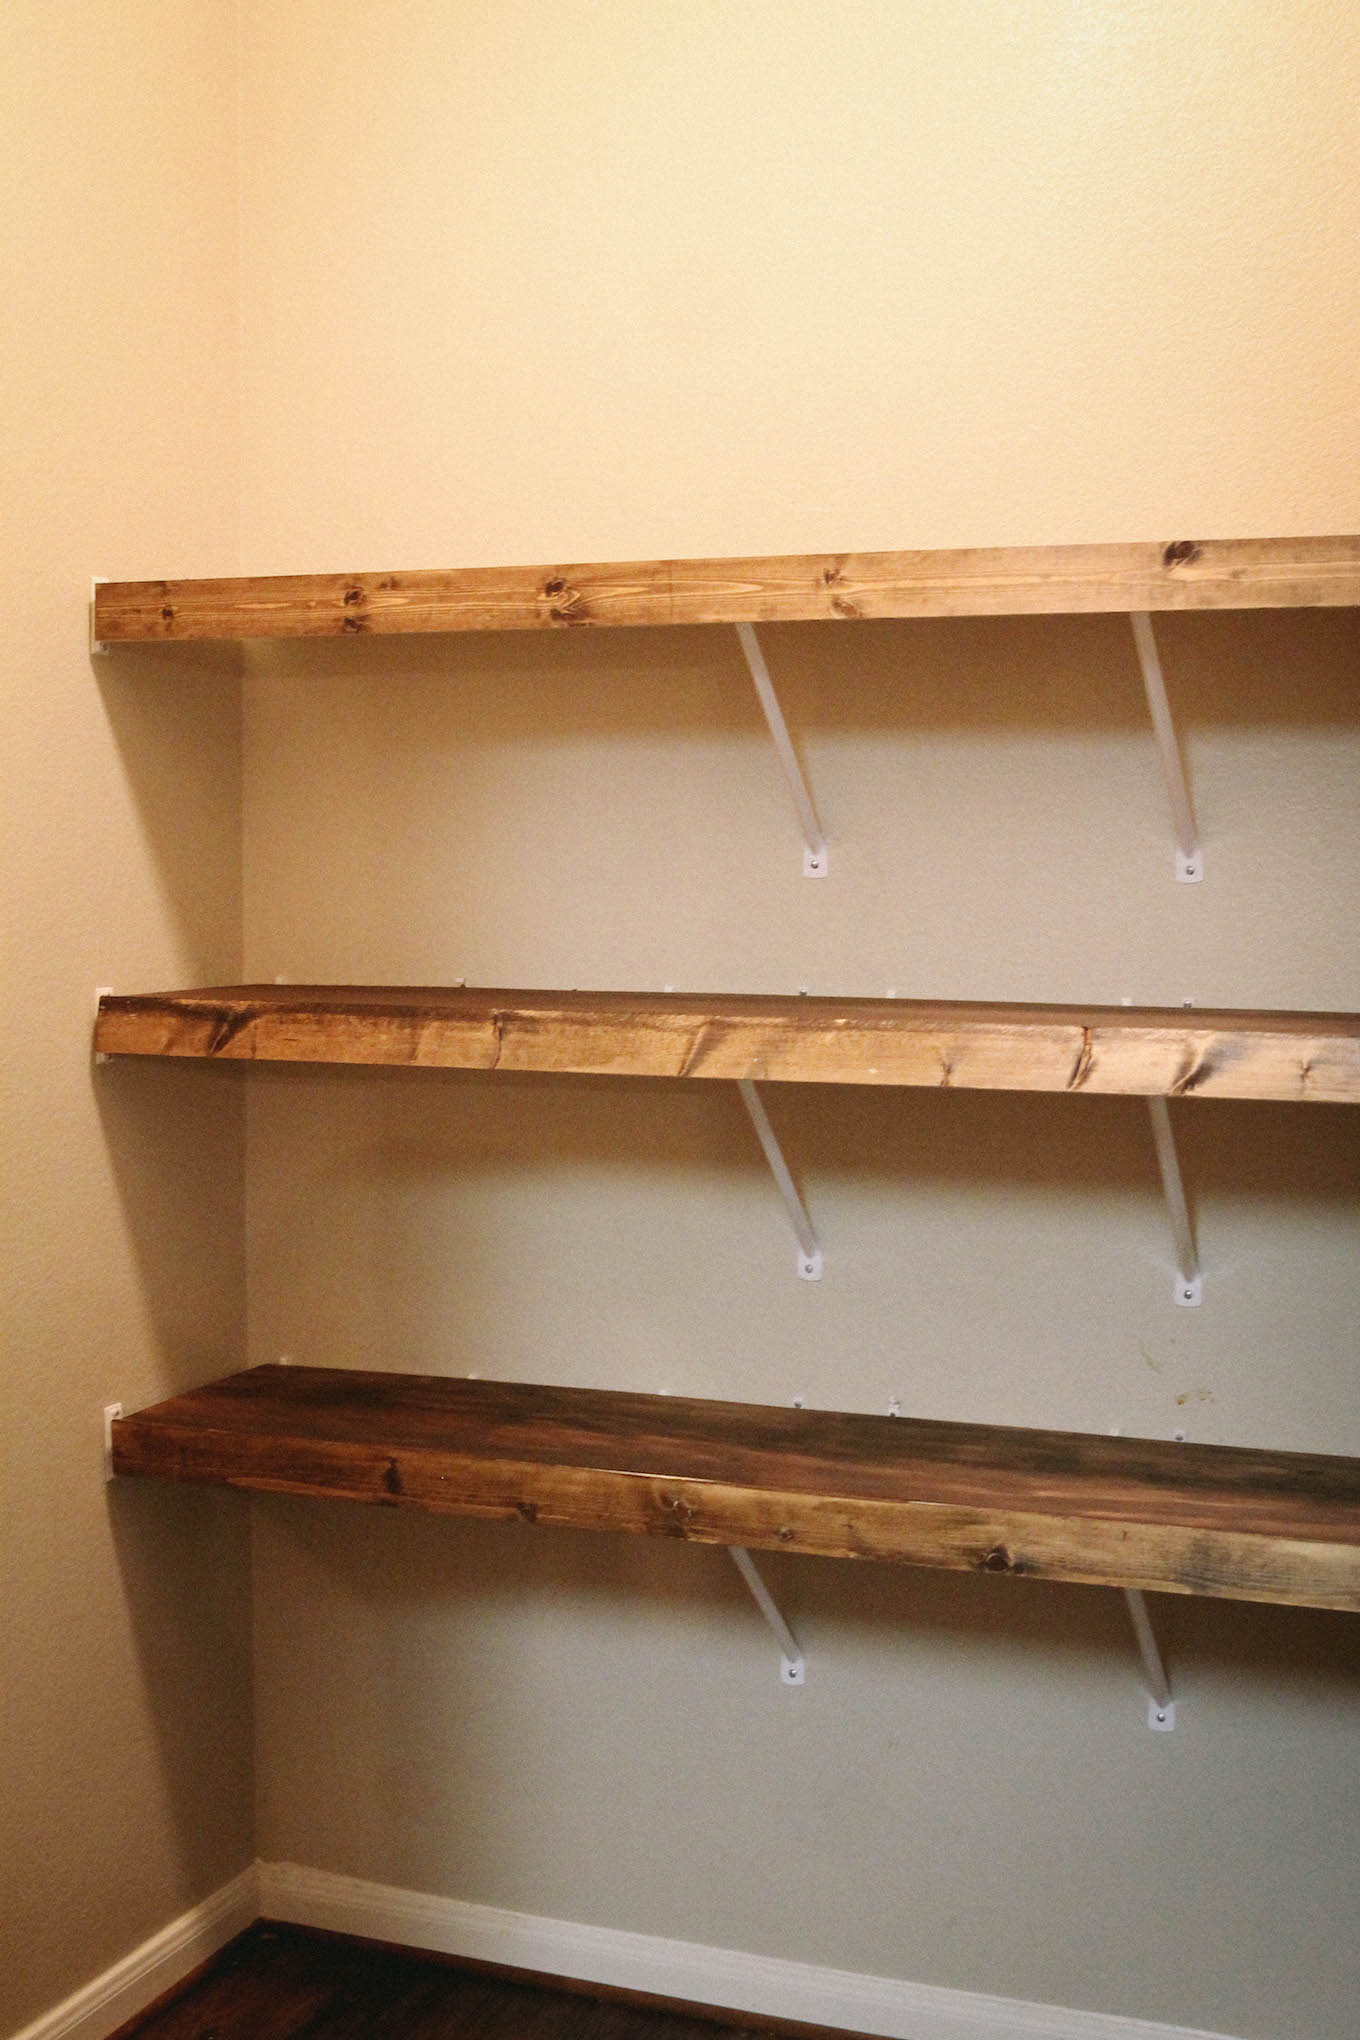
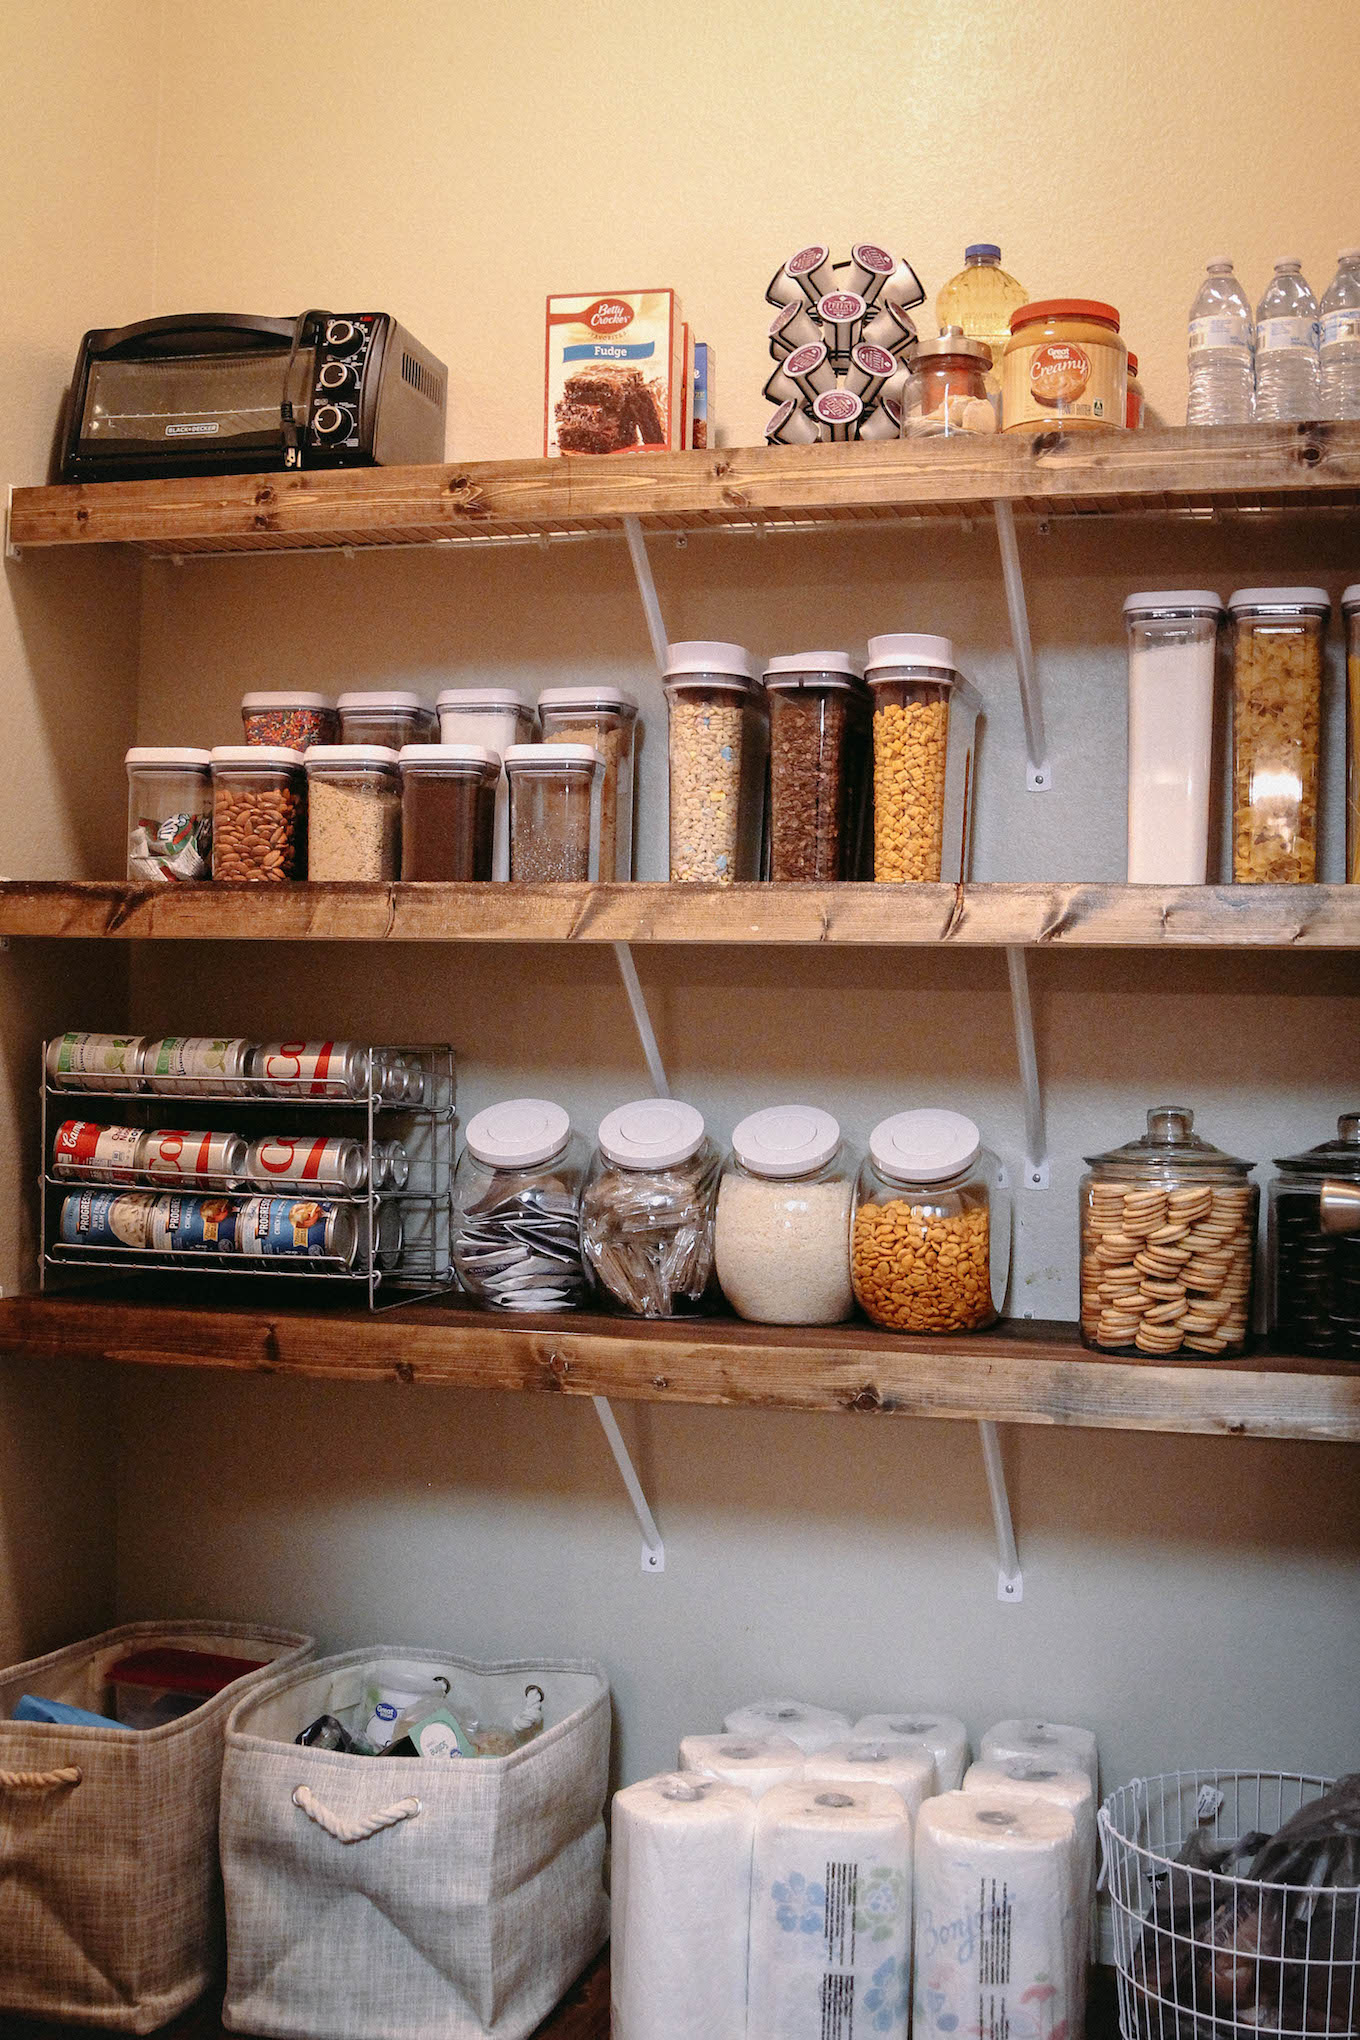
On Friday, Matt and I headed to Lowes to pick up the following products, 1/4 inch plywood, pine boards, wood glue, nails and wood stain, to make the wood covers. To put the covers together we simply had the workers at Lowes cut the plywood to fit the top of the shelves and cut the pine boards to fit the length of the shelves. On Saturday, Matt and I headed over to a friend’s house to cut a niche along the length of the pine boards. This small niche, which requires a table saw, allowed us to lay, glue and nail the plywood on top of the pine boards resulting in a cover that hides that ugly wire shelving out of sight and mind.
After the wood glue dried, and Matt and I bickered about how to actually go about staining the wood, we decided to just tab one coat of wood stain on and let the three covers dry overnight. The next morning I kicked Matt out of the house and got straight to the fun part, ORGANIZING THE PANTRY!
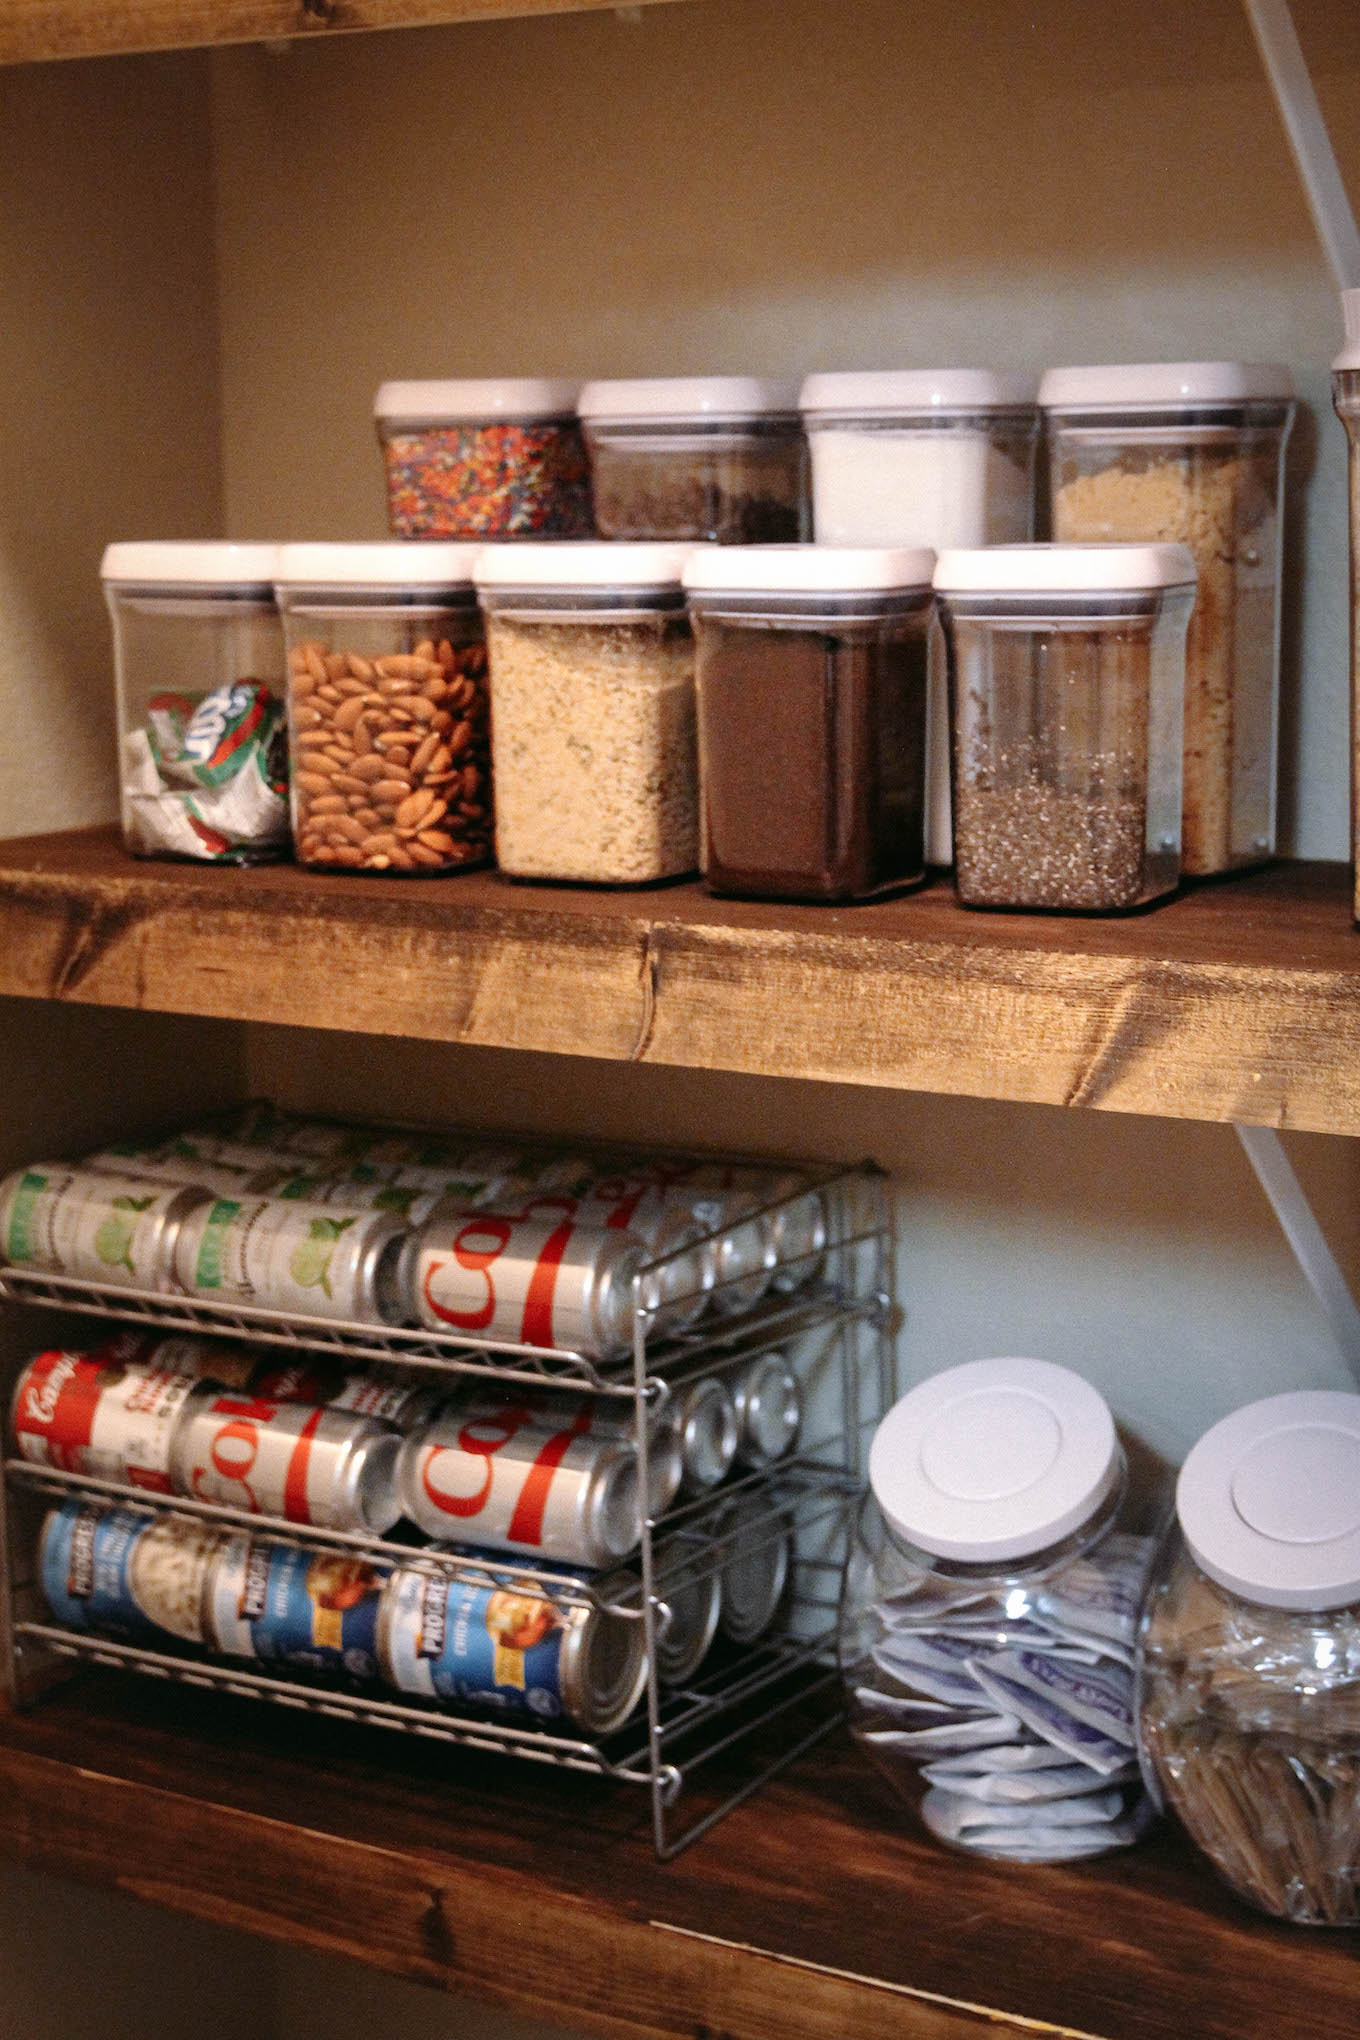
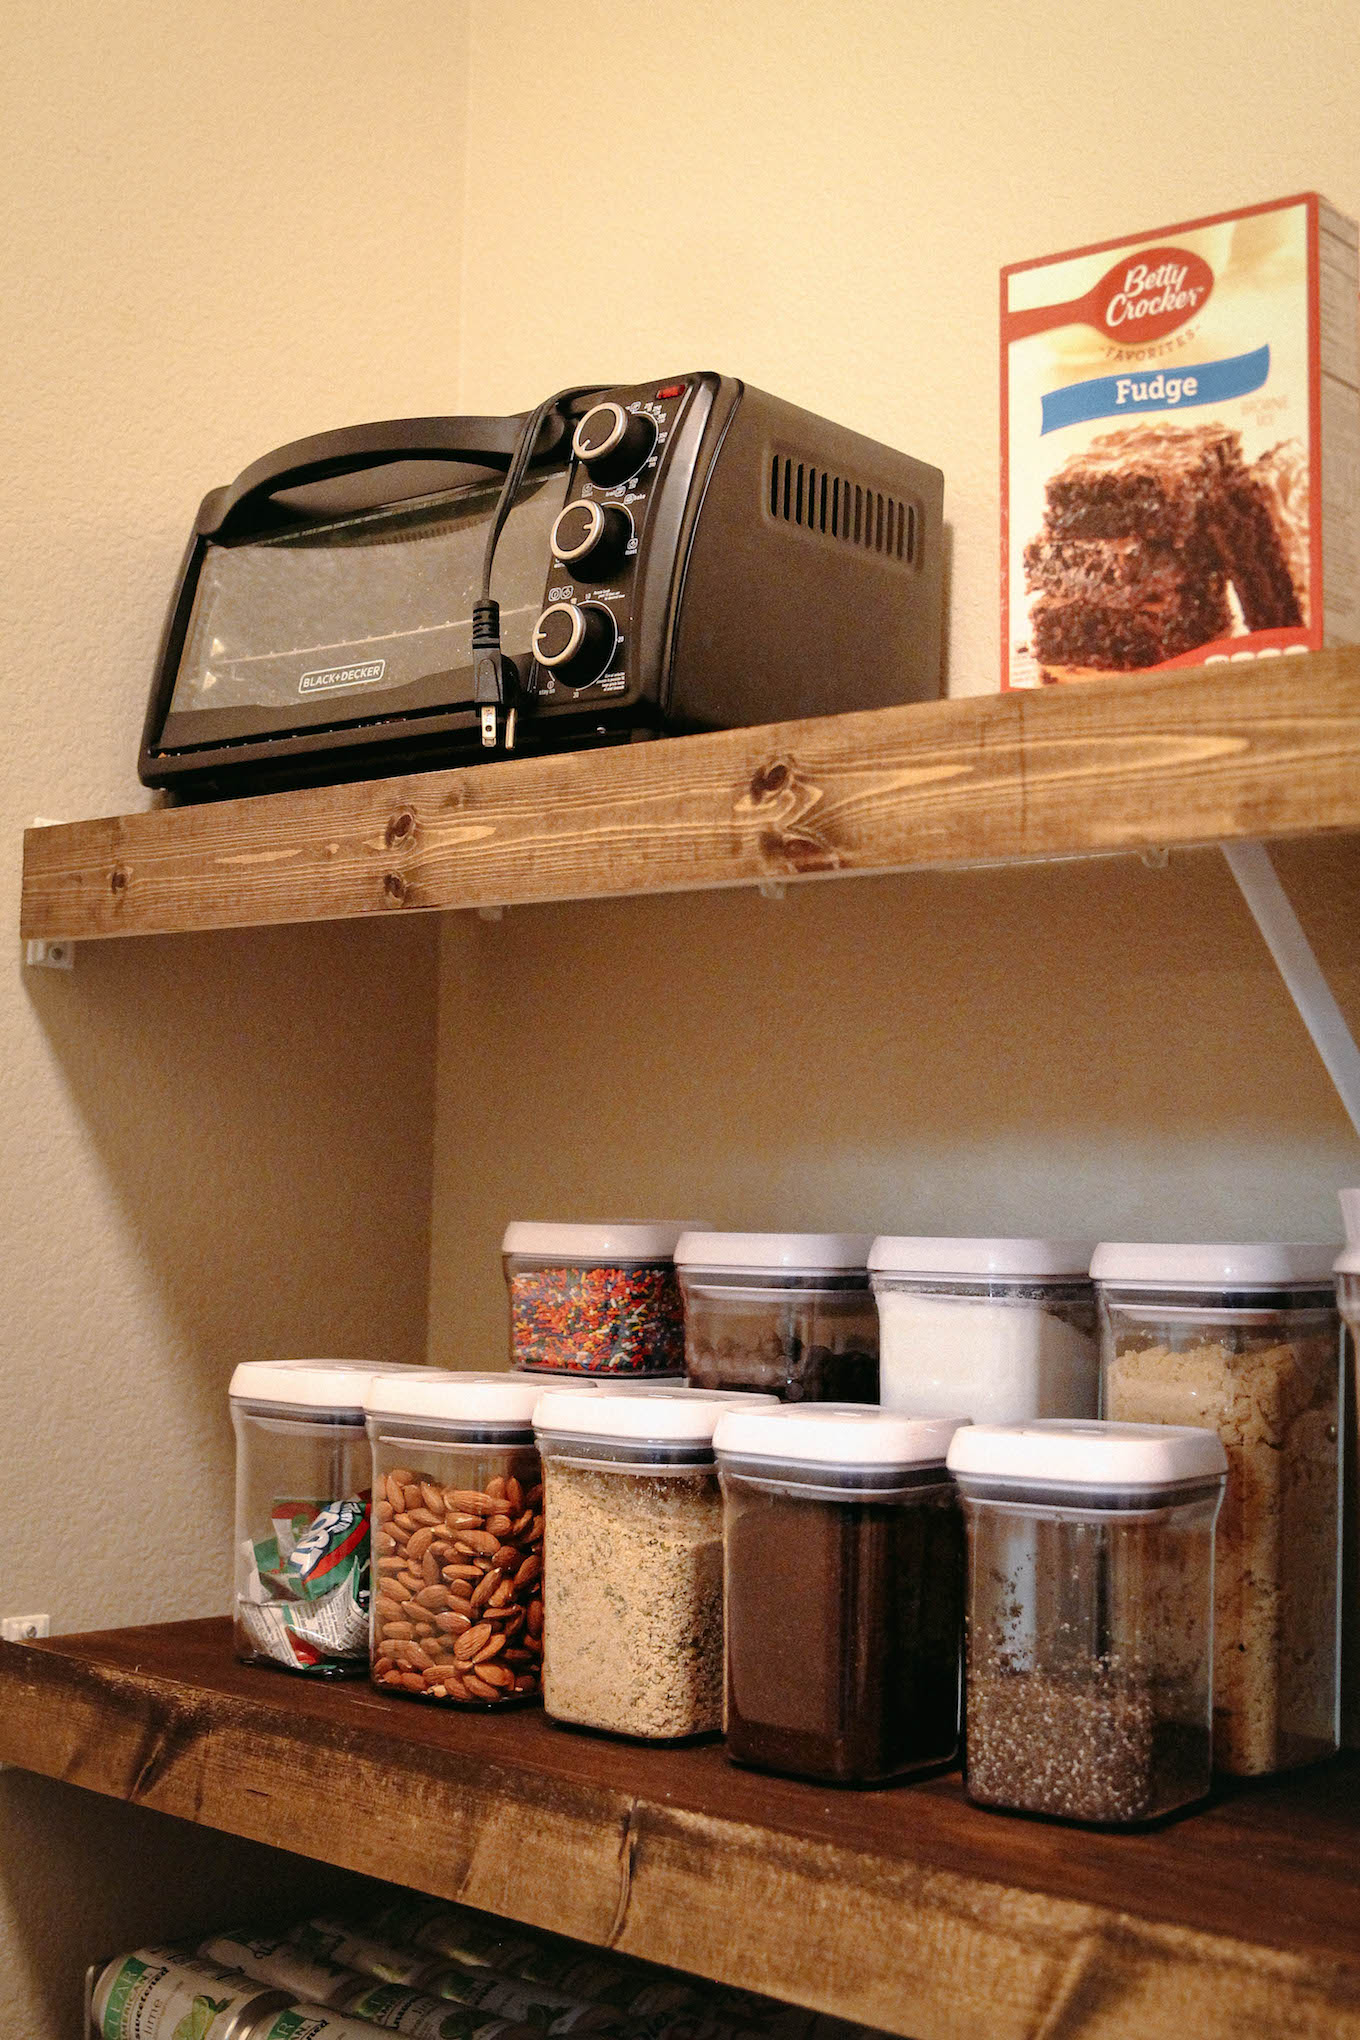
From the beginning of this project, I knew I wanted to organize my pantry with all OXO containers, for two reasons: 1) the air-tight seal and 2) the aesthetic. To be honest, I first discovered OXO products when Khloe Kardashian shared them in her pantry haul, and then when I went home for the holidays and noticed my Mom had OXO containers too.
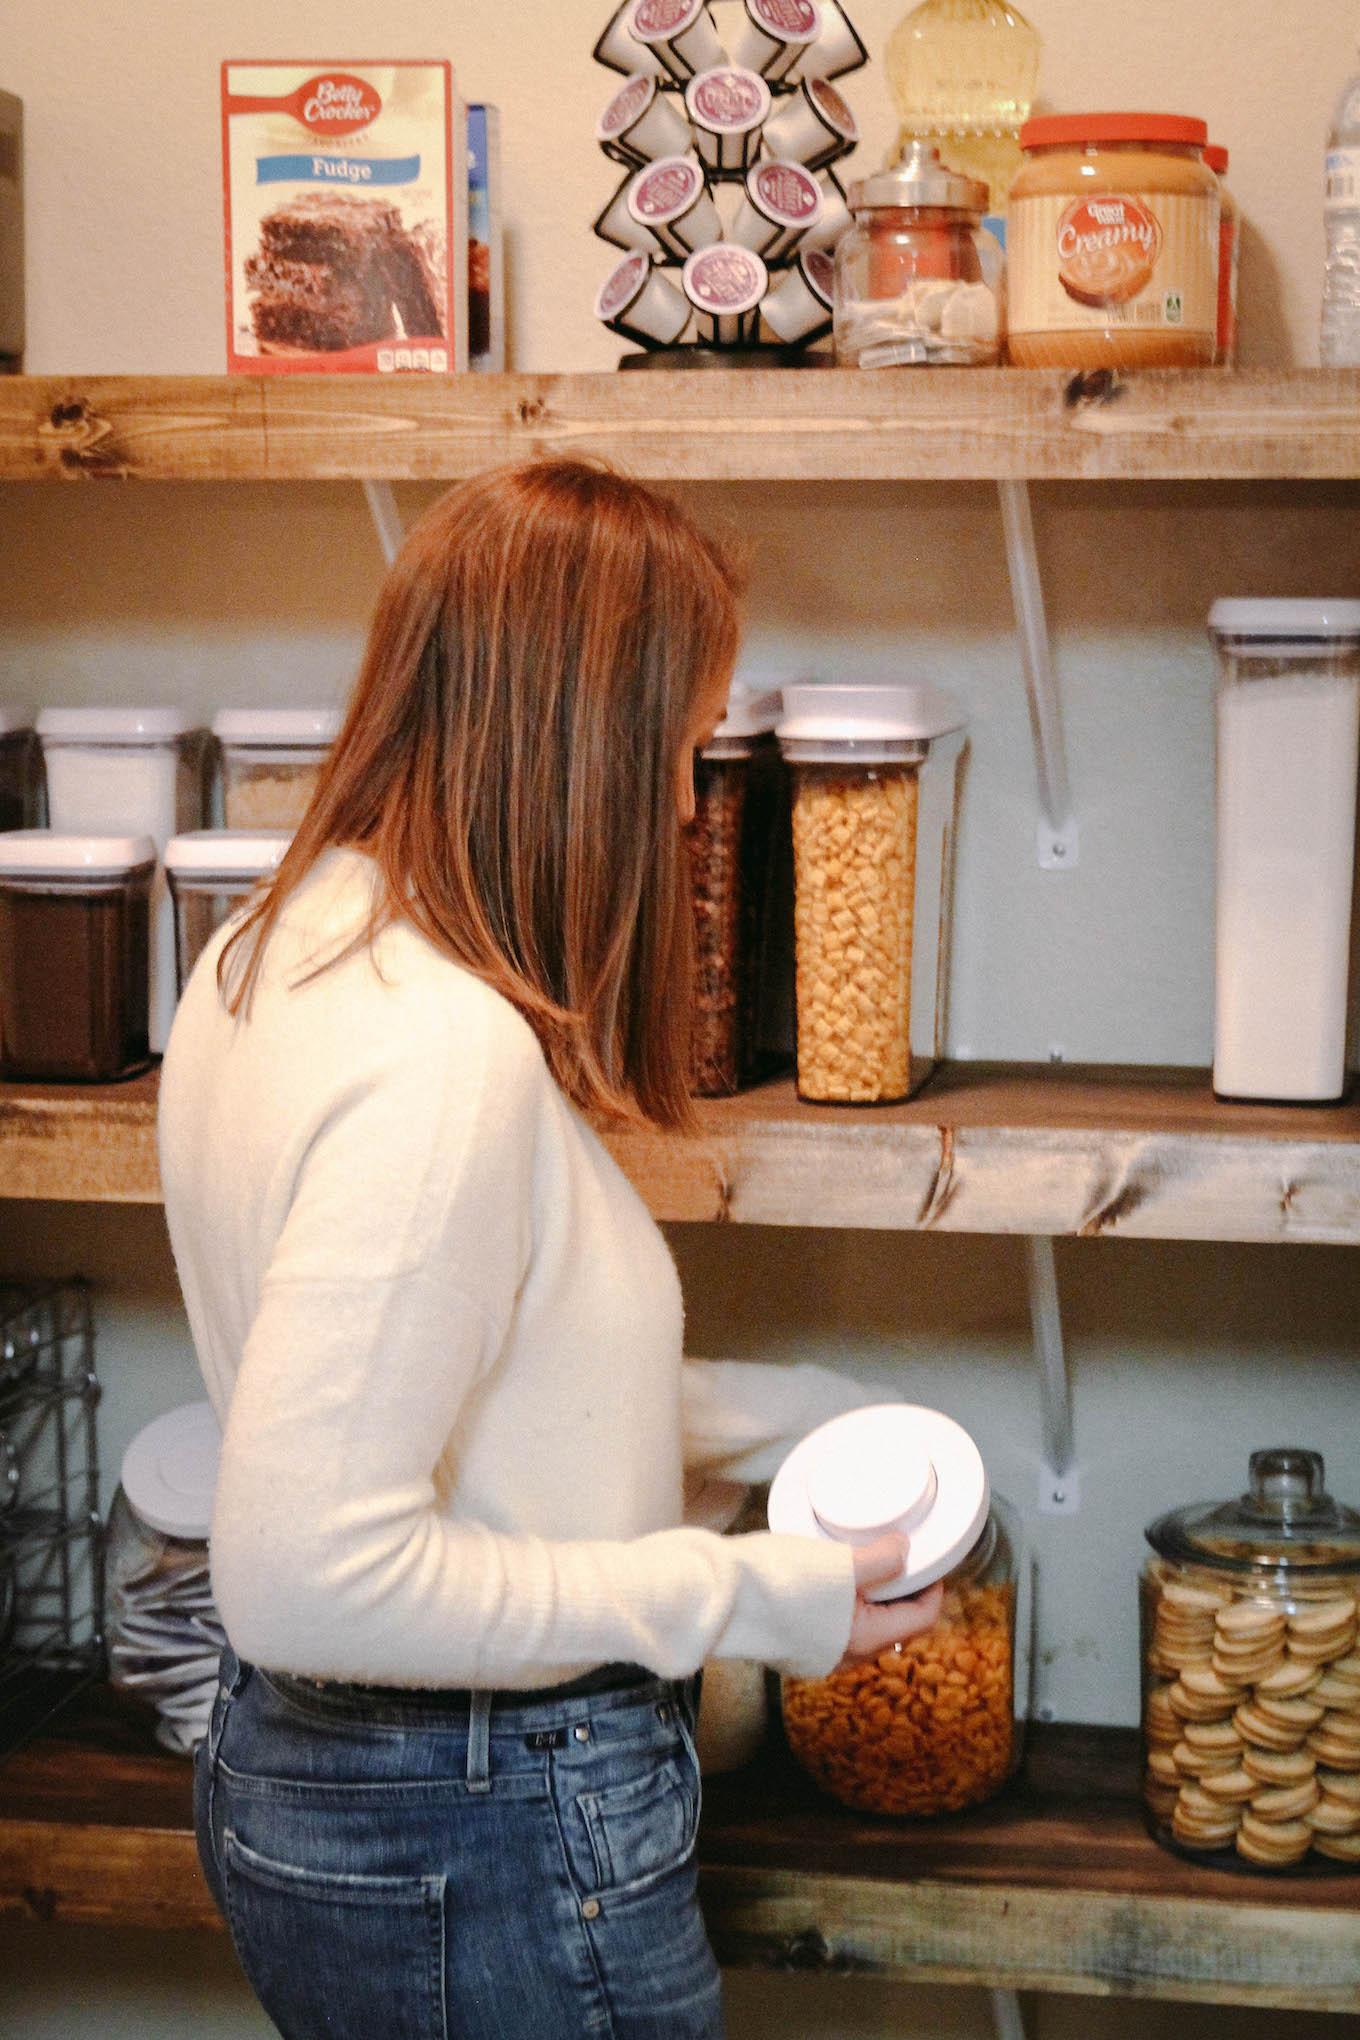
You know you’ve entered the homeowner stage of your life when you are raving about containers to all your friends, I mean even Matt took to his Instagram stories to share his obsession. To simply put it, they are an investment, but well worth it. I actually started off just purchasing this pack and after using the containers I reached out to the OXO team about my pantry project! They were kind enough to send over a few more containers to complete the whole look and share different features like the Cereal Dispensers and Pop Large Jar. 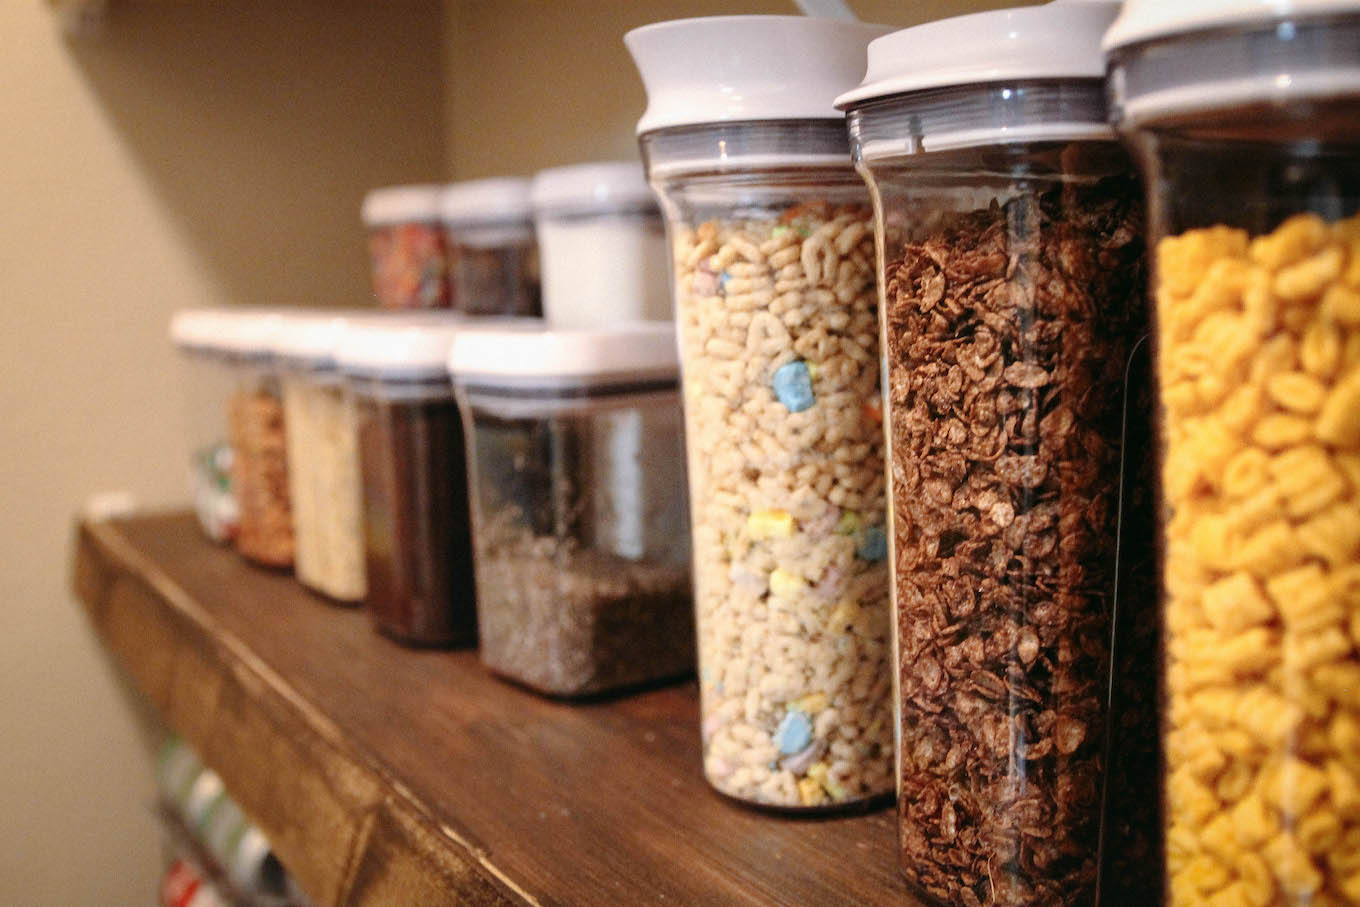
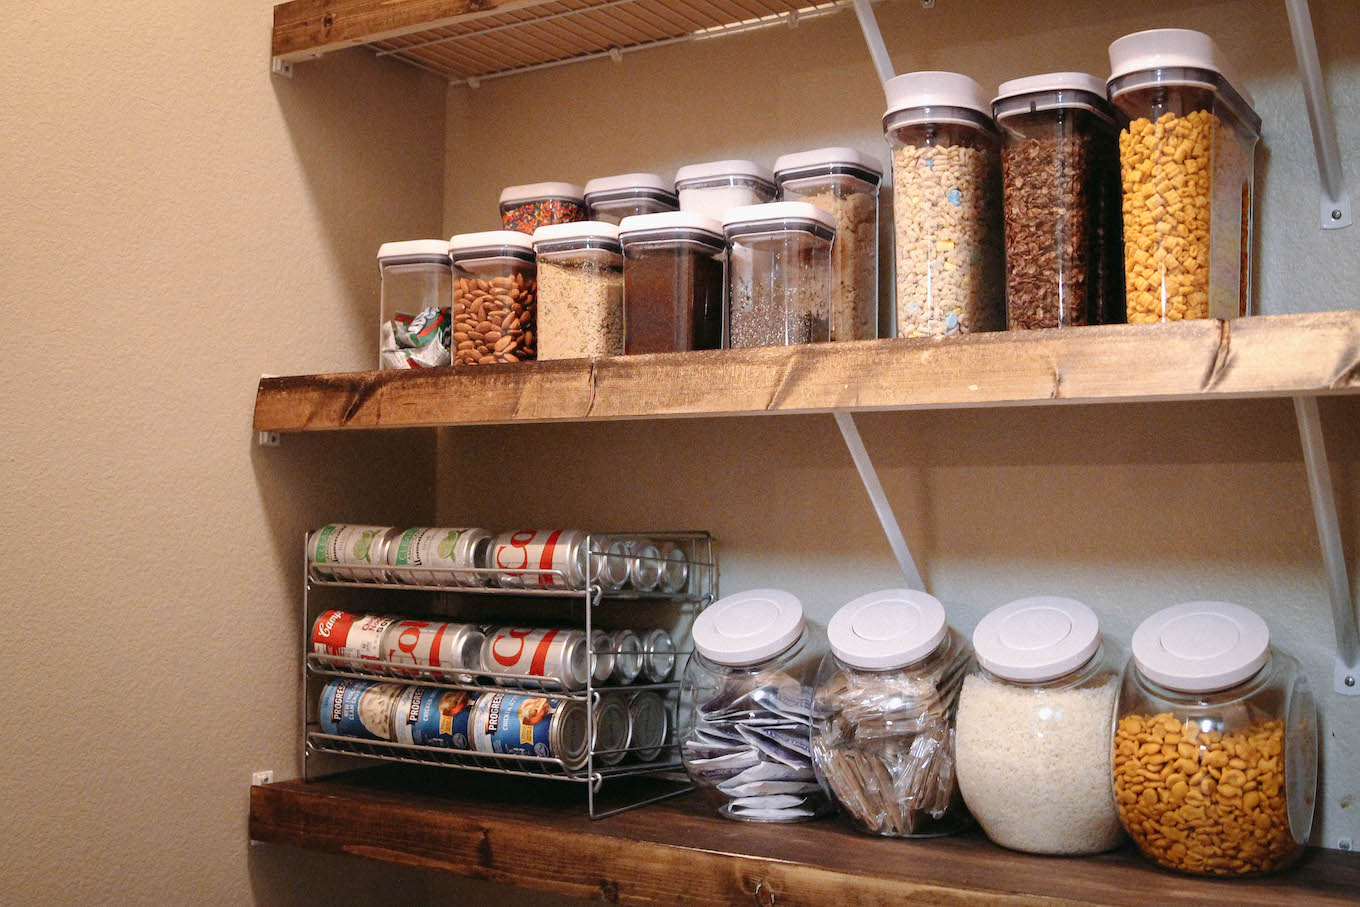
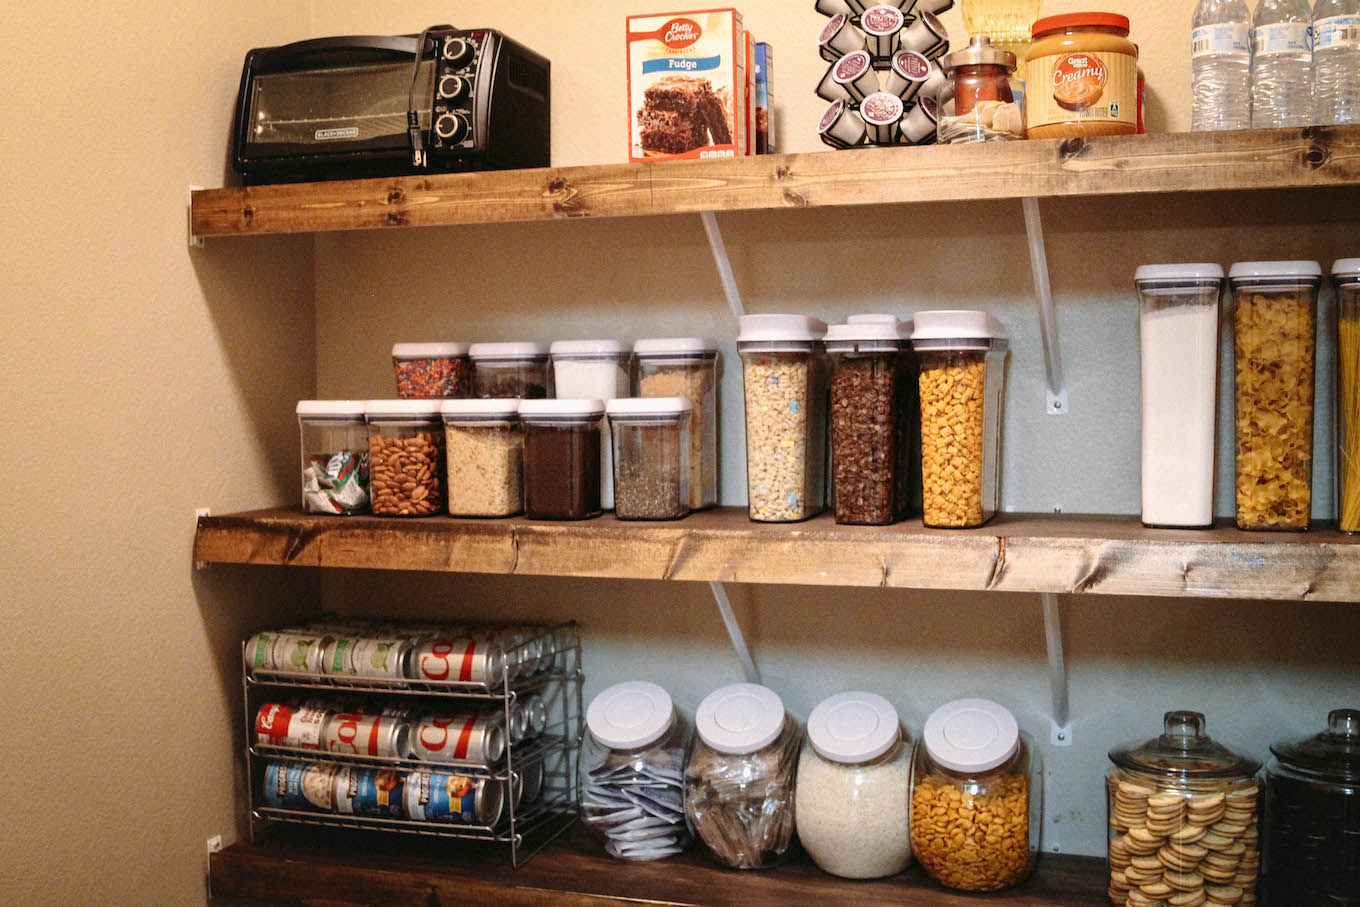
To make things easier for you guys, below I’ve listed exactly what I put in each container and I share exactly how many bags or ounces in the vlog!
Pantry Purchase List:
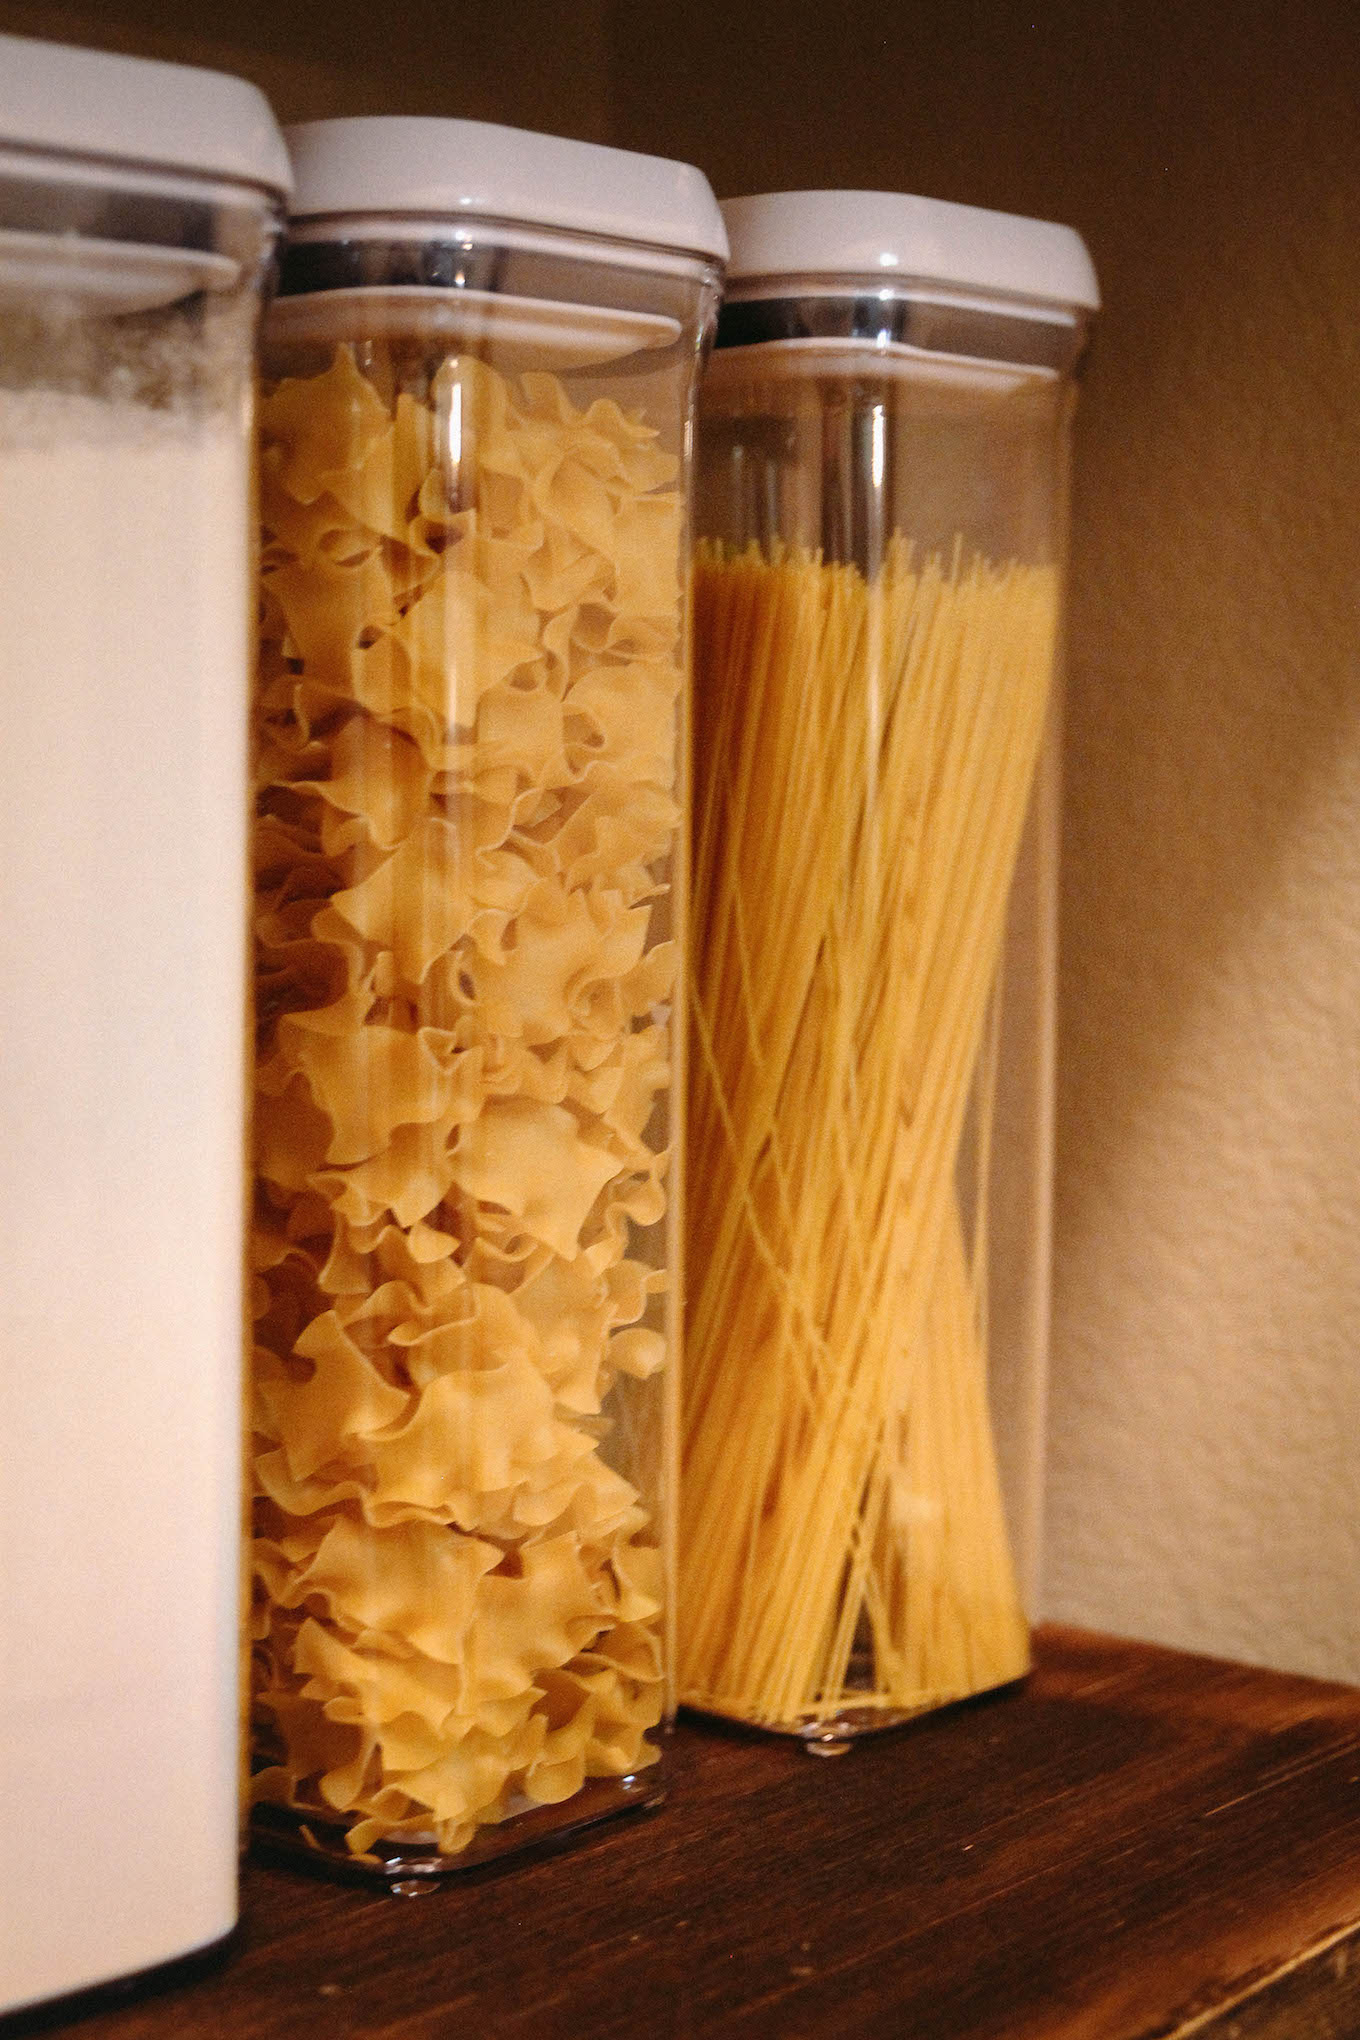
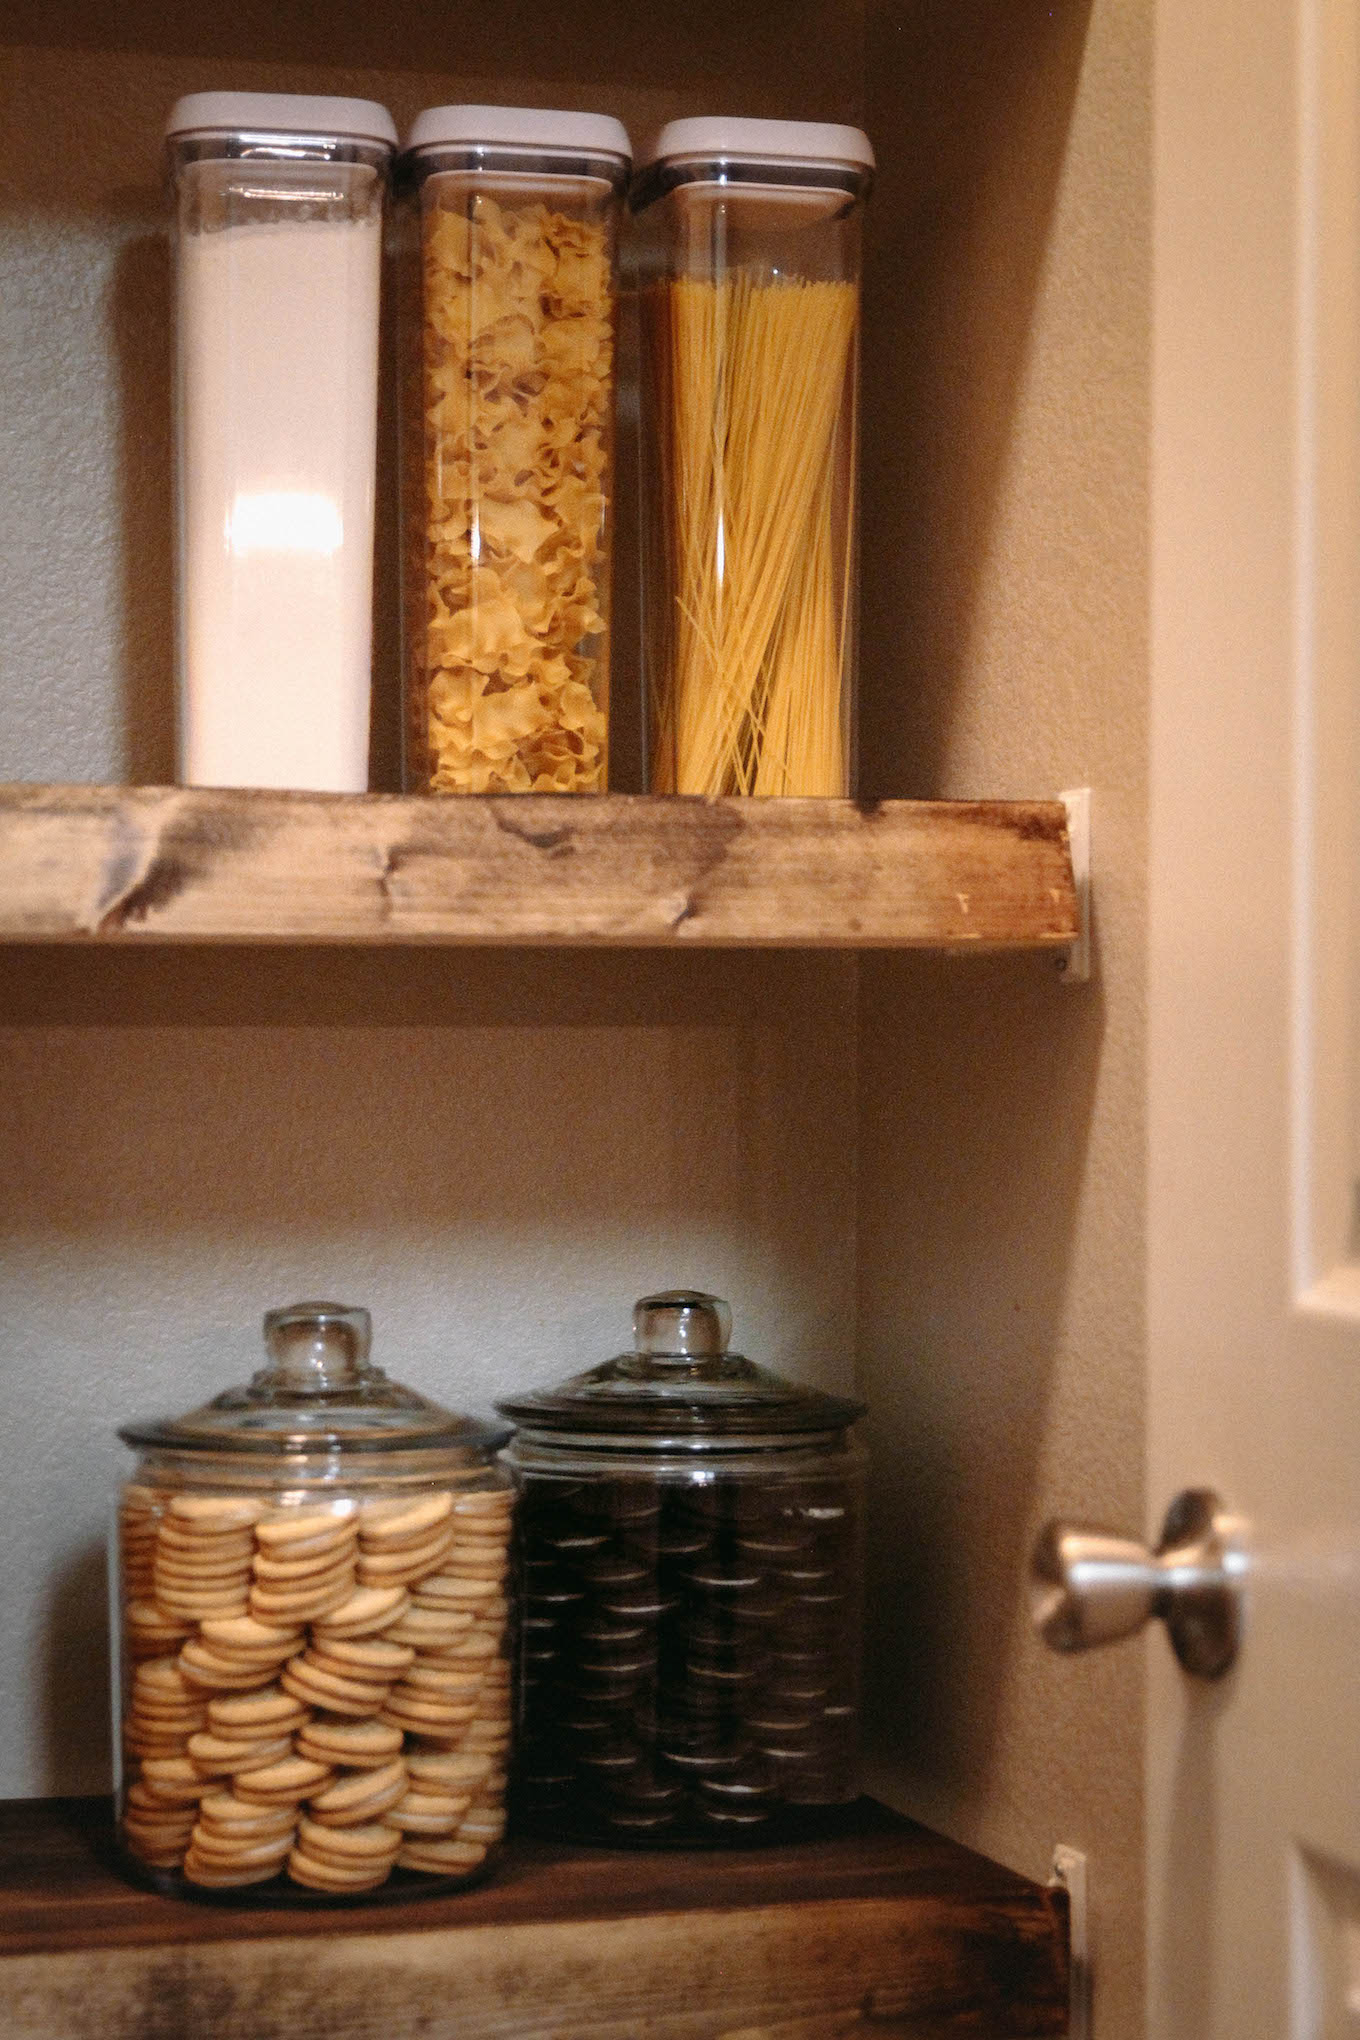
+ 2.1 qt OXO containers: for spaghetti, dumpling noodles, flour
+ 1.5 qt OXO containers: for chocolate chips, brown sugar, and sugar
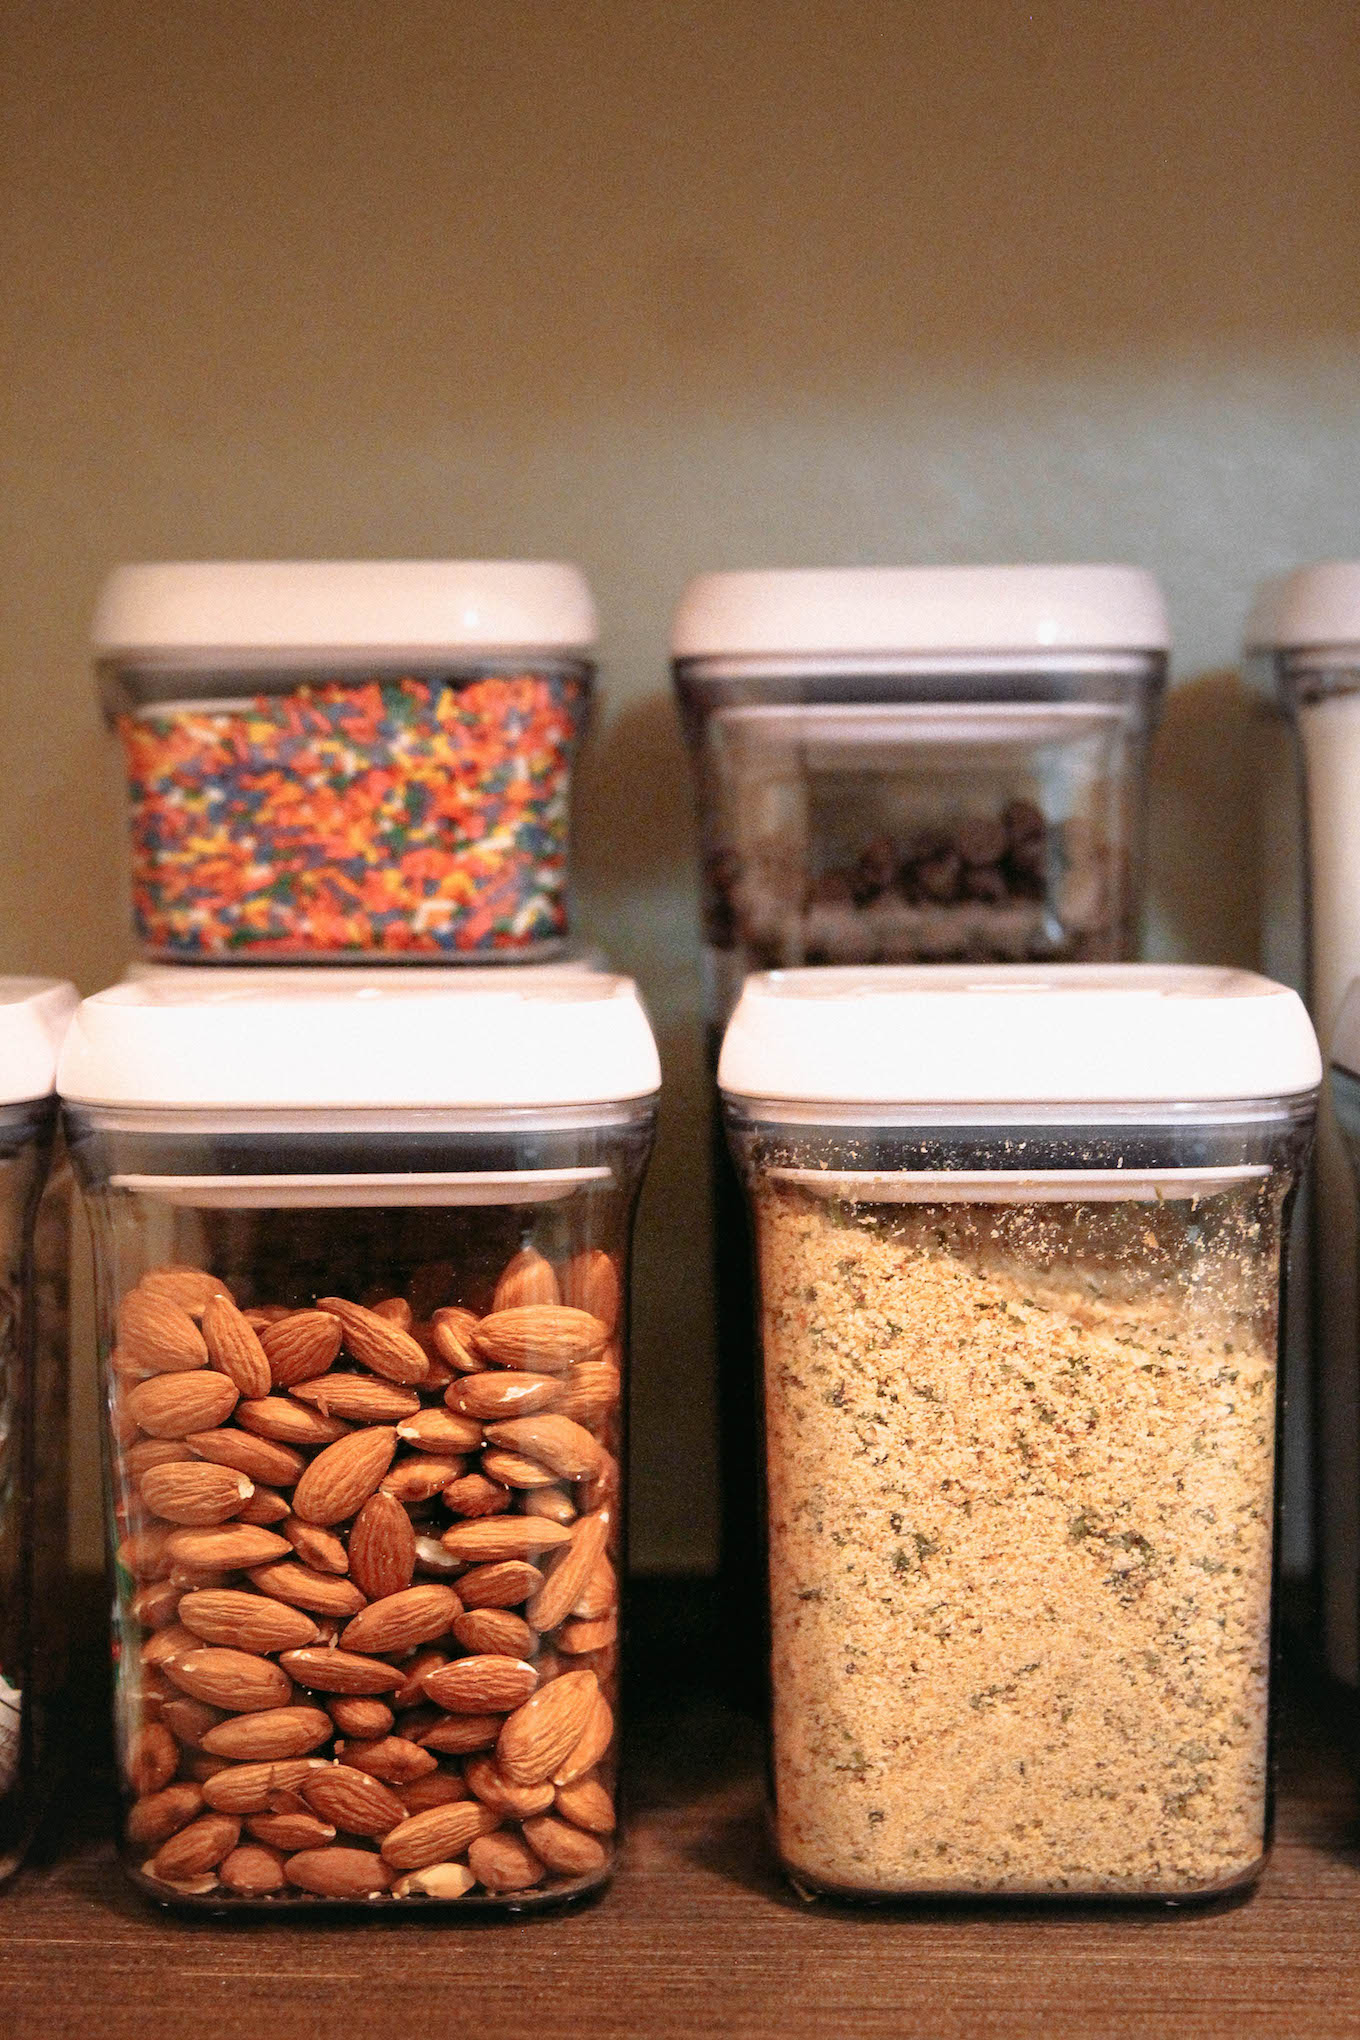
+ 0.9 qt OXO containers: for almonds, granola, coffee, chia seeds, fruit snacks and bread crumbs
+ 0.3 qt OXO containers: for sprinkles
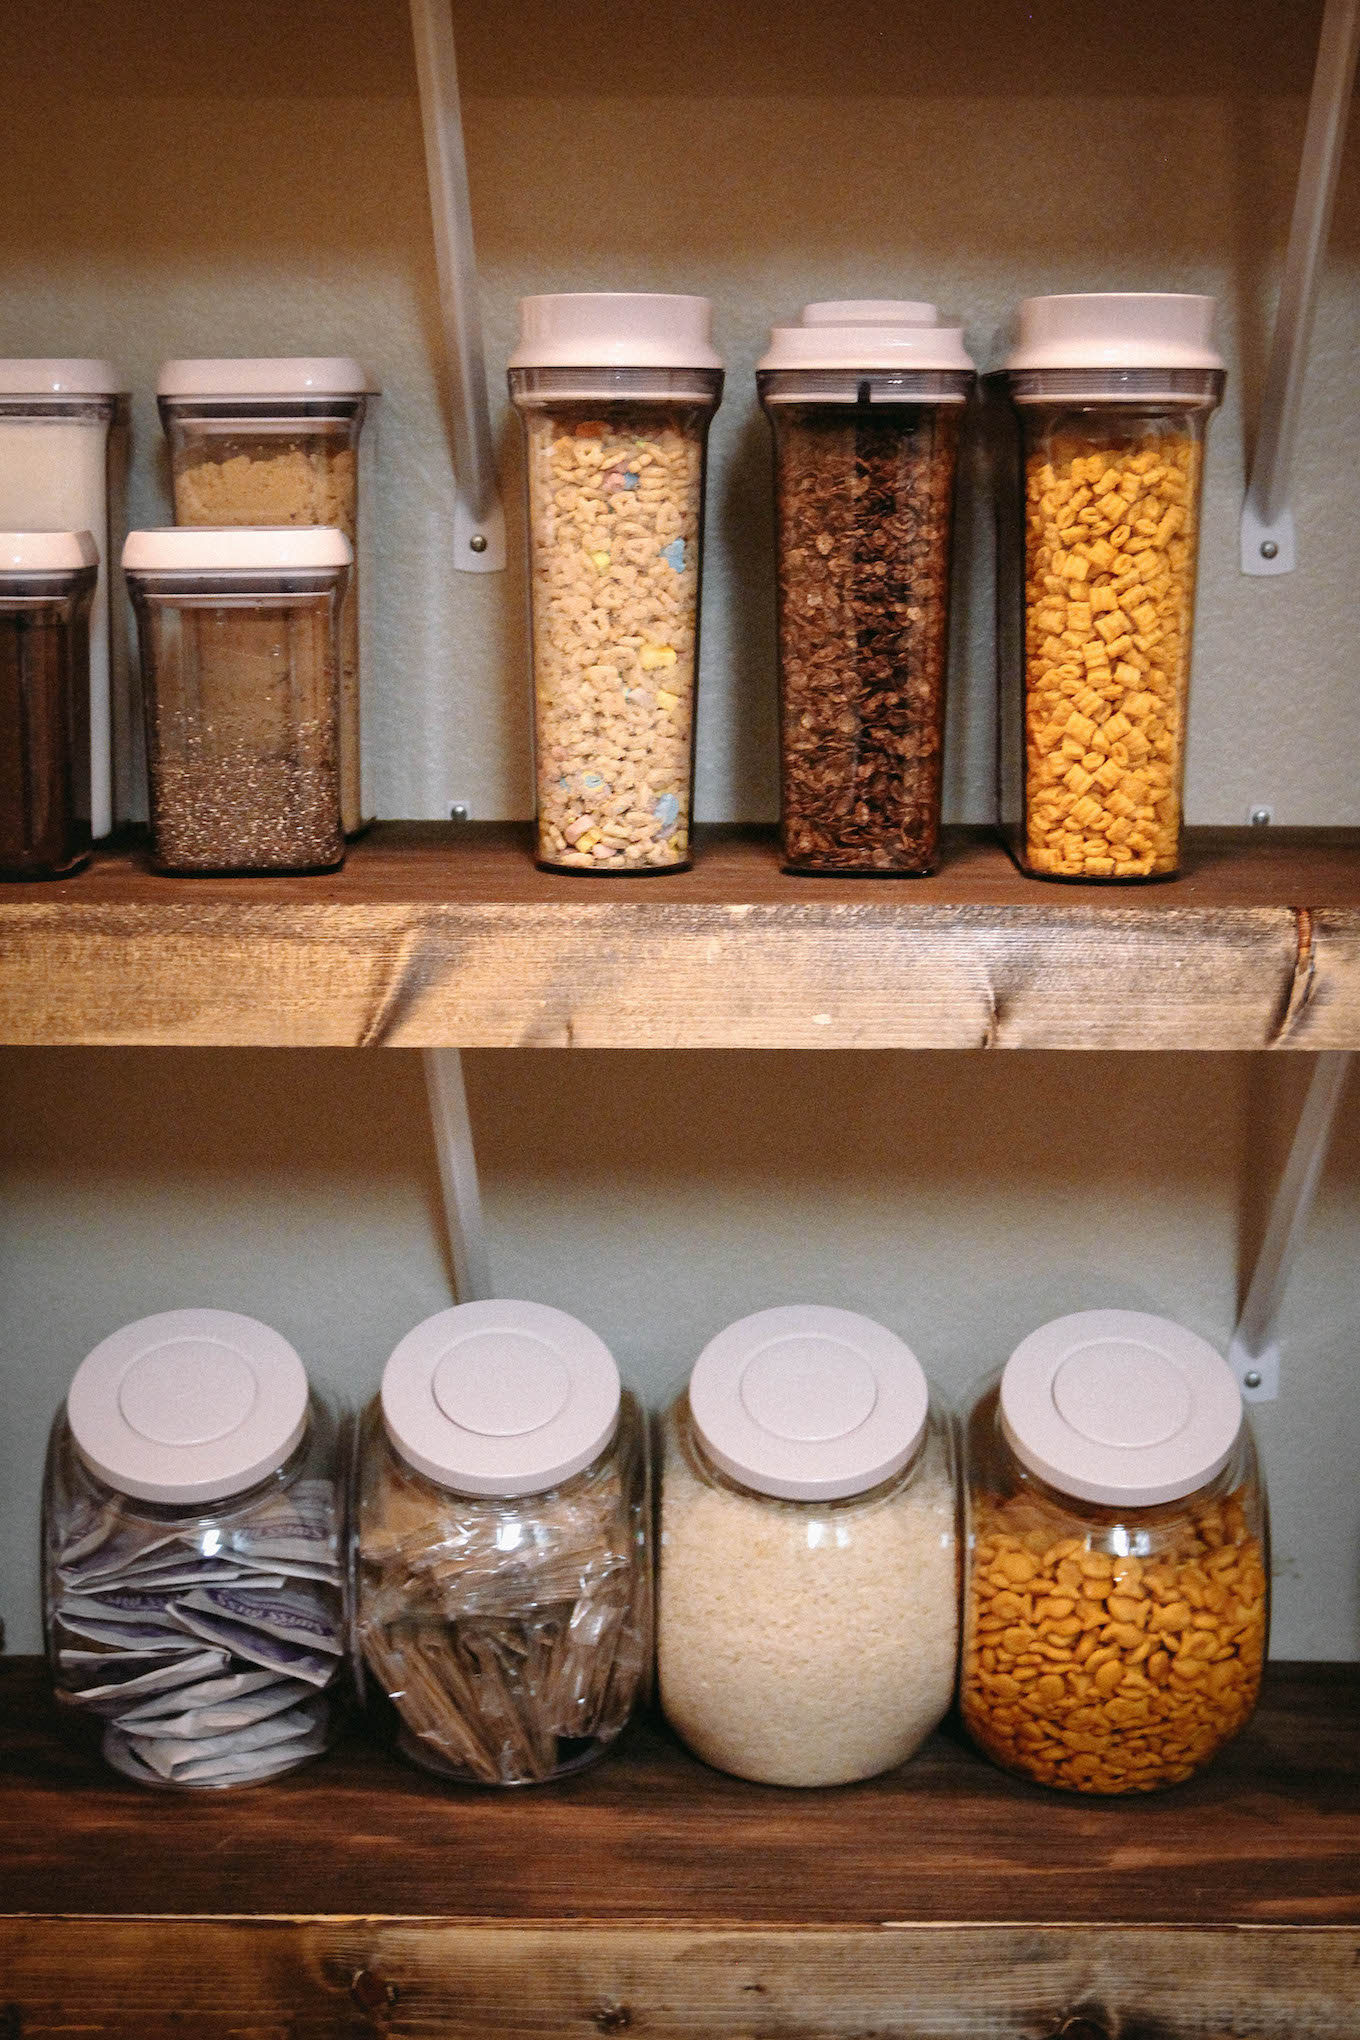
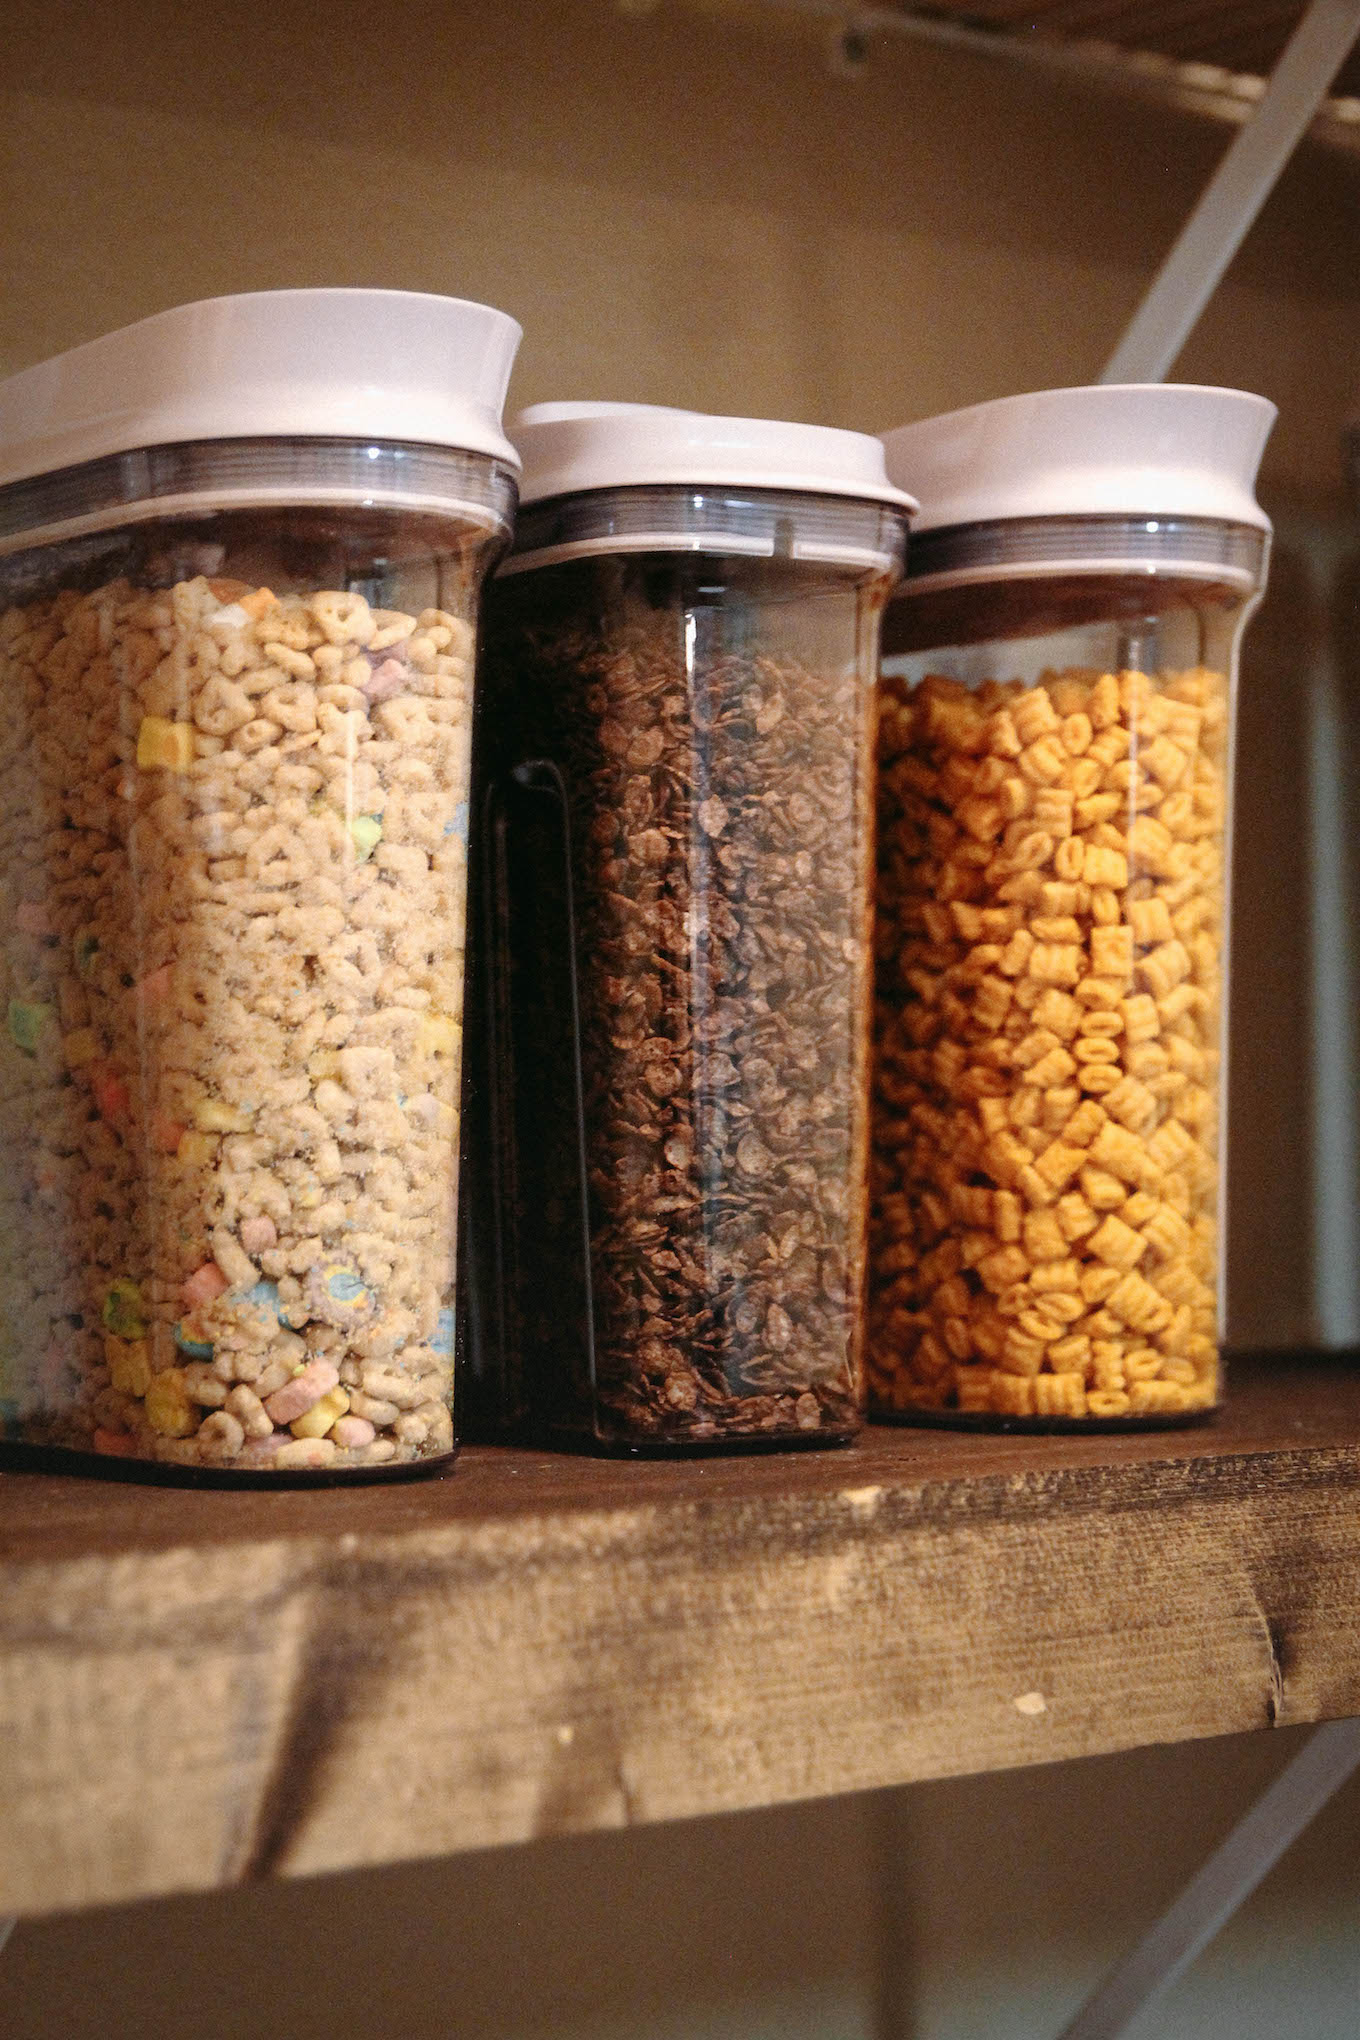
+ OXO Cereal Dispensers: for three kinds of cereal
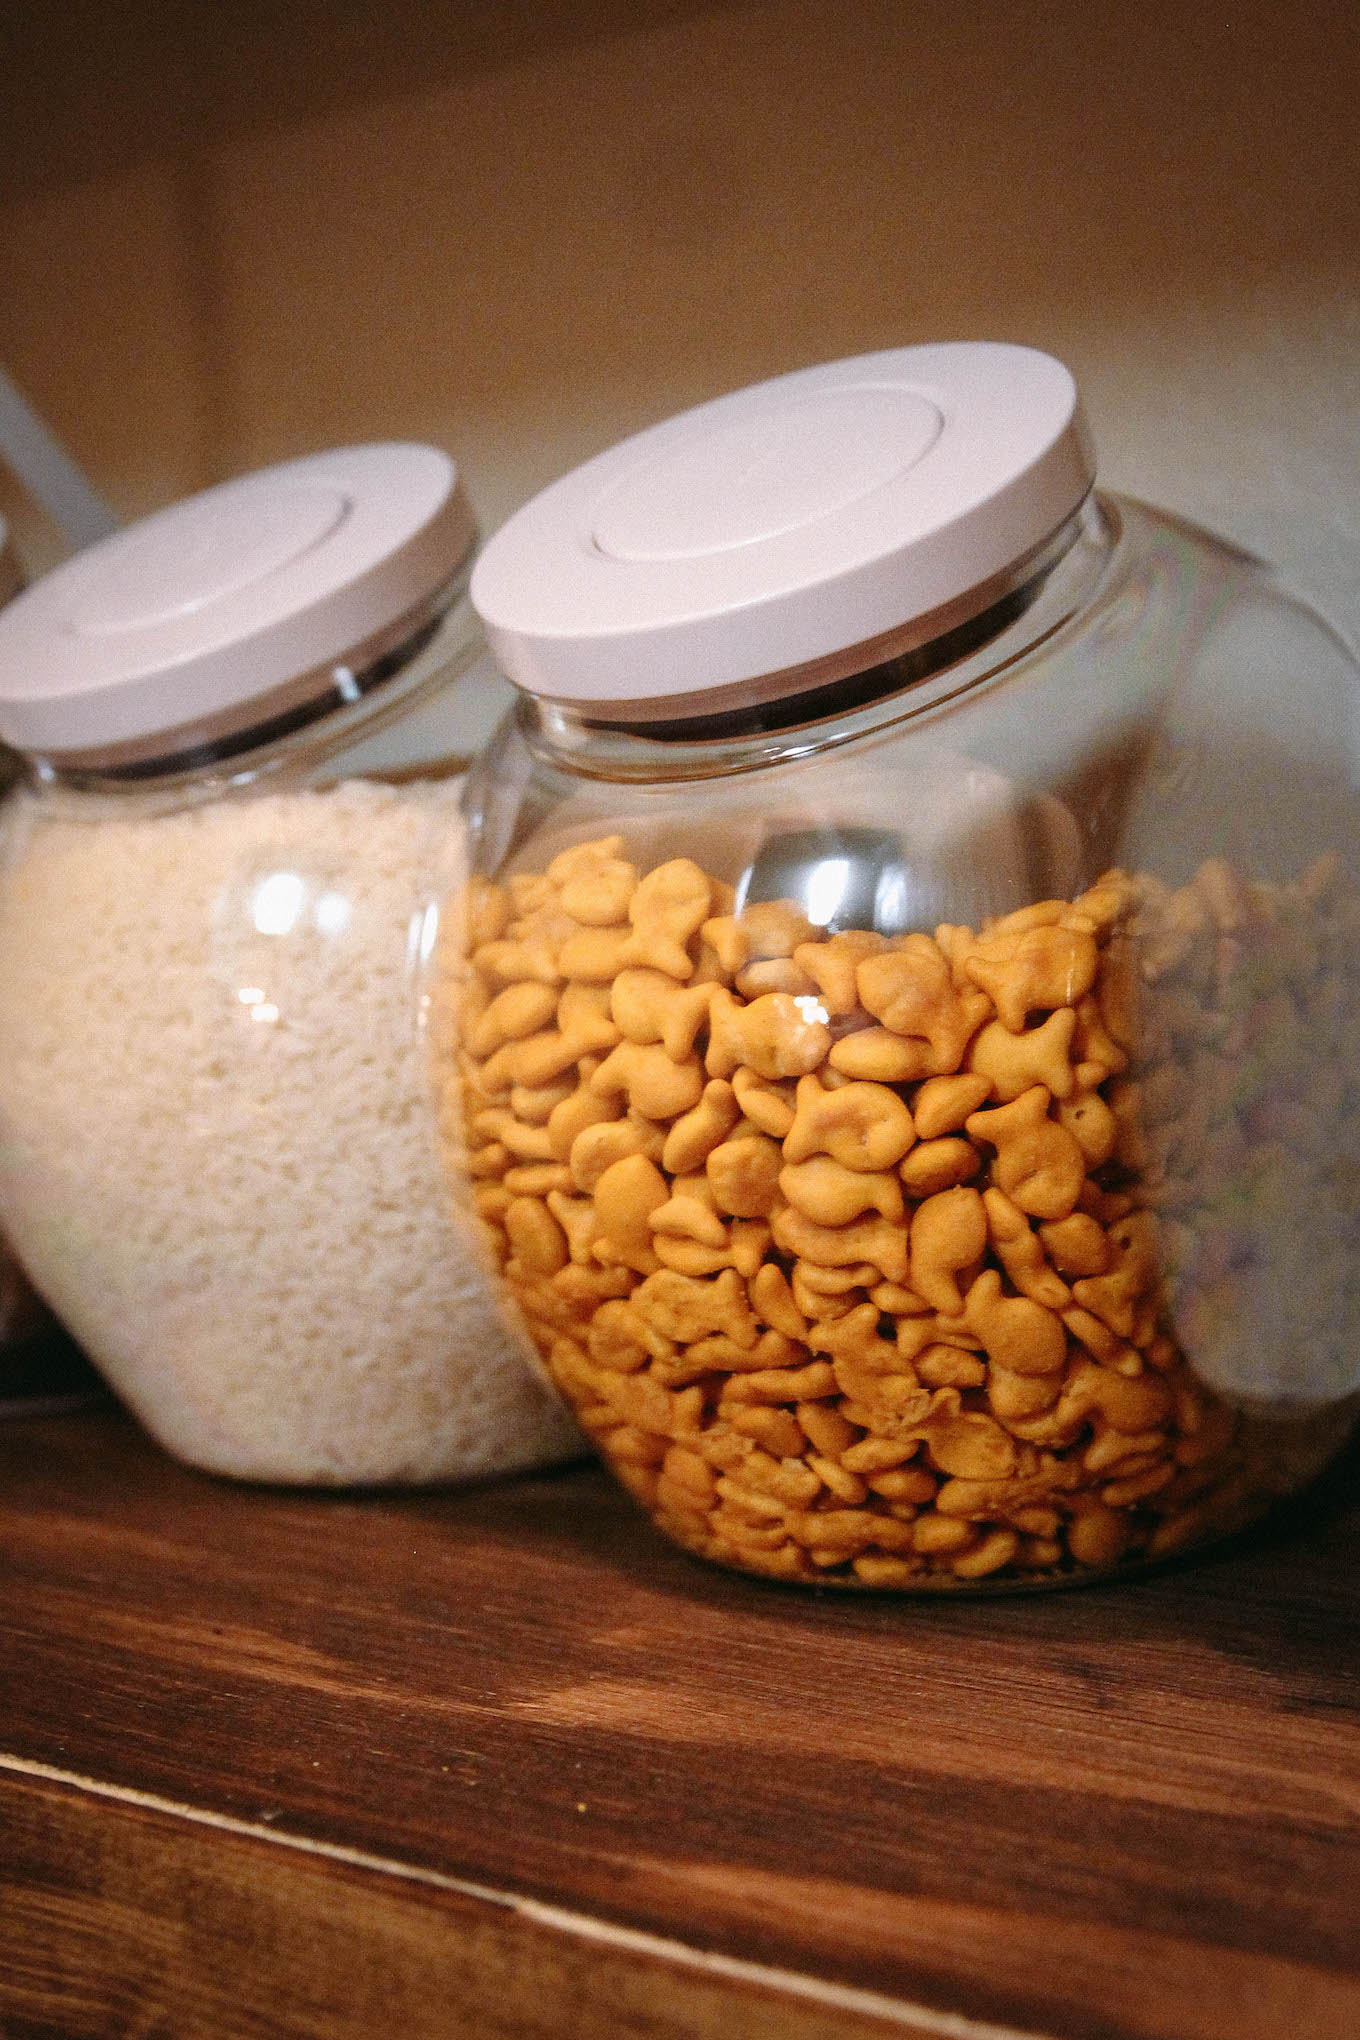
+ Pop Large OXO Jar: for hot chocolate, popcorn, rice, and goldfish
+ One Gallon Glass Jar: for chocolate and vanilla Oreos
+ Storage Bins: – for overflow and bottles
Overall, I felt like my disorganized pantry was a huge waste of time and money. I spent way too much time heading back to the store to get that one item I thought I had and spent way too much money on ingredients that went unseen and then bad. I really think this new pantry set-up will save us money in the long-run and help us stay organized moving forward.
I would love to hear if you guys have any pantry organizing tricks up your sleeves in the comment section below. I actually had the best time getting creative with this DIY project, and can’t wait to share more organization tips and tricks with you all in the future! Again, thank you to OXO for sending us a few containers to check out, make sure to check out the brand here. Oh, and I hope you enjoyed our first vlog.
Shop This Post:
Thank you to OXO for kindly sending our crew some containers. All opinions are 100% honest & completely my own.
Leave a Comment
3 thoughts on "How to Organize An Apartment Pantry Like A Kardashian"
Leave a Reply
Newsletter
Subscribe to see our favorite pieces of New England, in your inbox weekly.


The pantry looks amazing and I ABSOLUTELY ADORE THOSE JARS! It makes everything look so much more organized than having half eaten packets of crisps lying about. The wood covers also completely changes how the pantry looks, adding more definition if you may, to the whole look. Great work!
Your pantry looks incredible!!!! You know you’re a real adult when you get over excited about stuff for your kitchen. Last weekend my fiance spent 15 minutes waxing poetic about the new handsoap that I bought to put near the kitchen sink because he liked the shape of the bottle and the effectiveness of the pump lol
XO Malinda
pearlspinotandparmesan.blogspot.com
This turned out so nice! The wood shelves totally elevate it. I adore how great the oxo containers look together! I have never been able to stick to refilling jars, so I just keep everything in bins.
I was hoping you’d do the cookie jar trick! It looks awesome and it’s nice that it sounds like you guys will actually eat them!